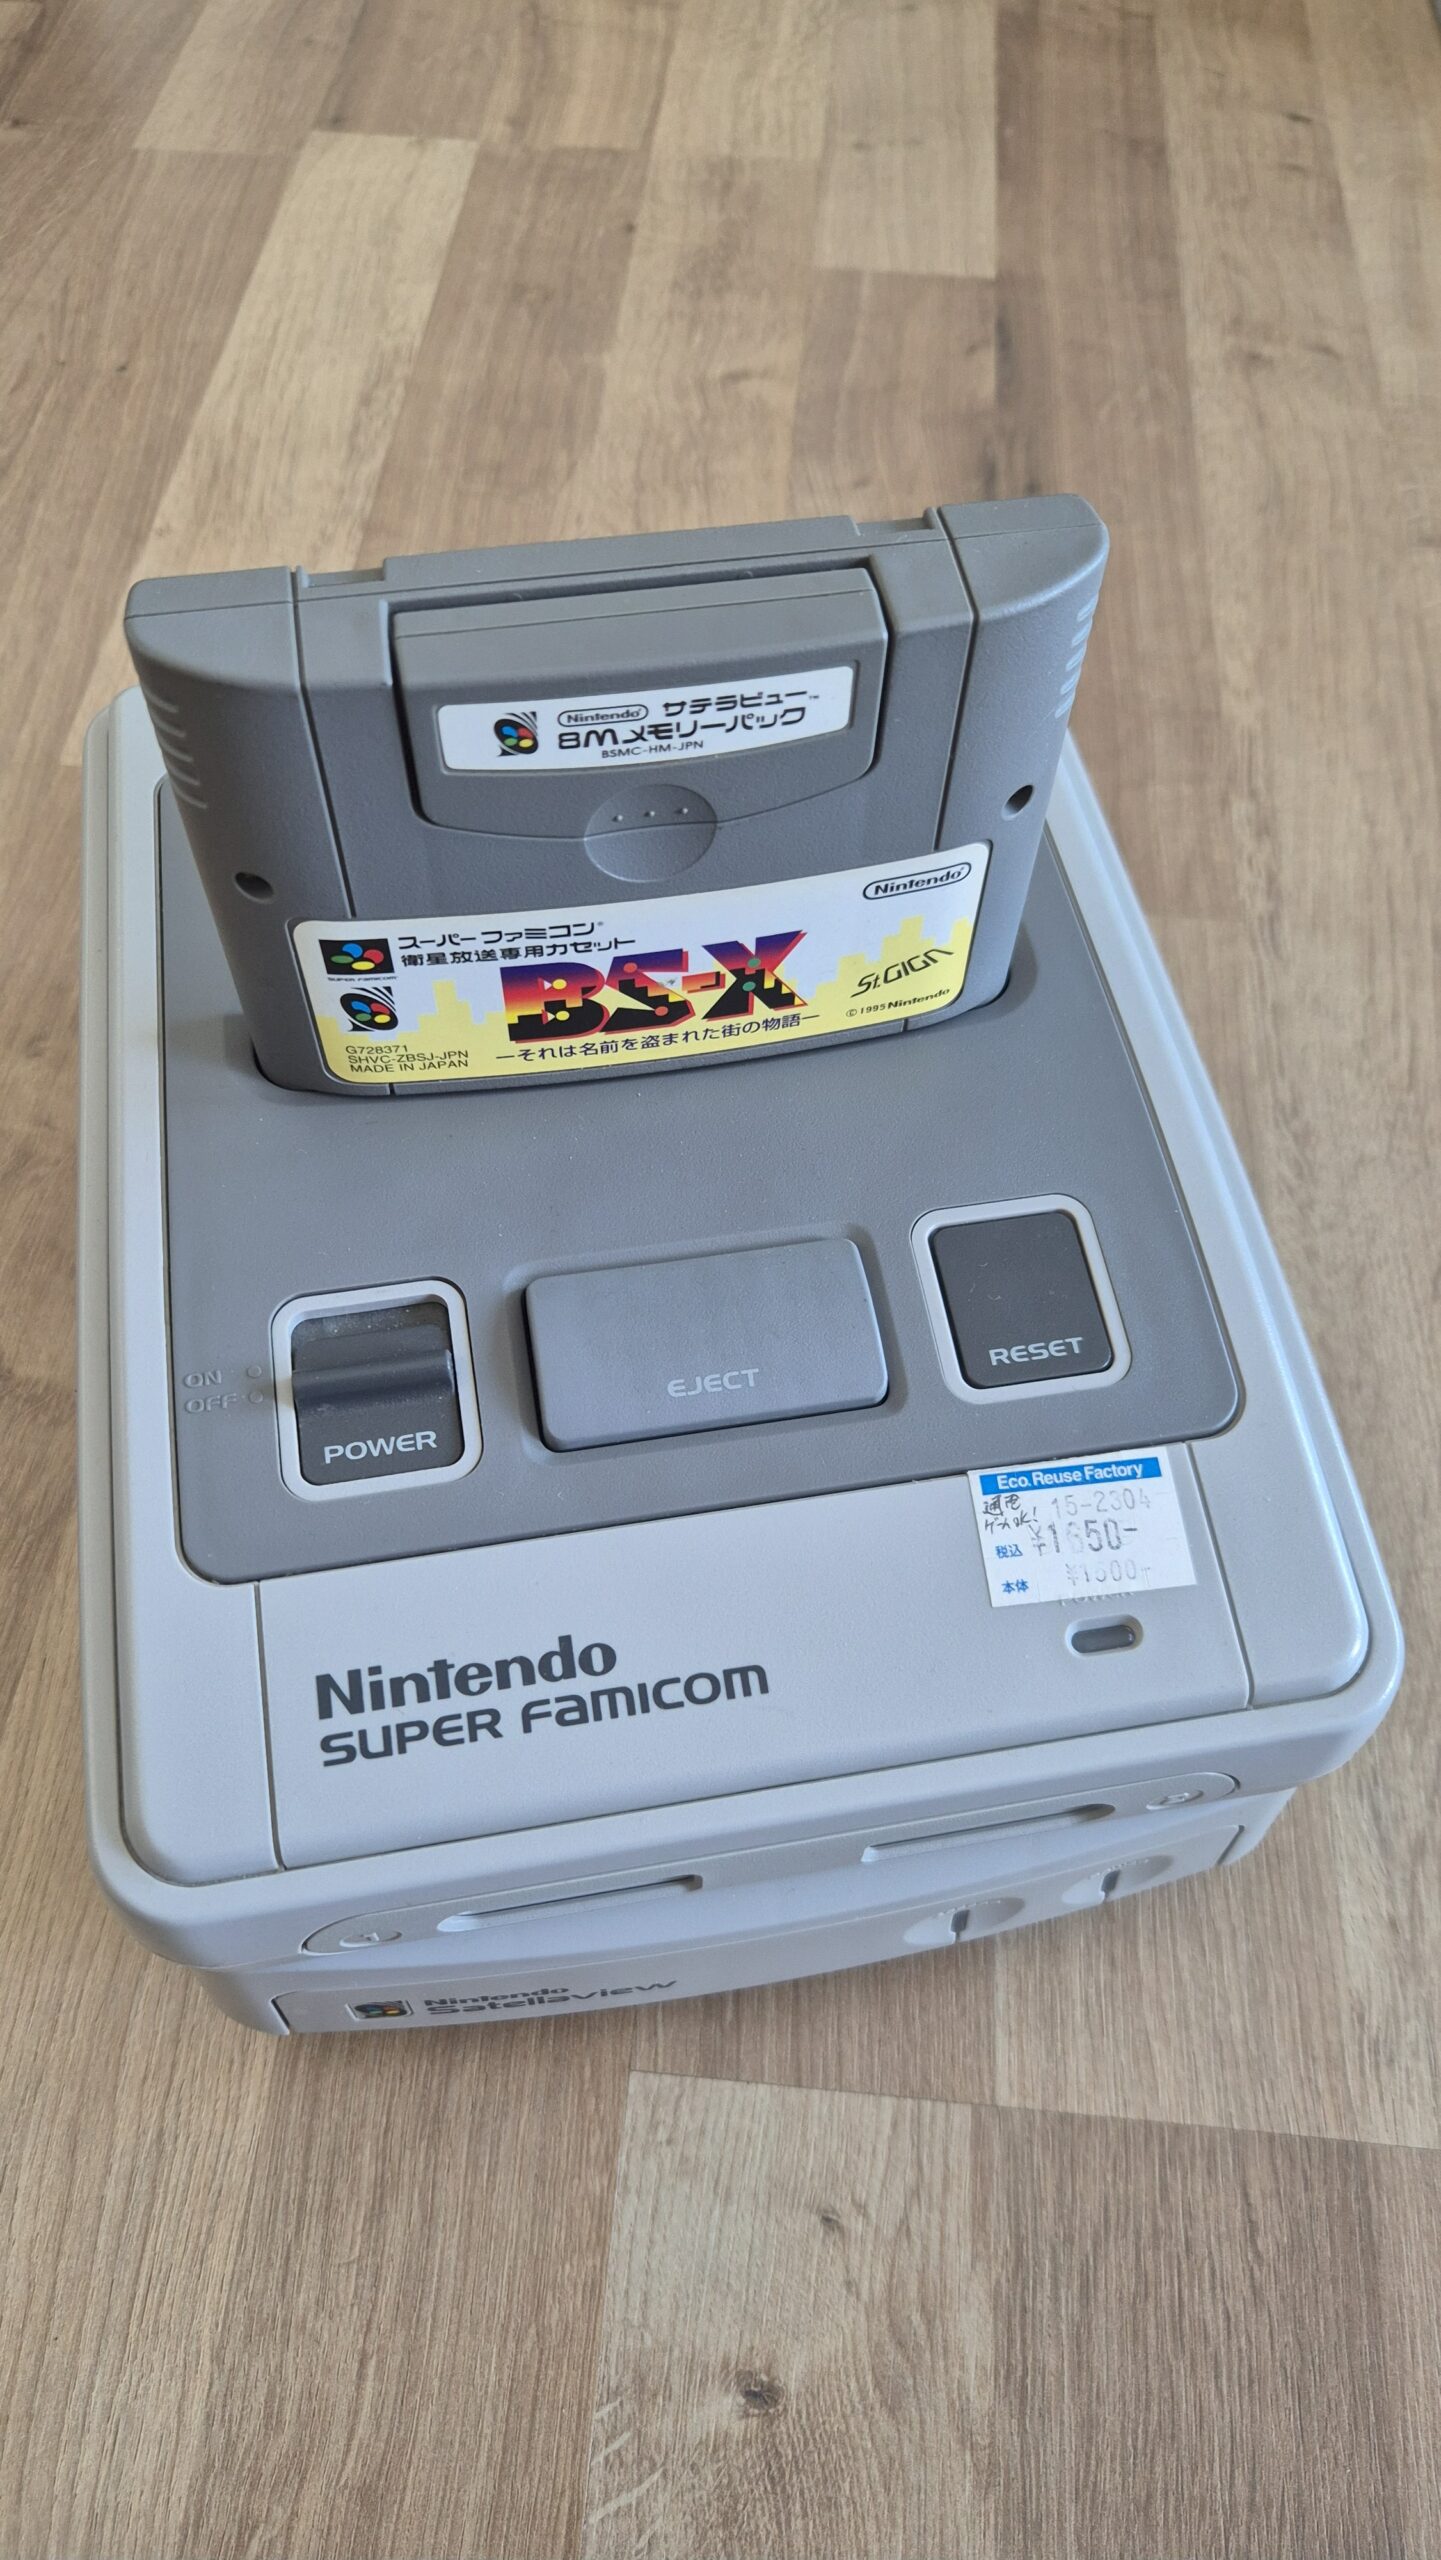
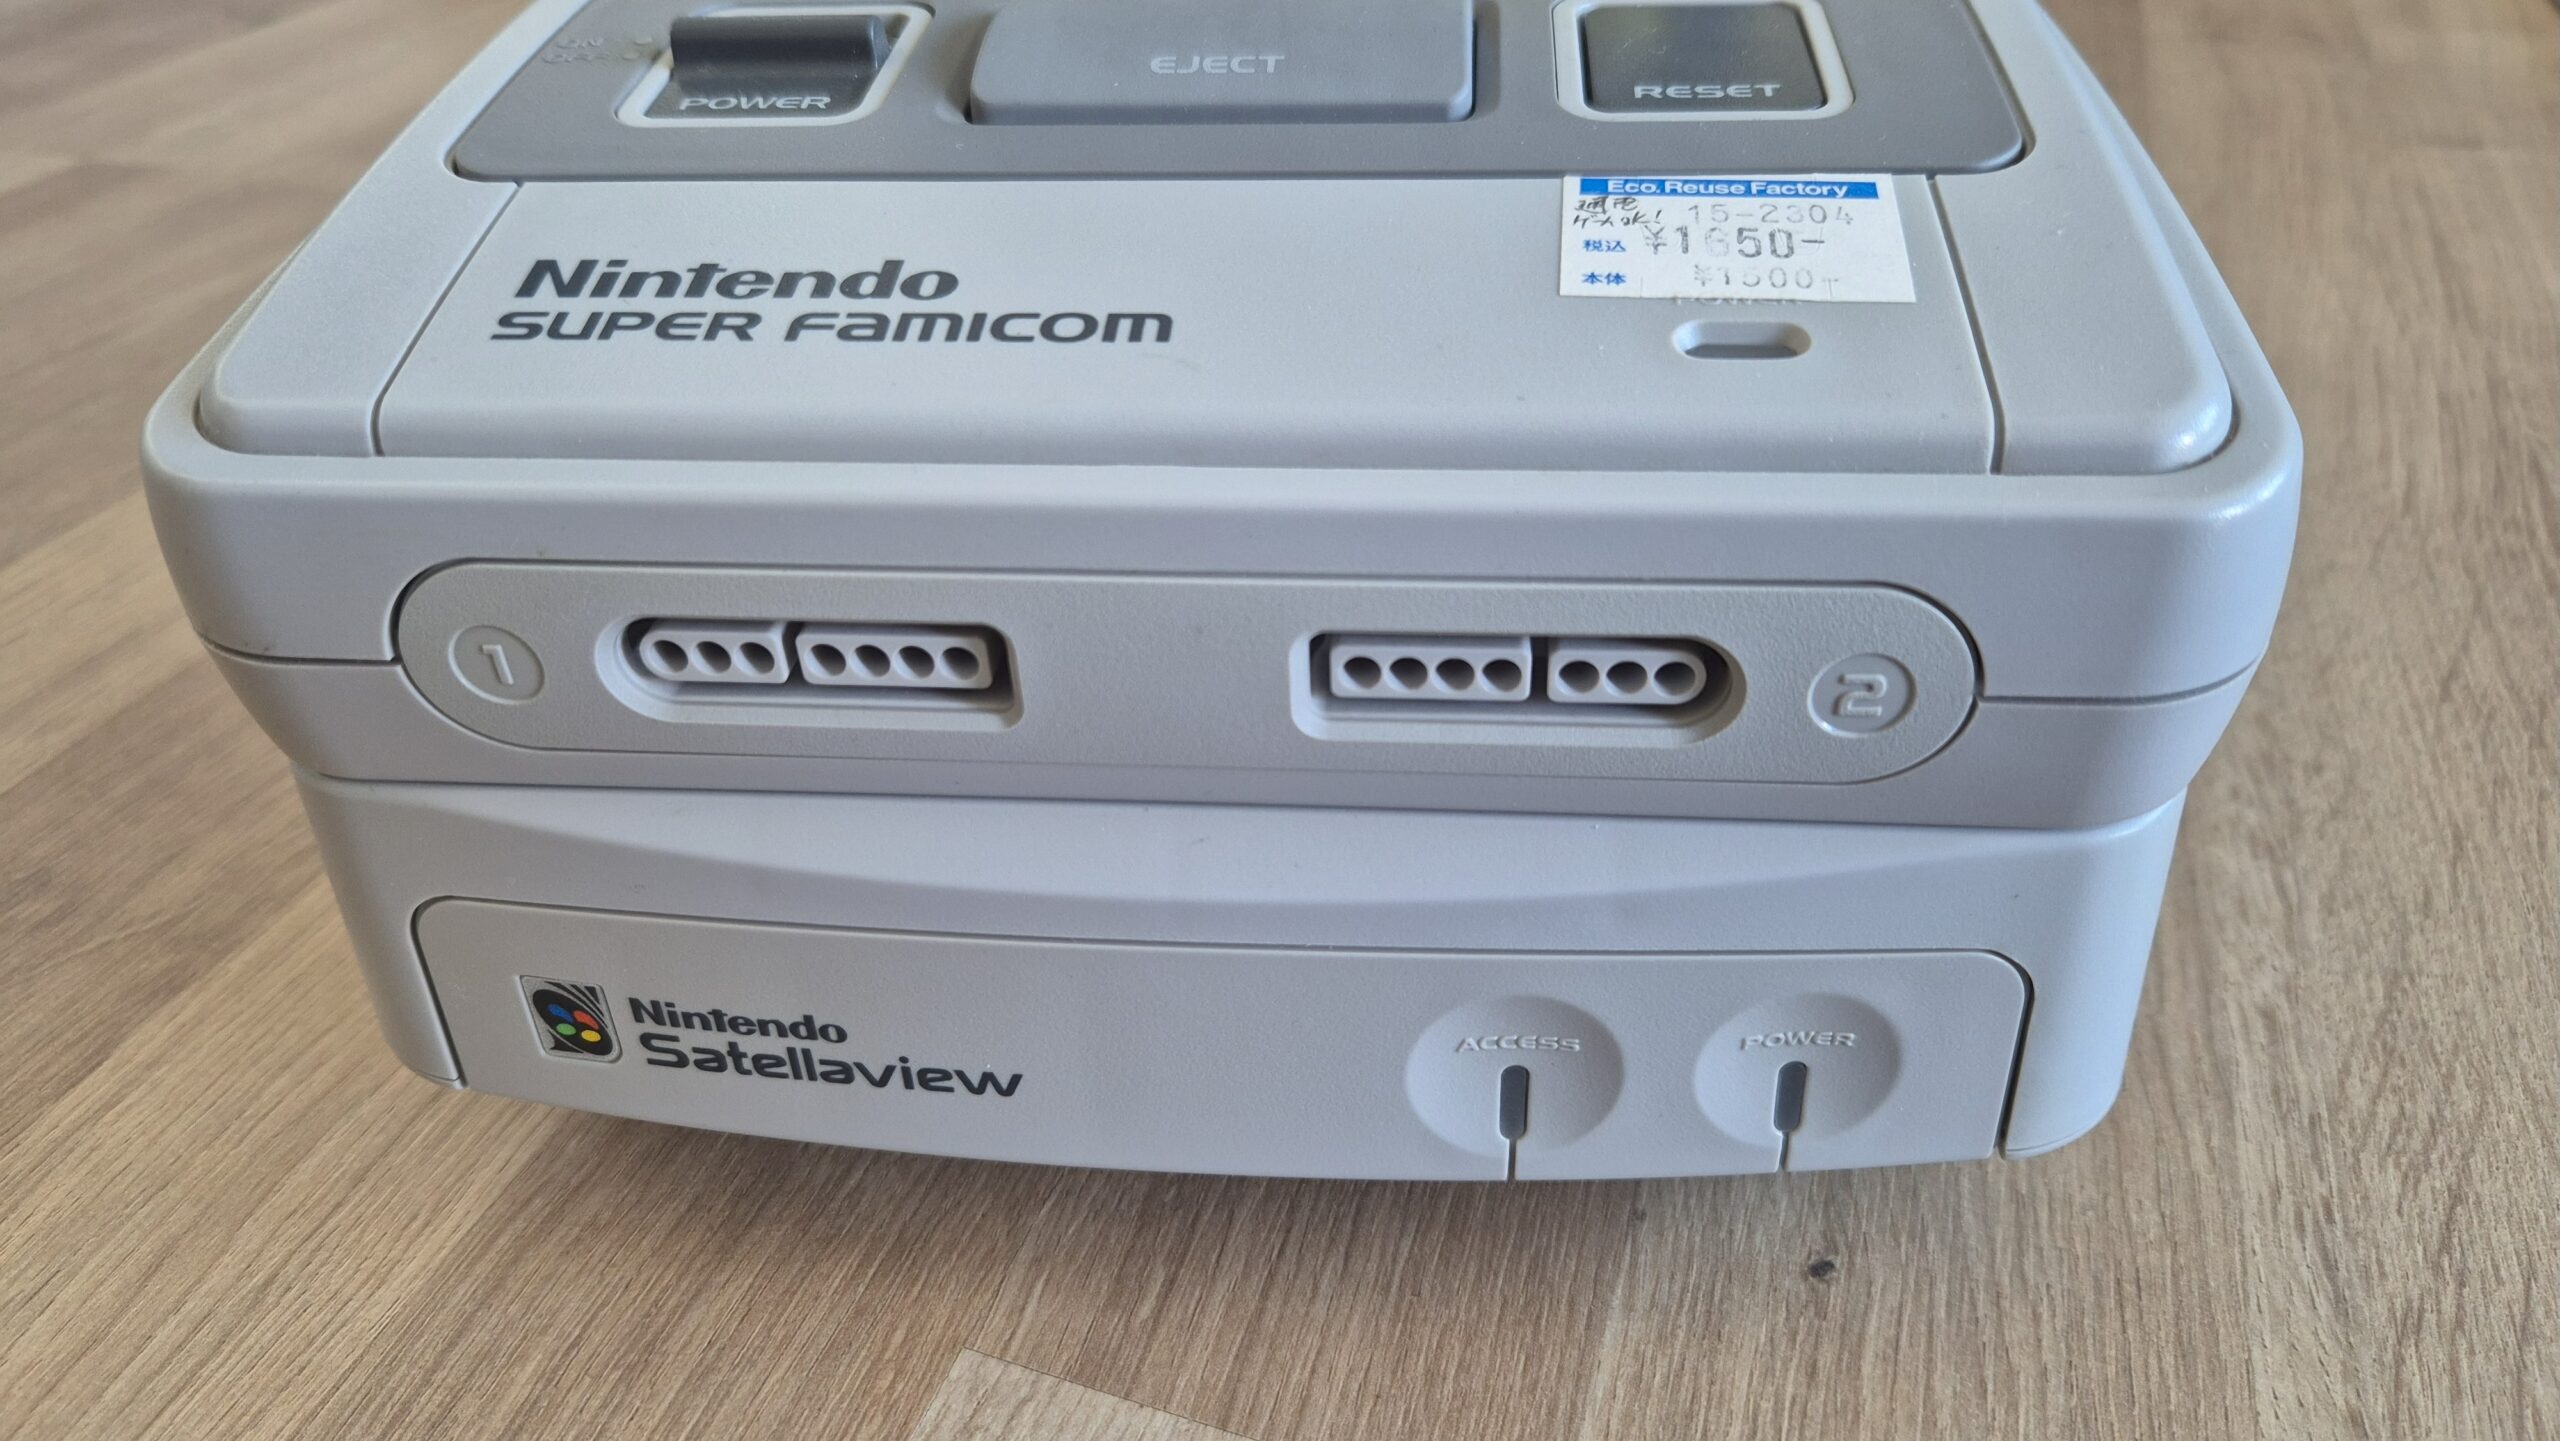
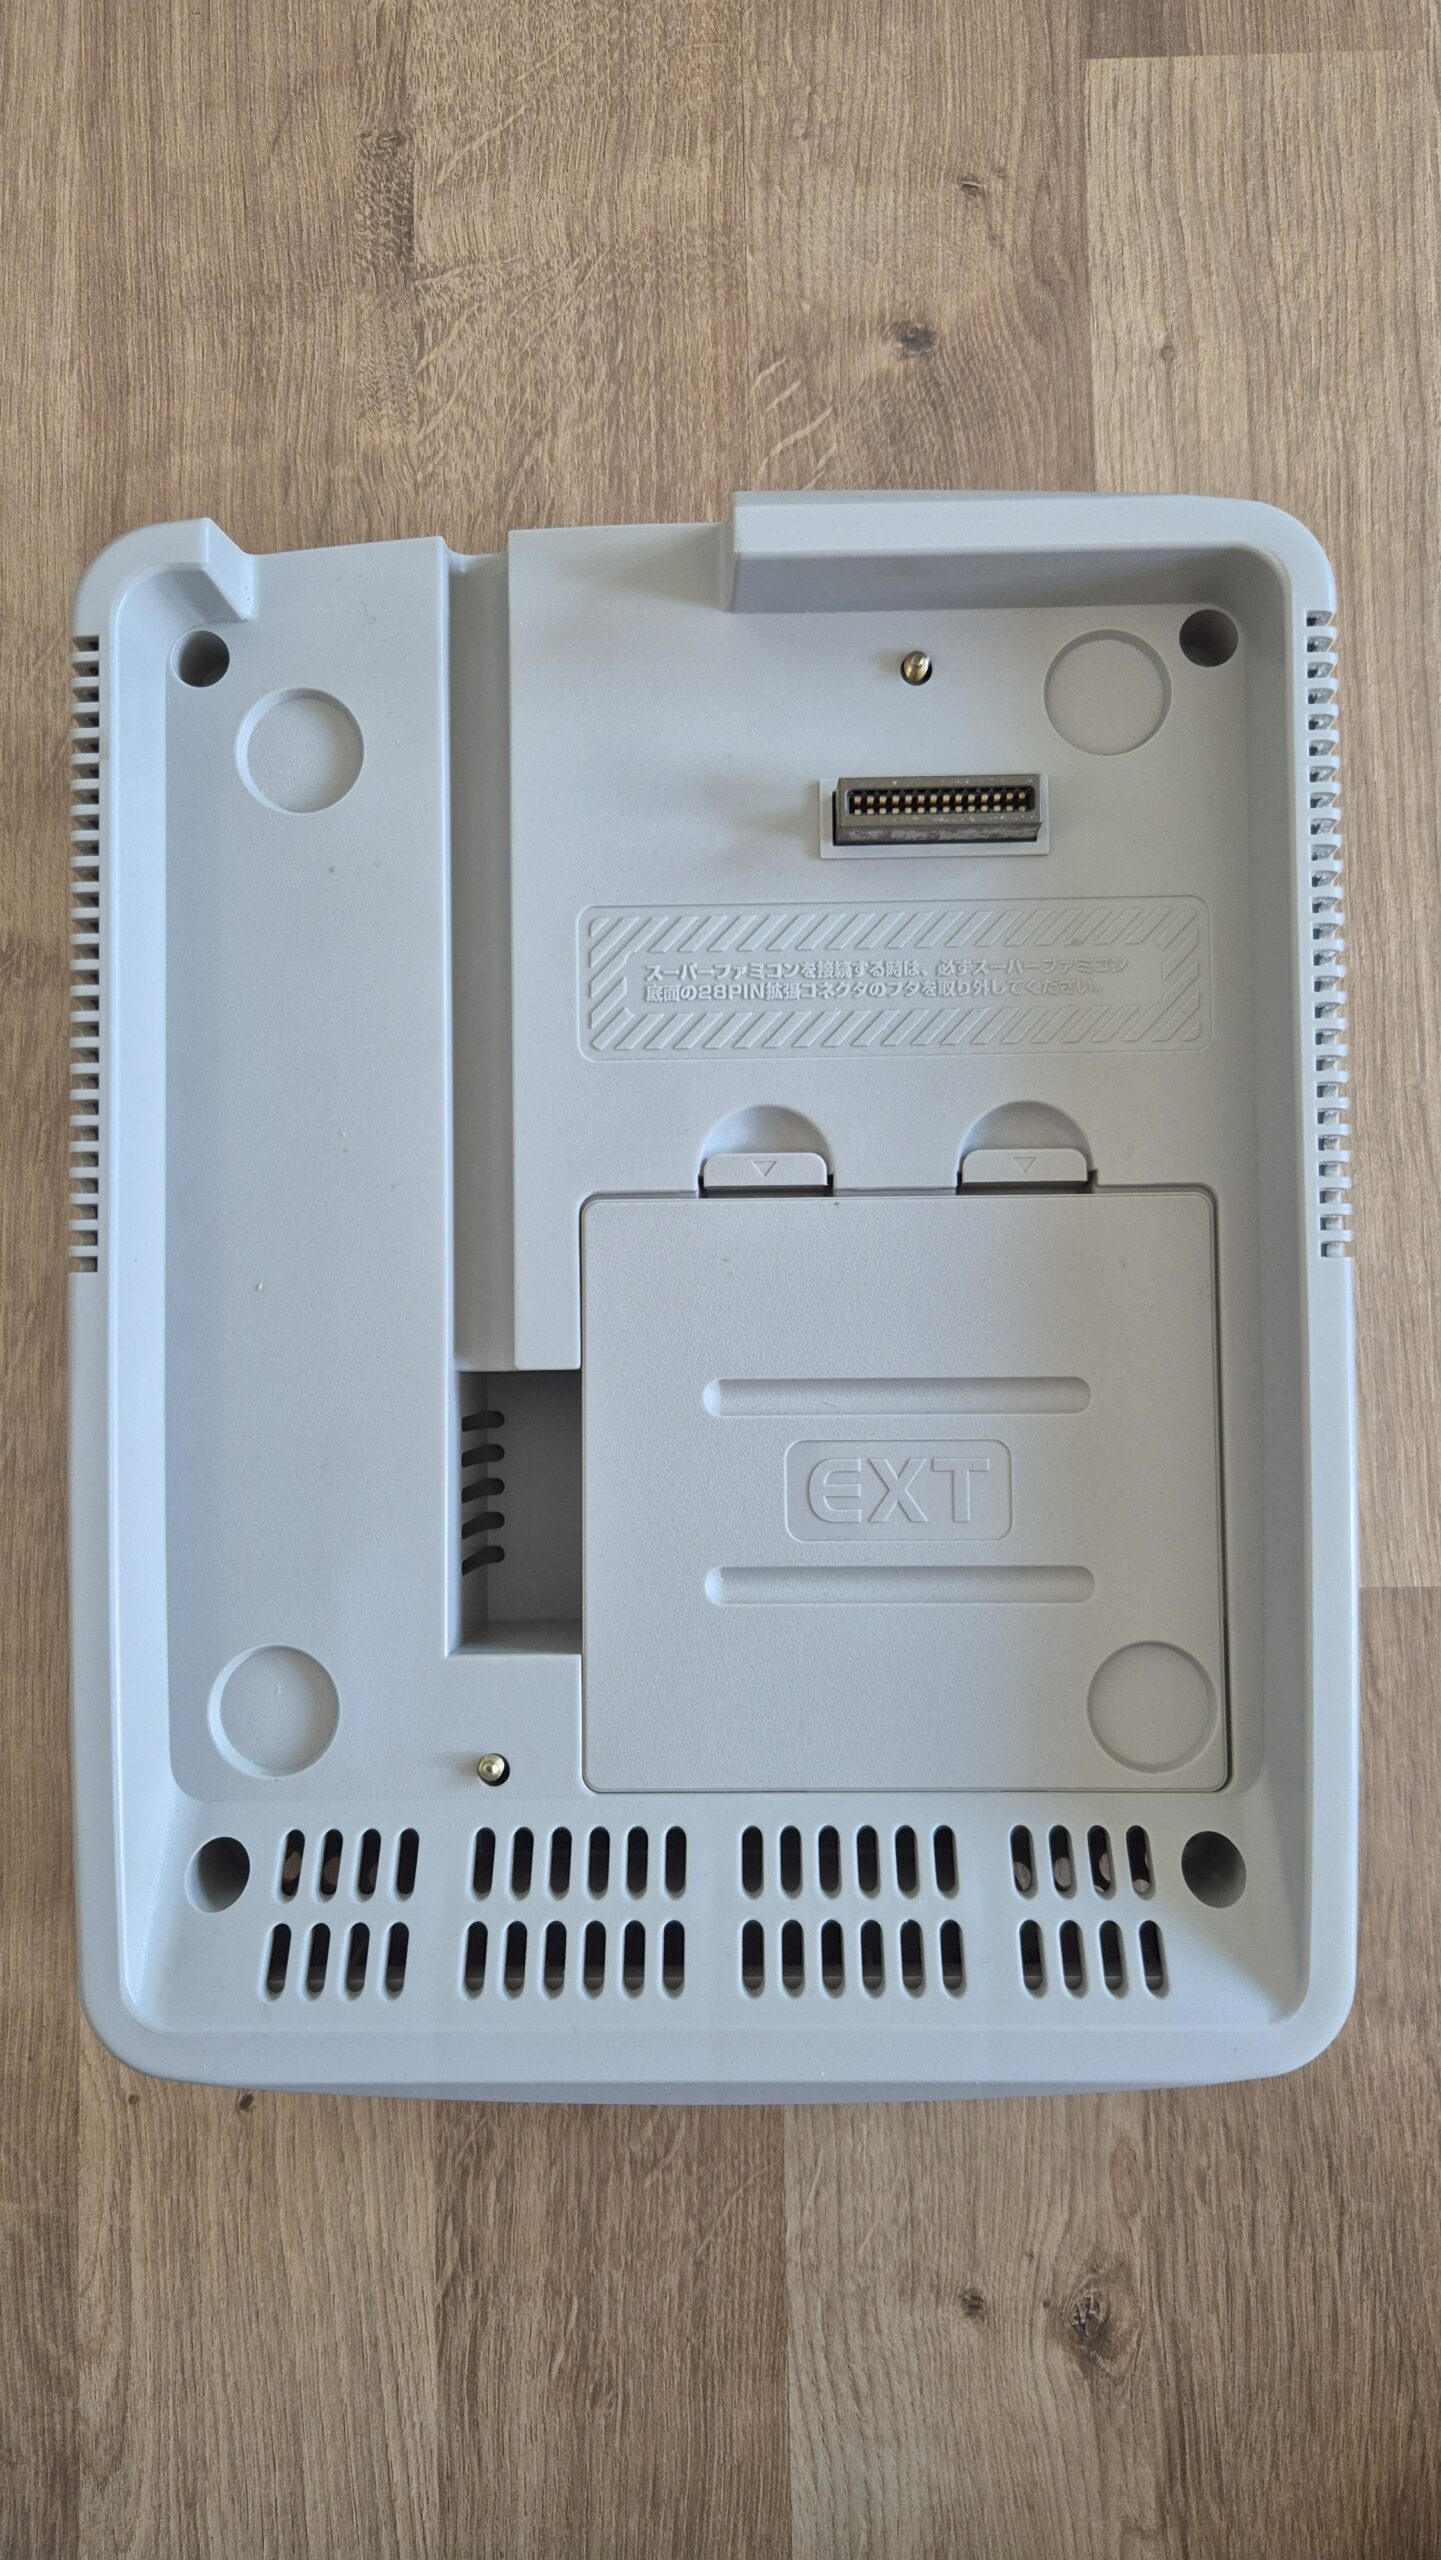
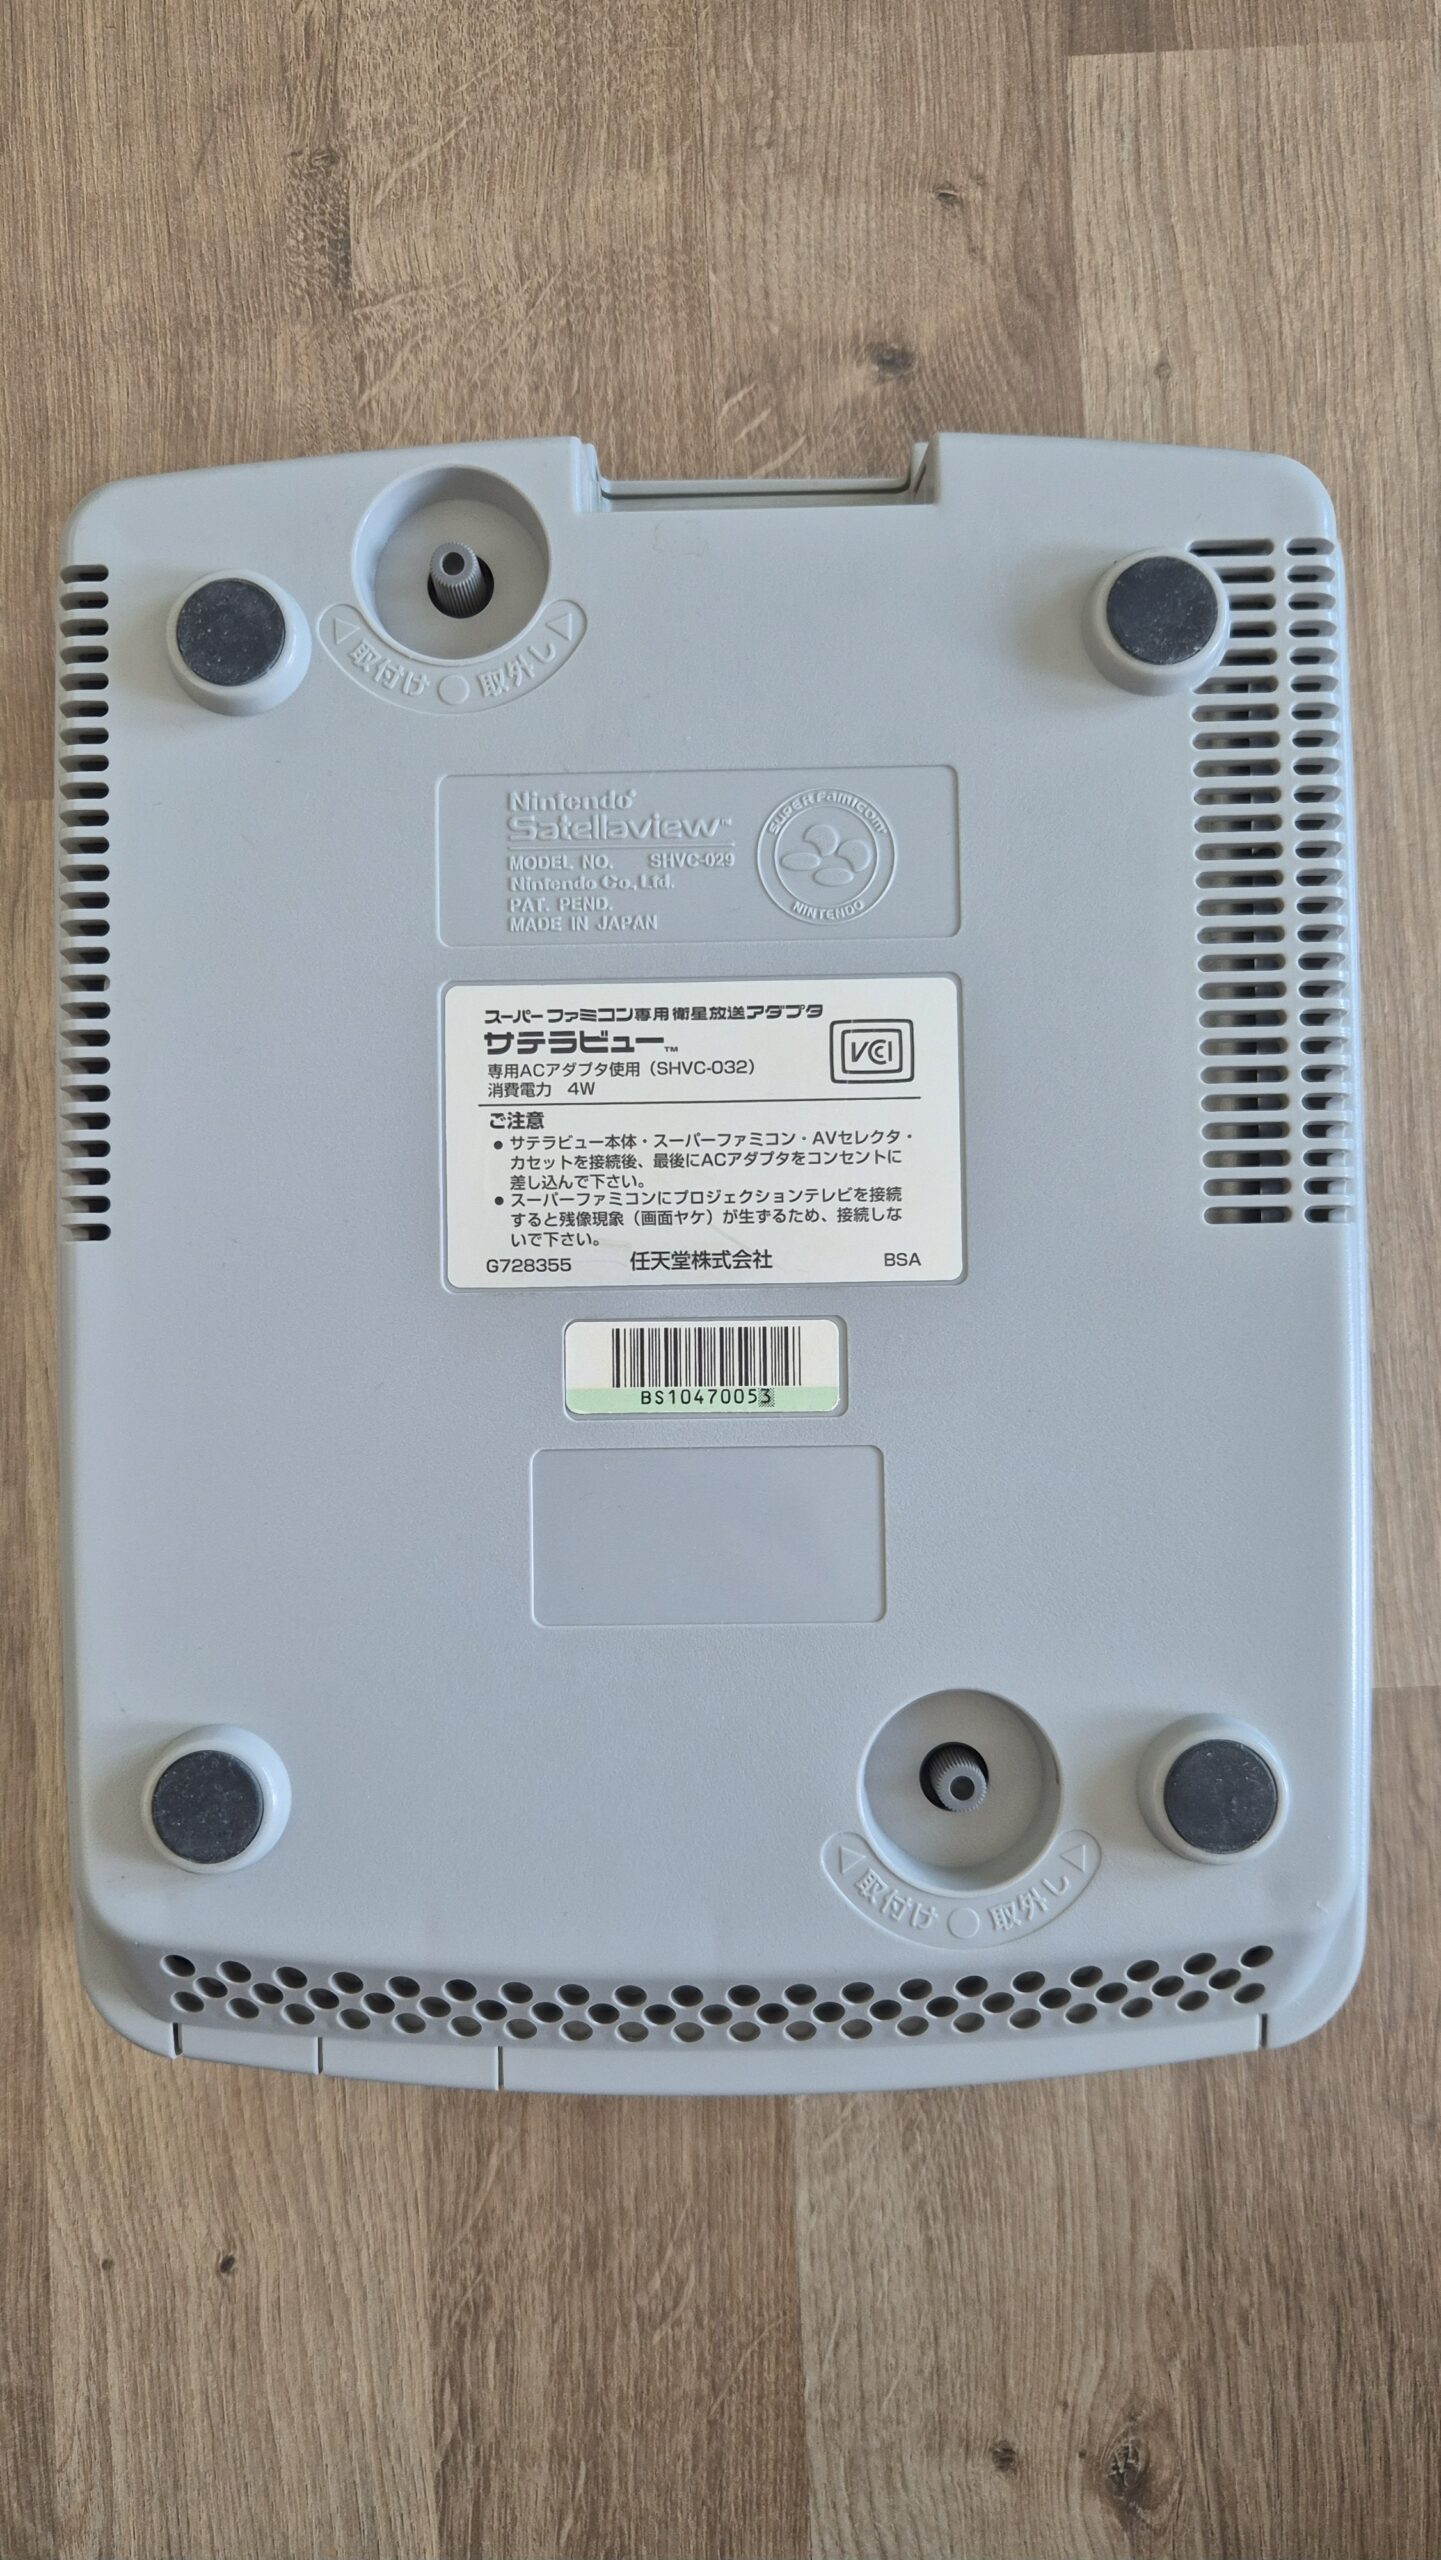
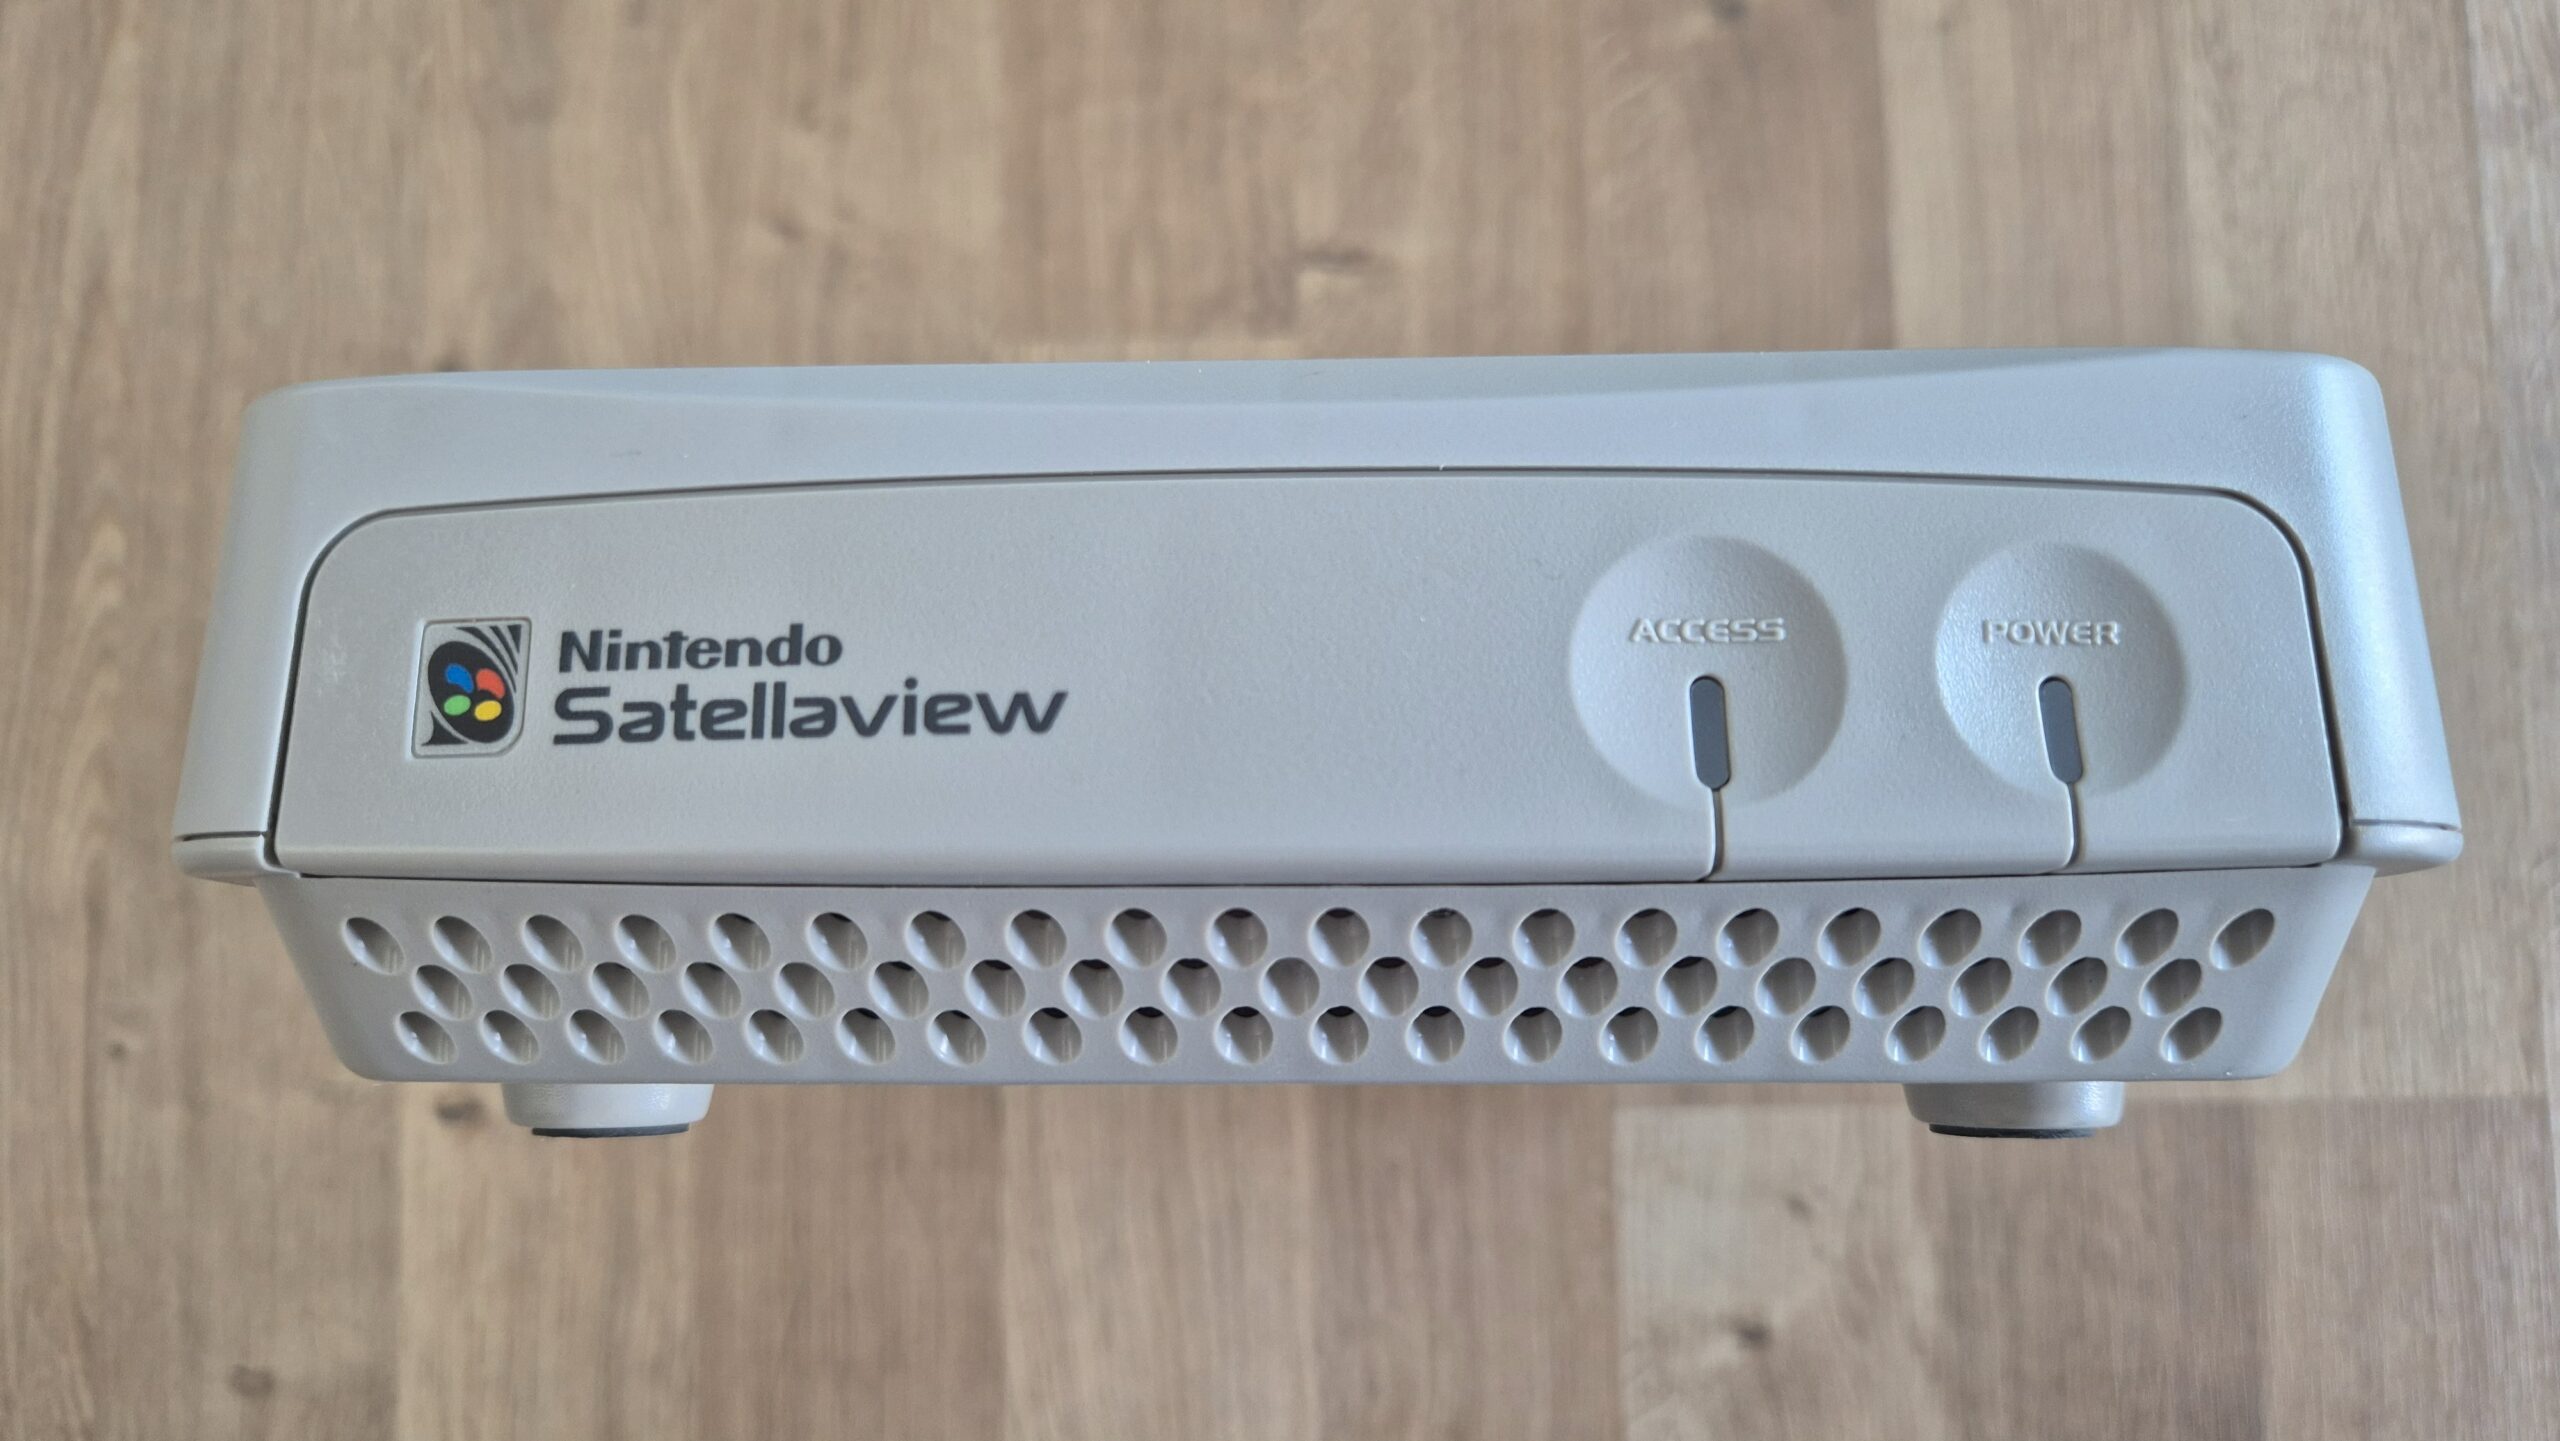
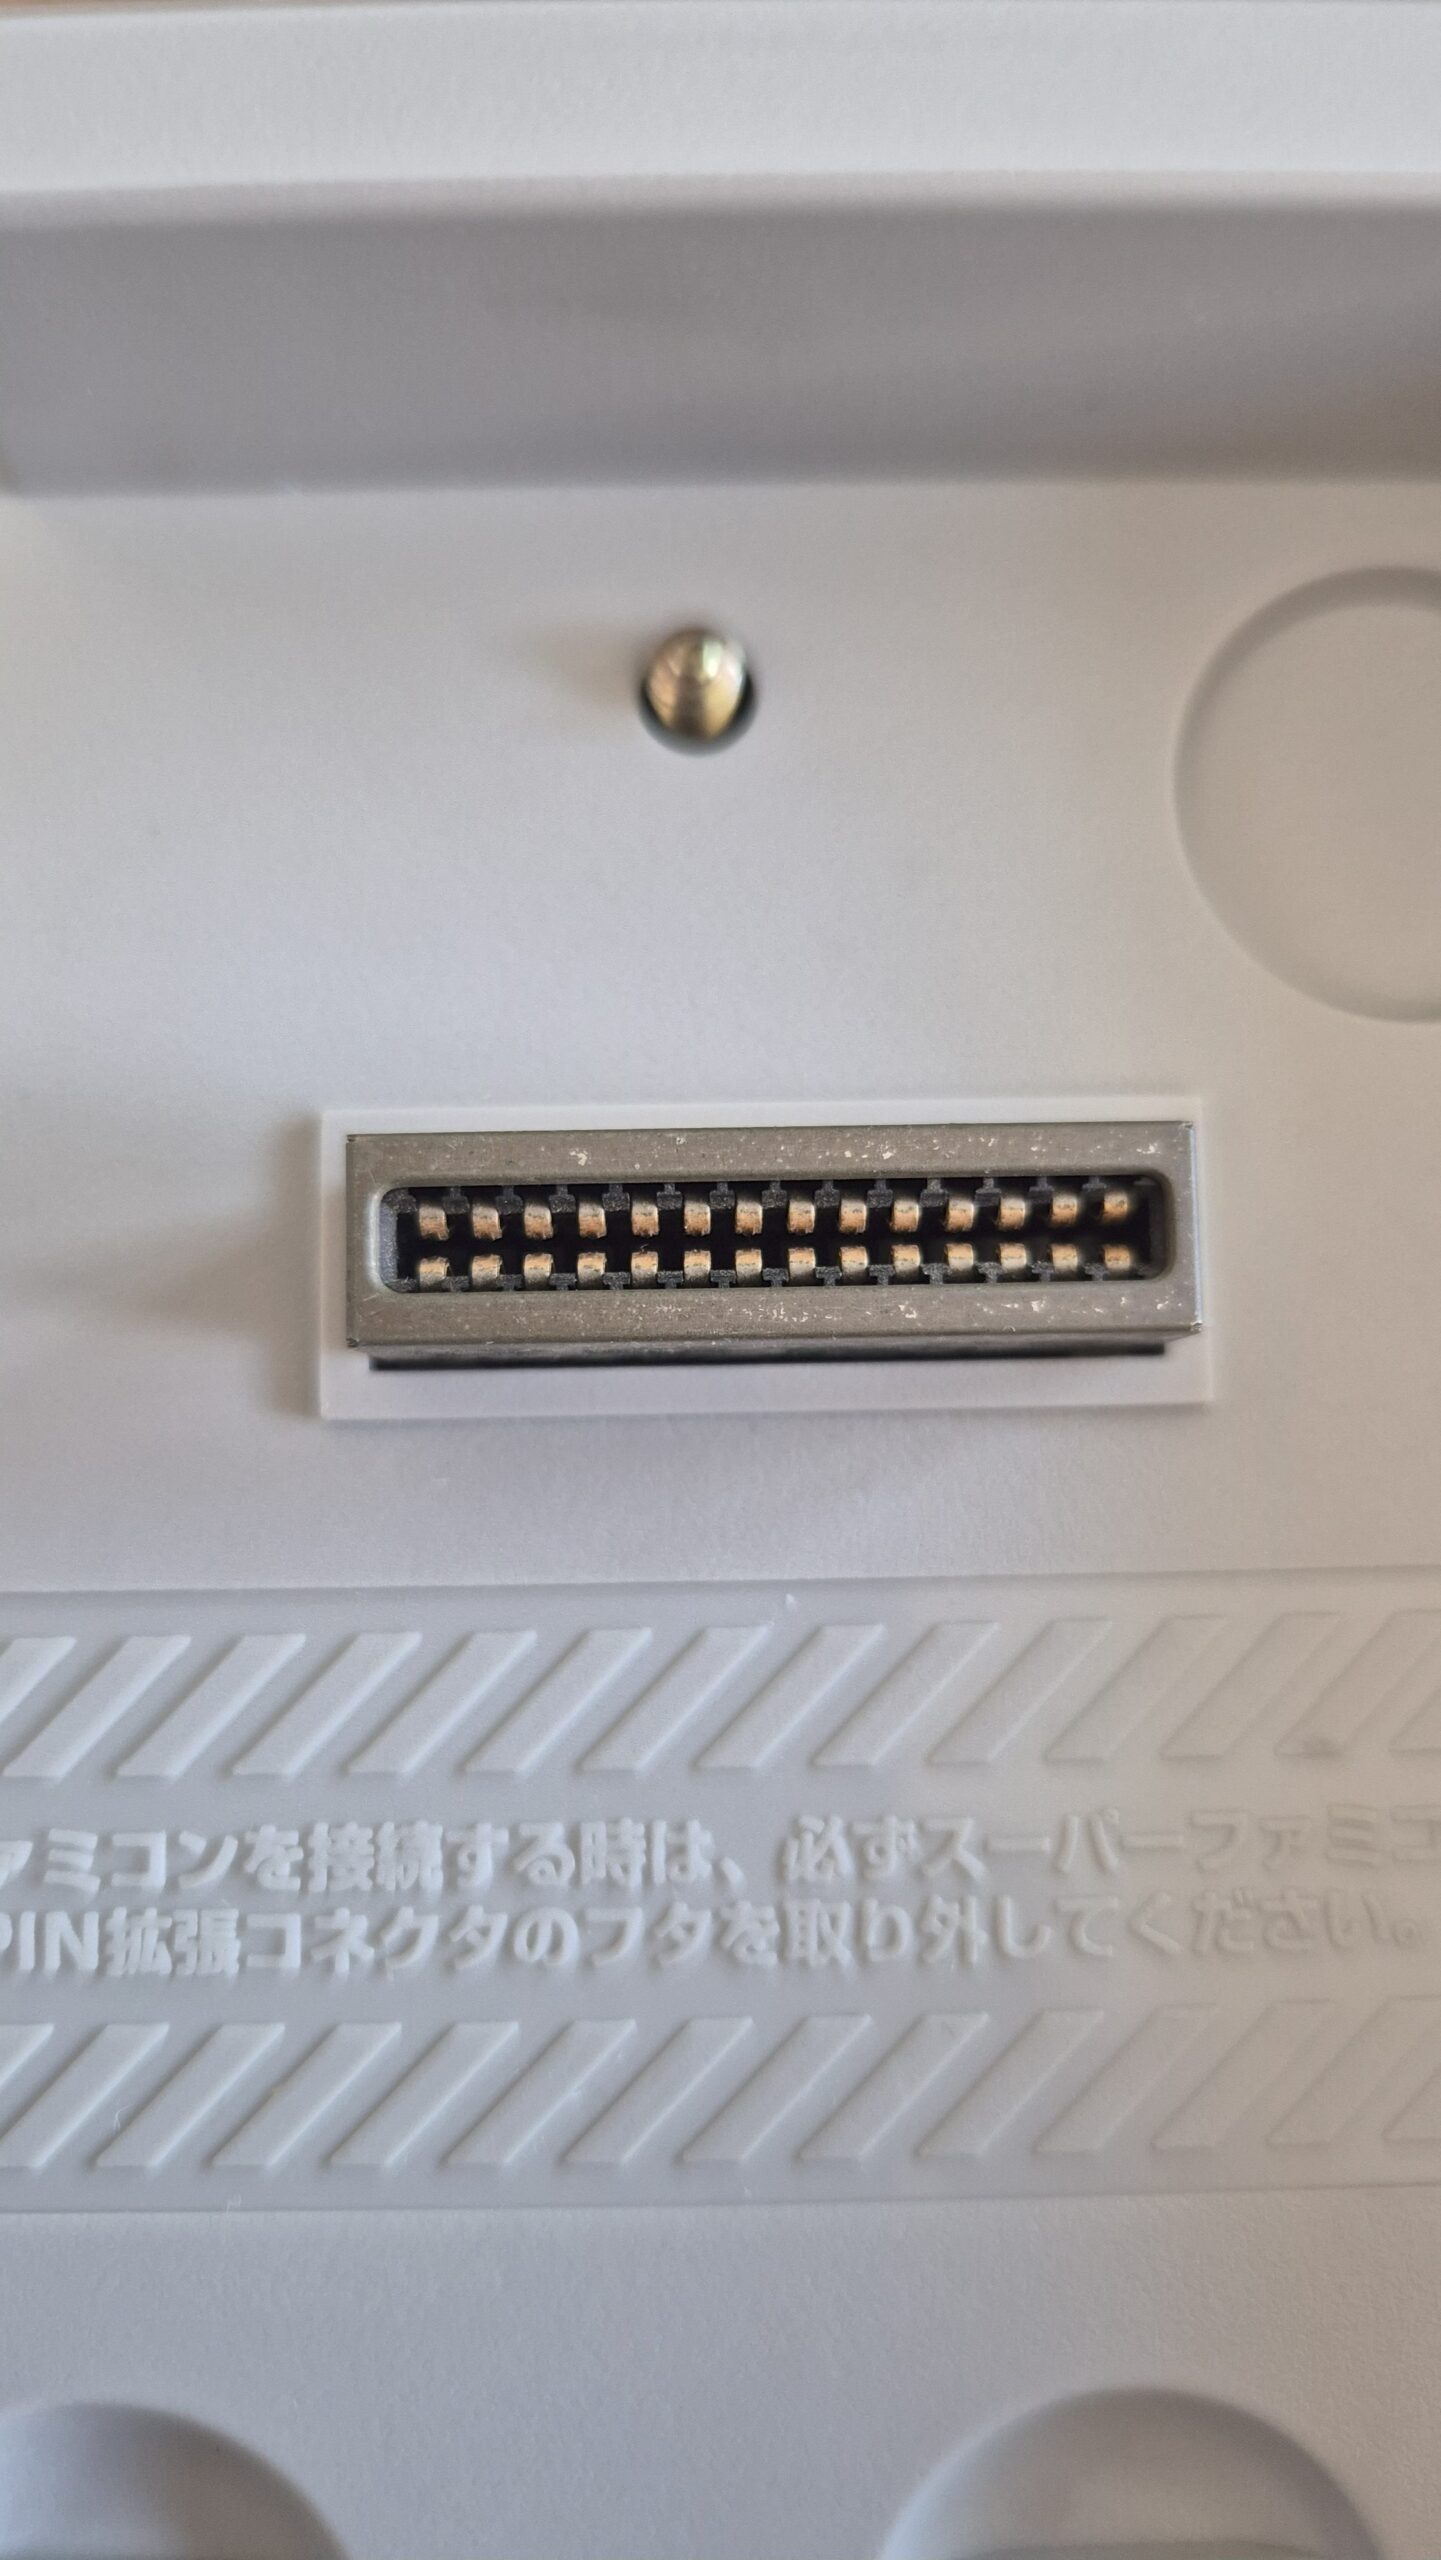
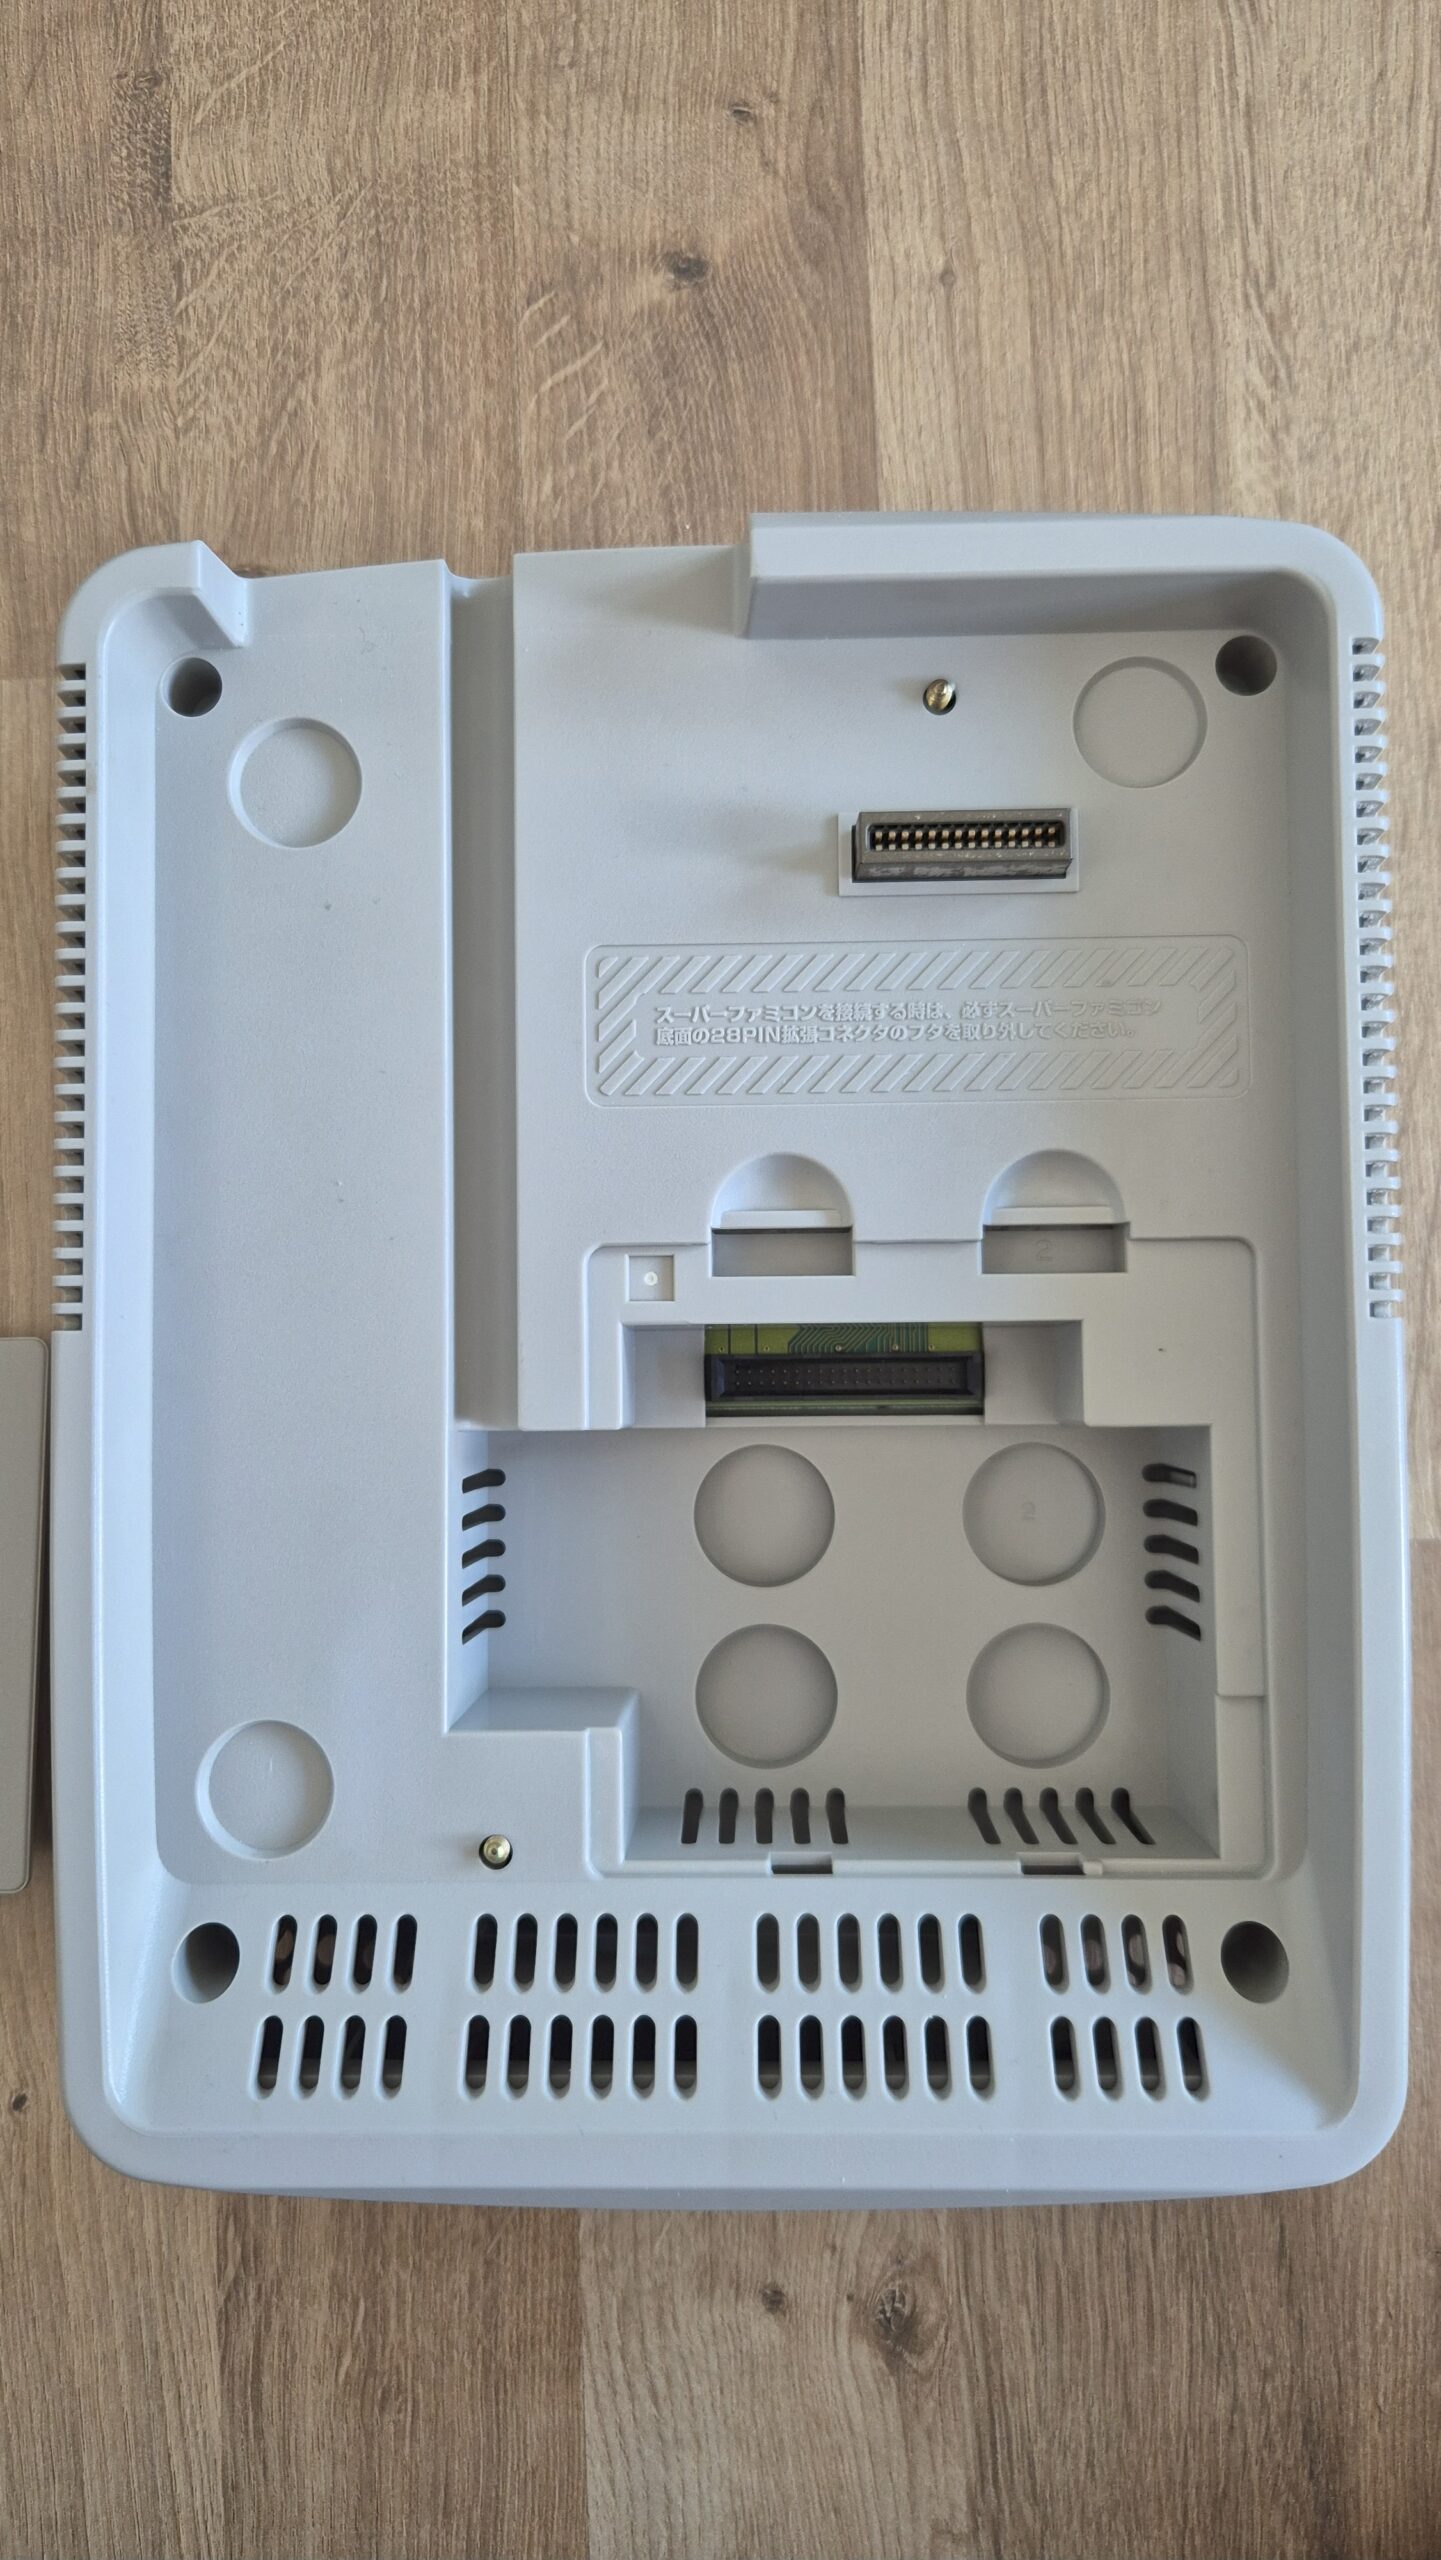
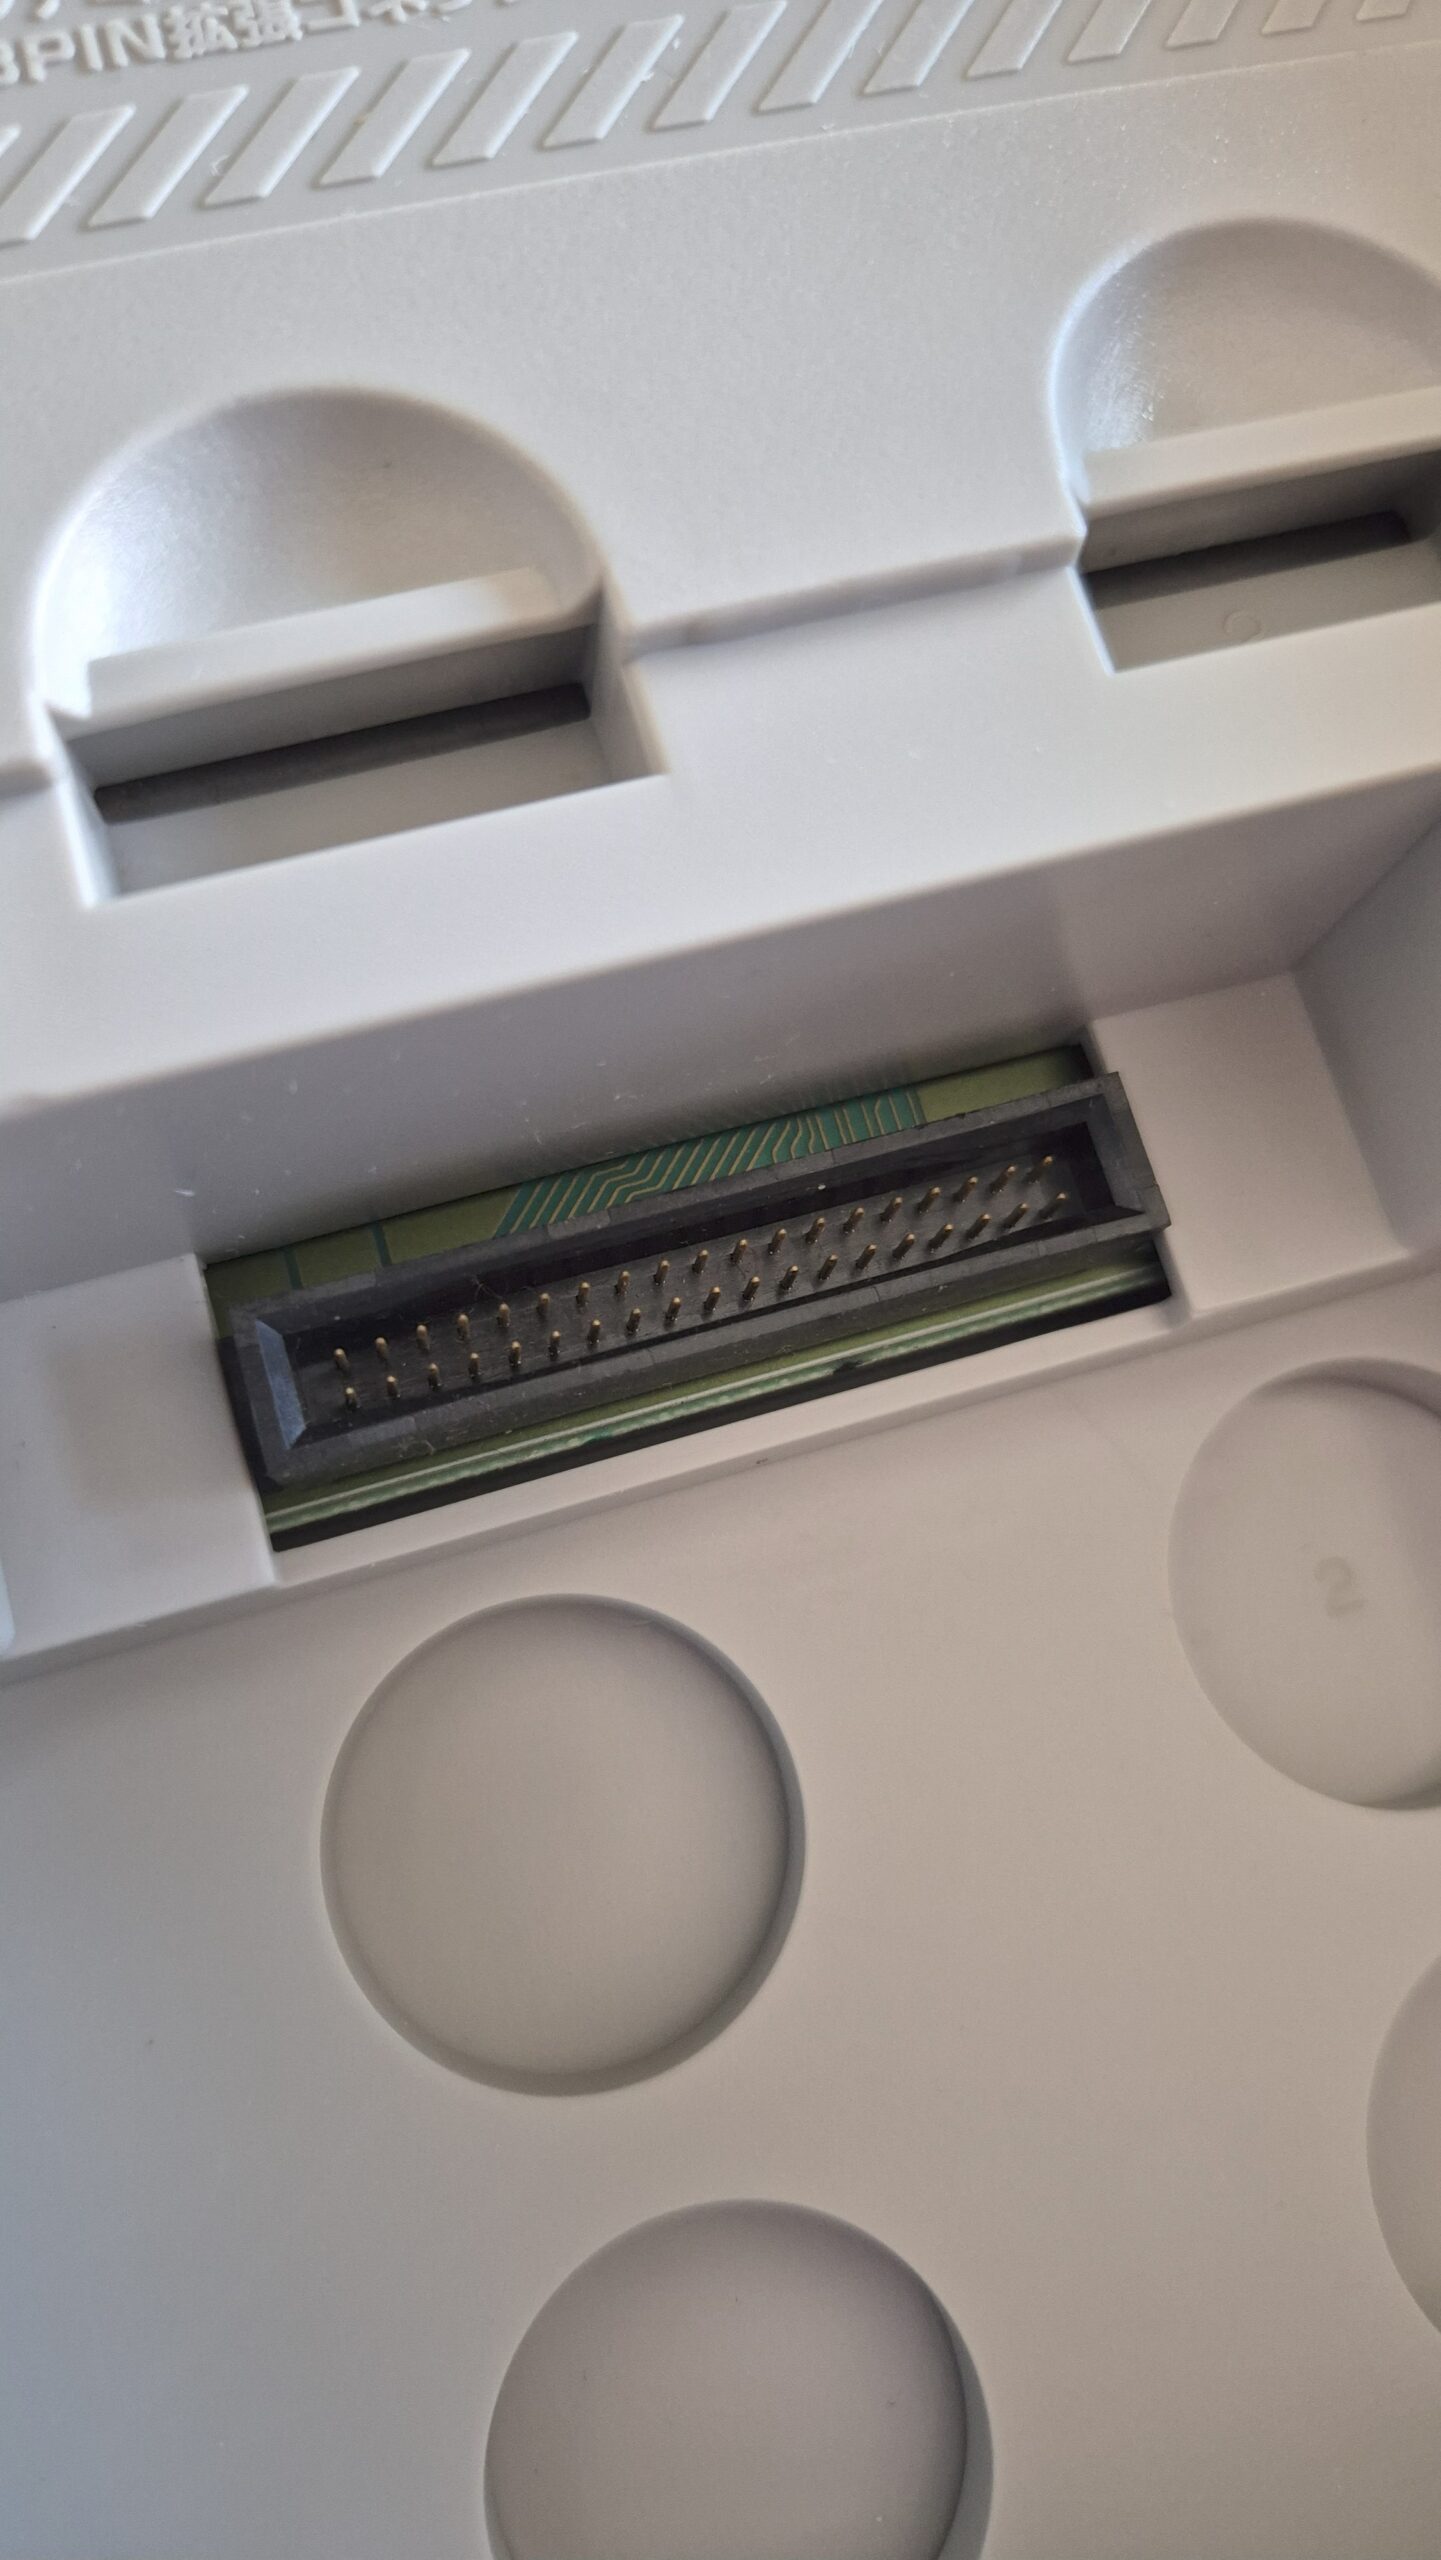
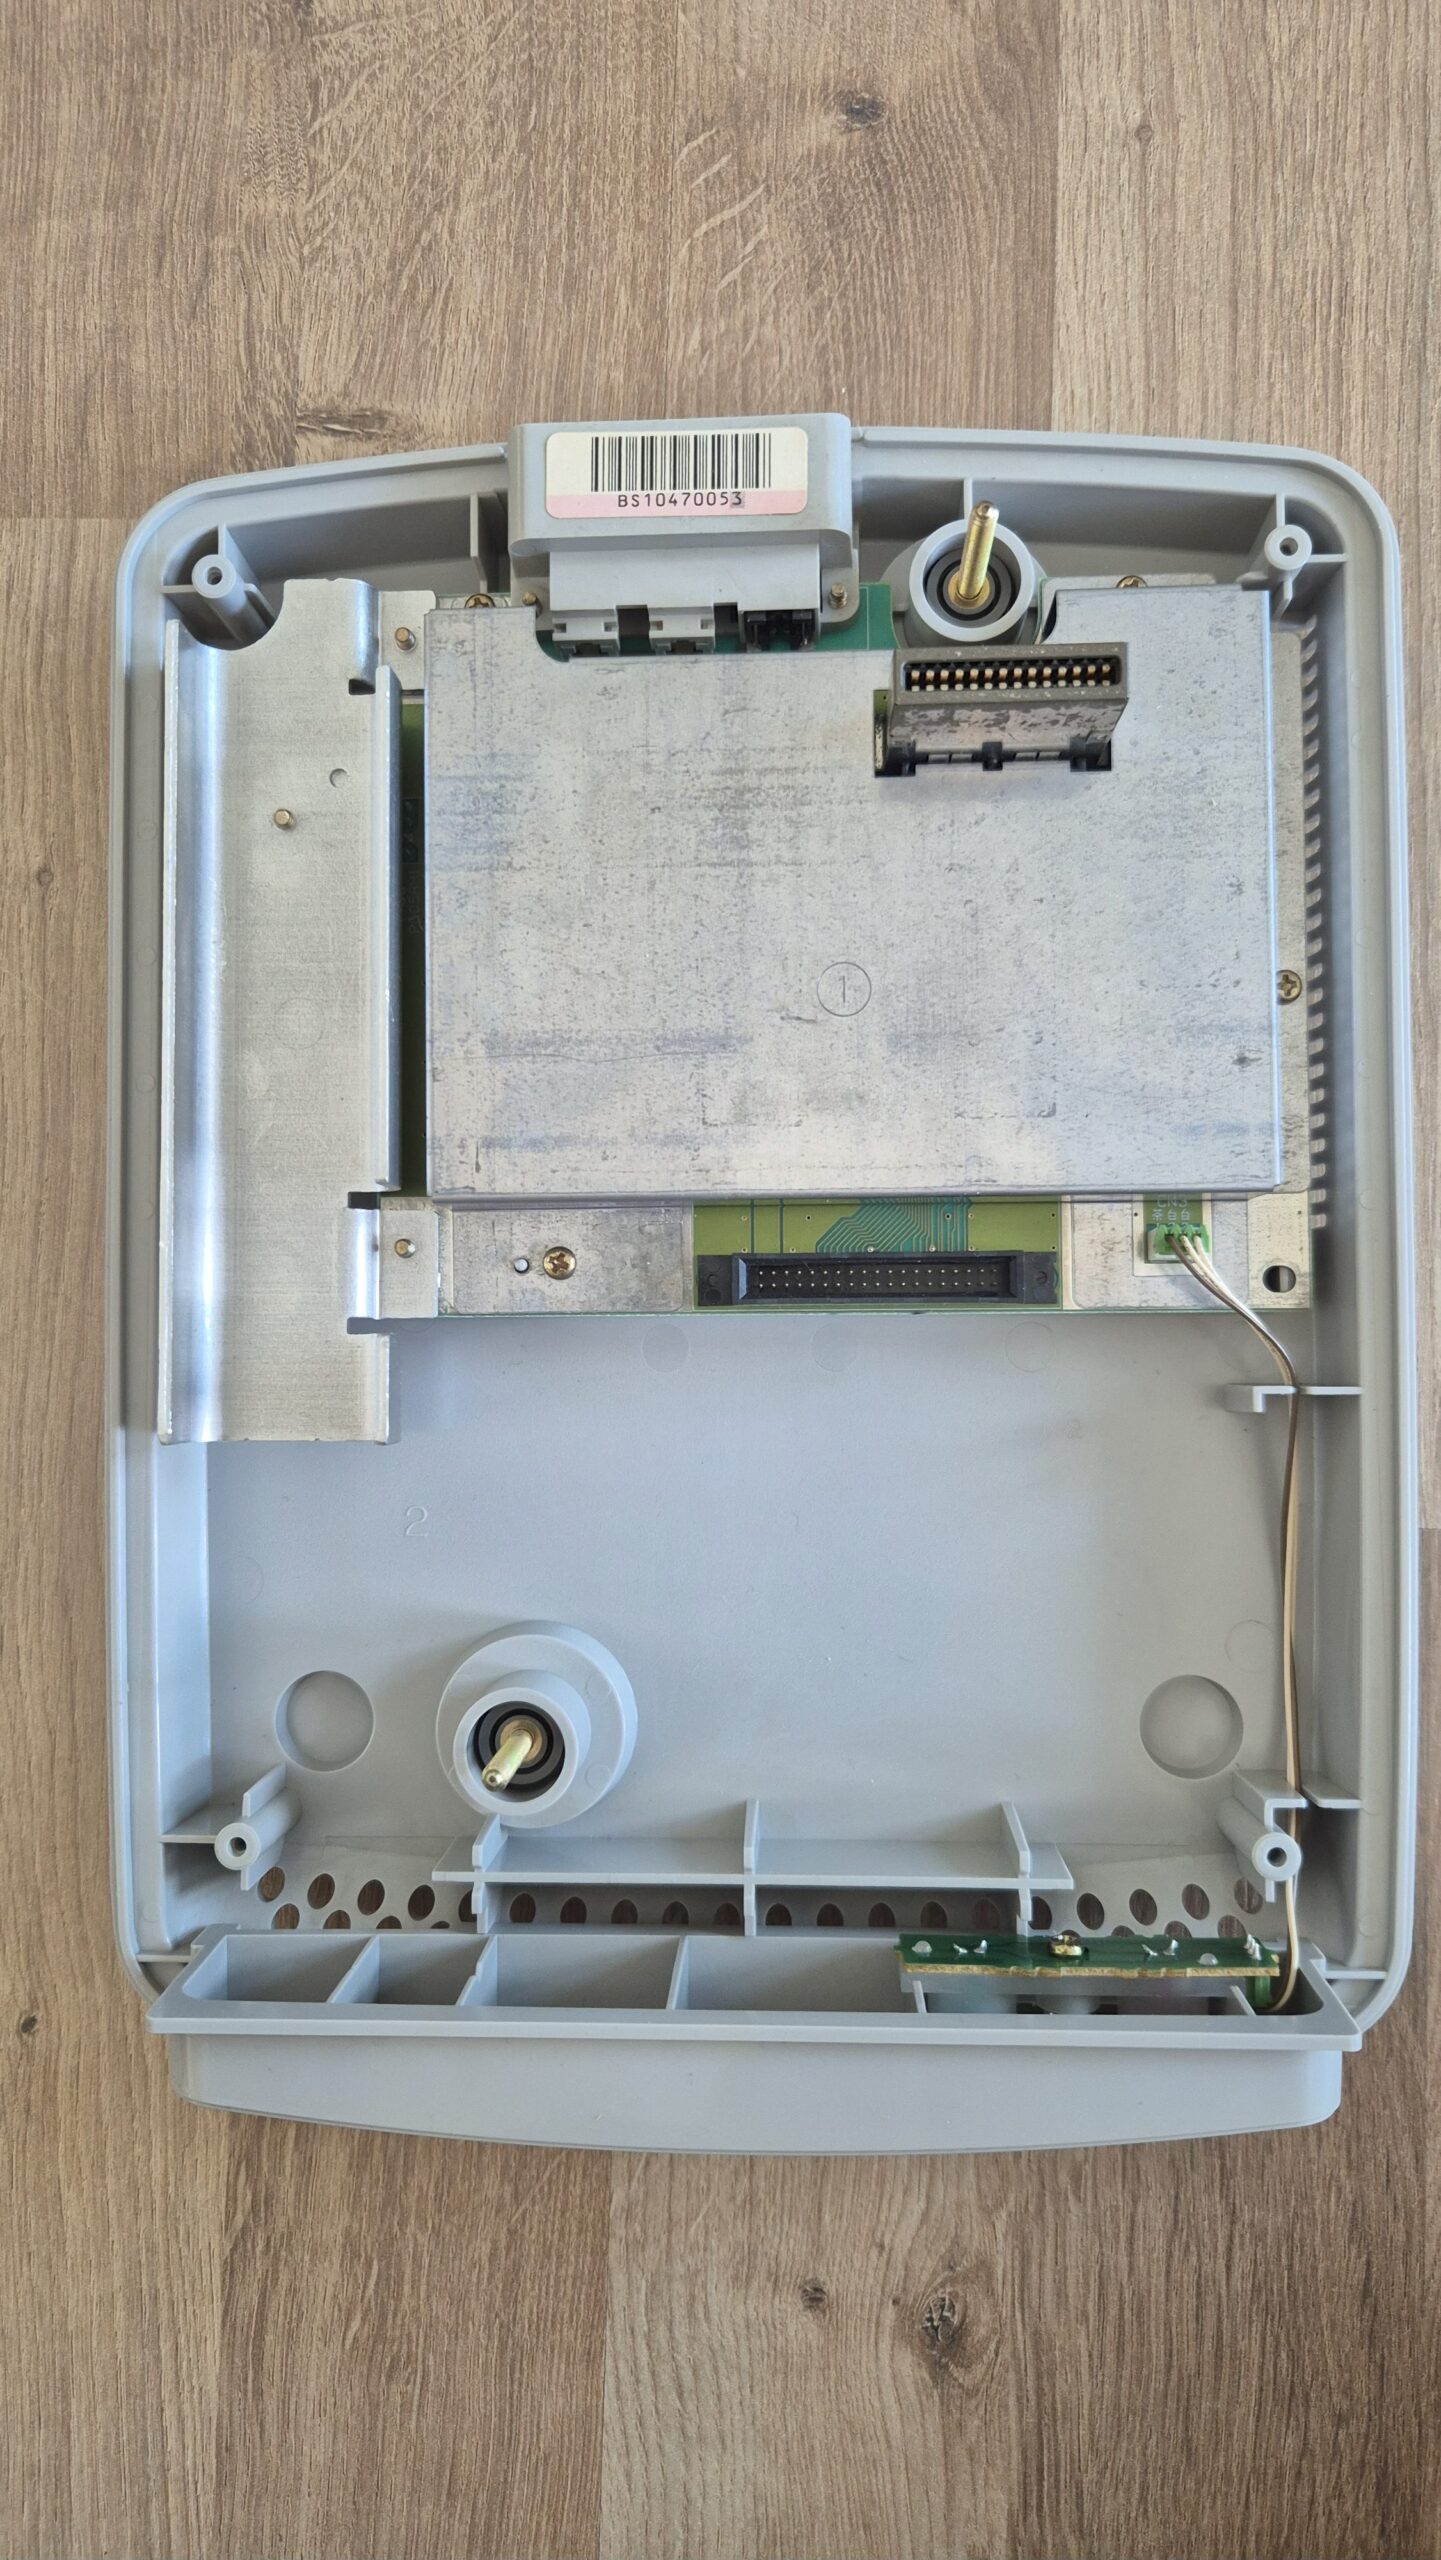
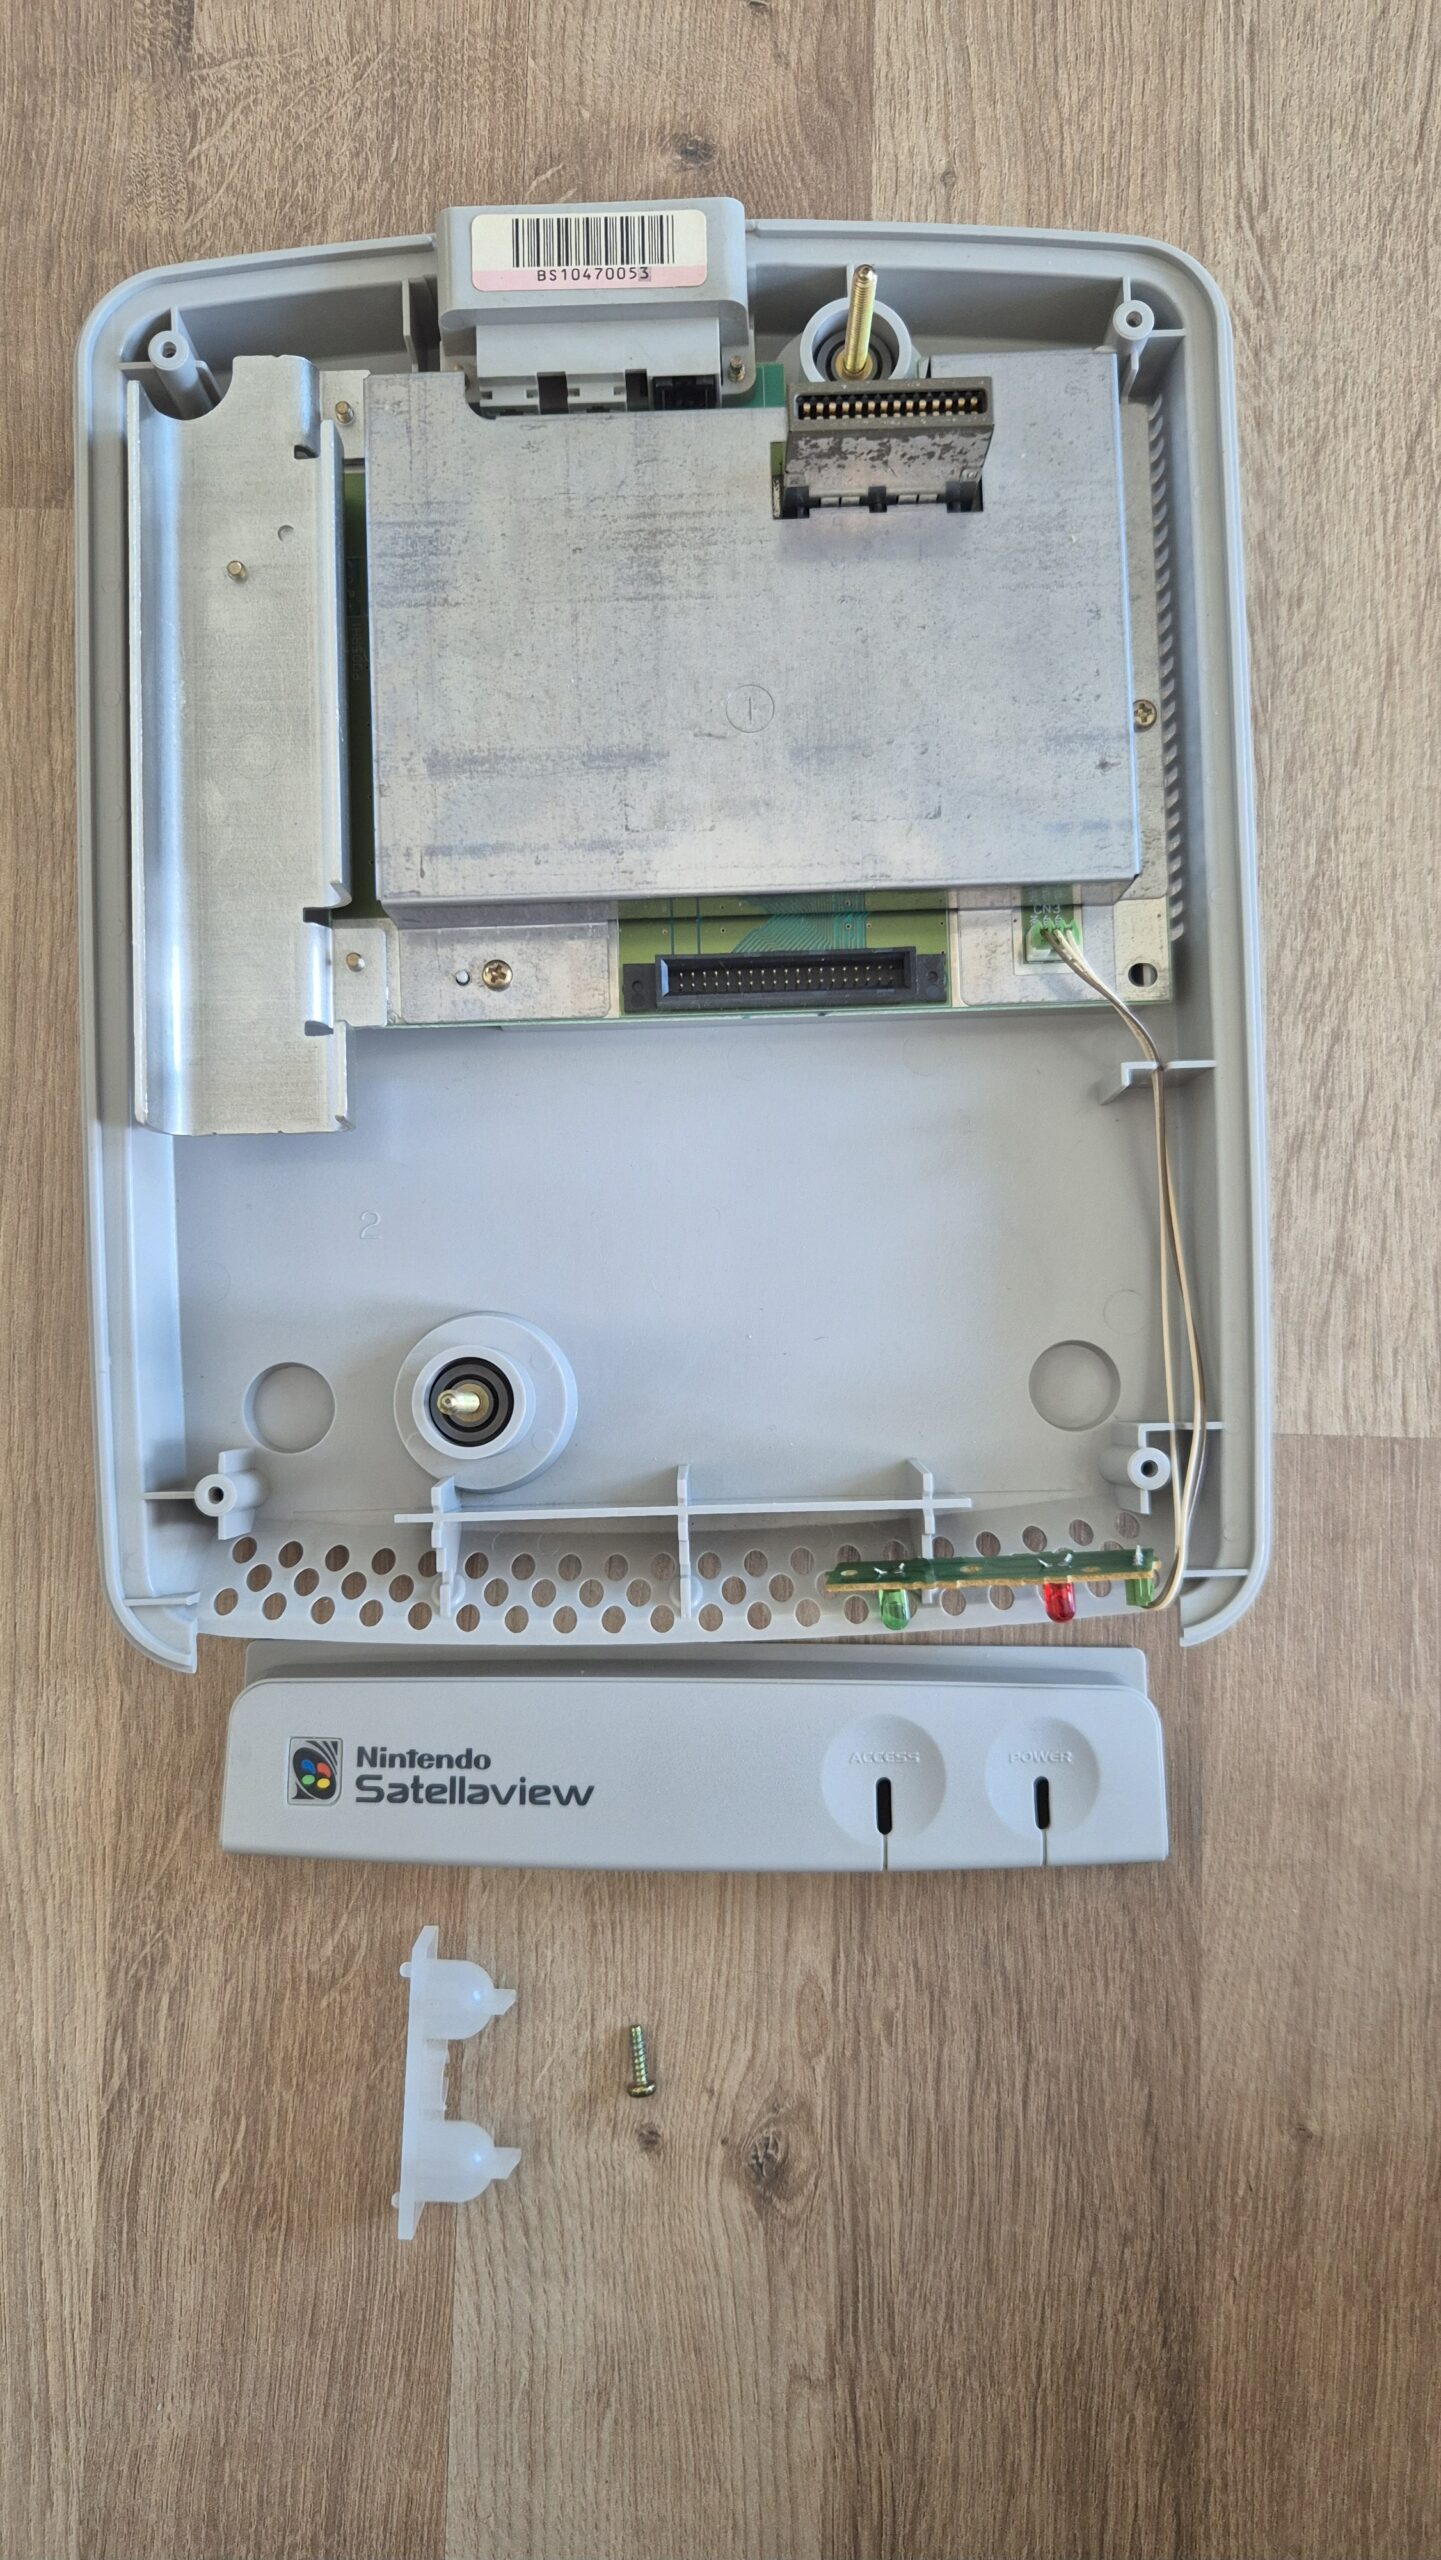
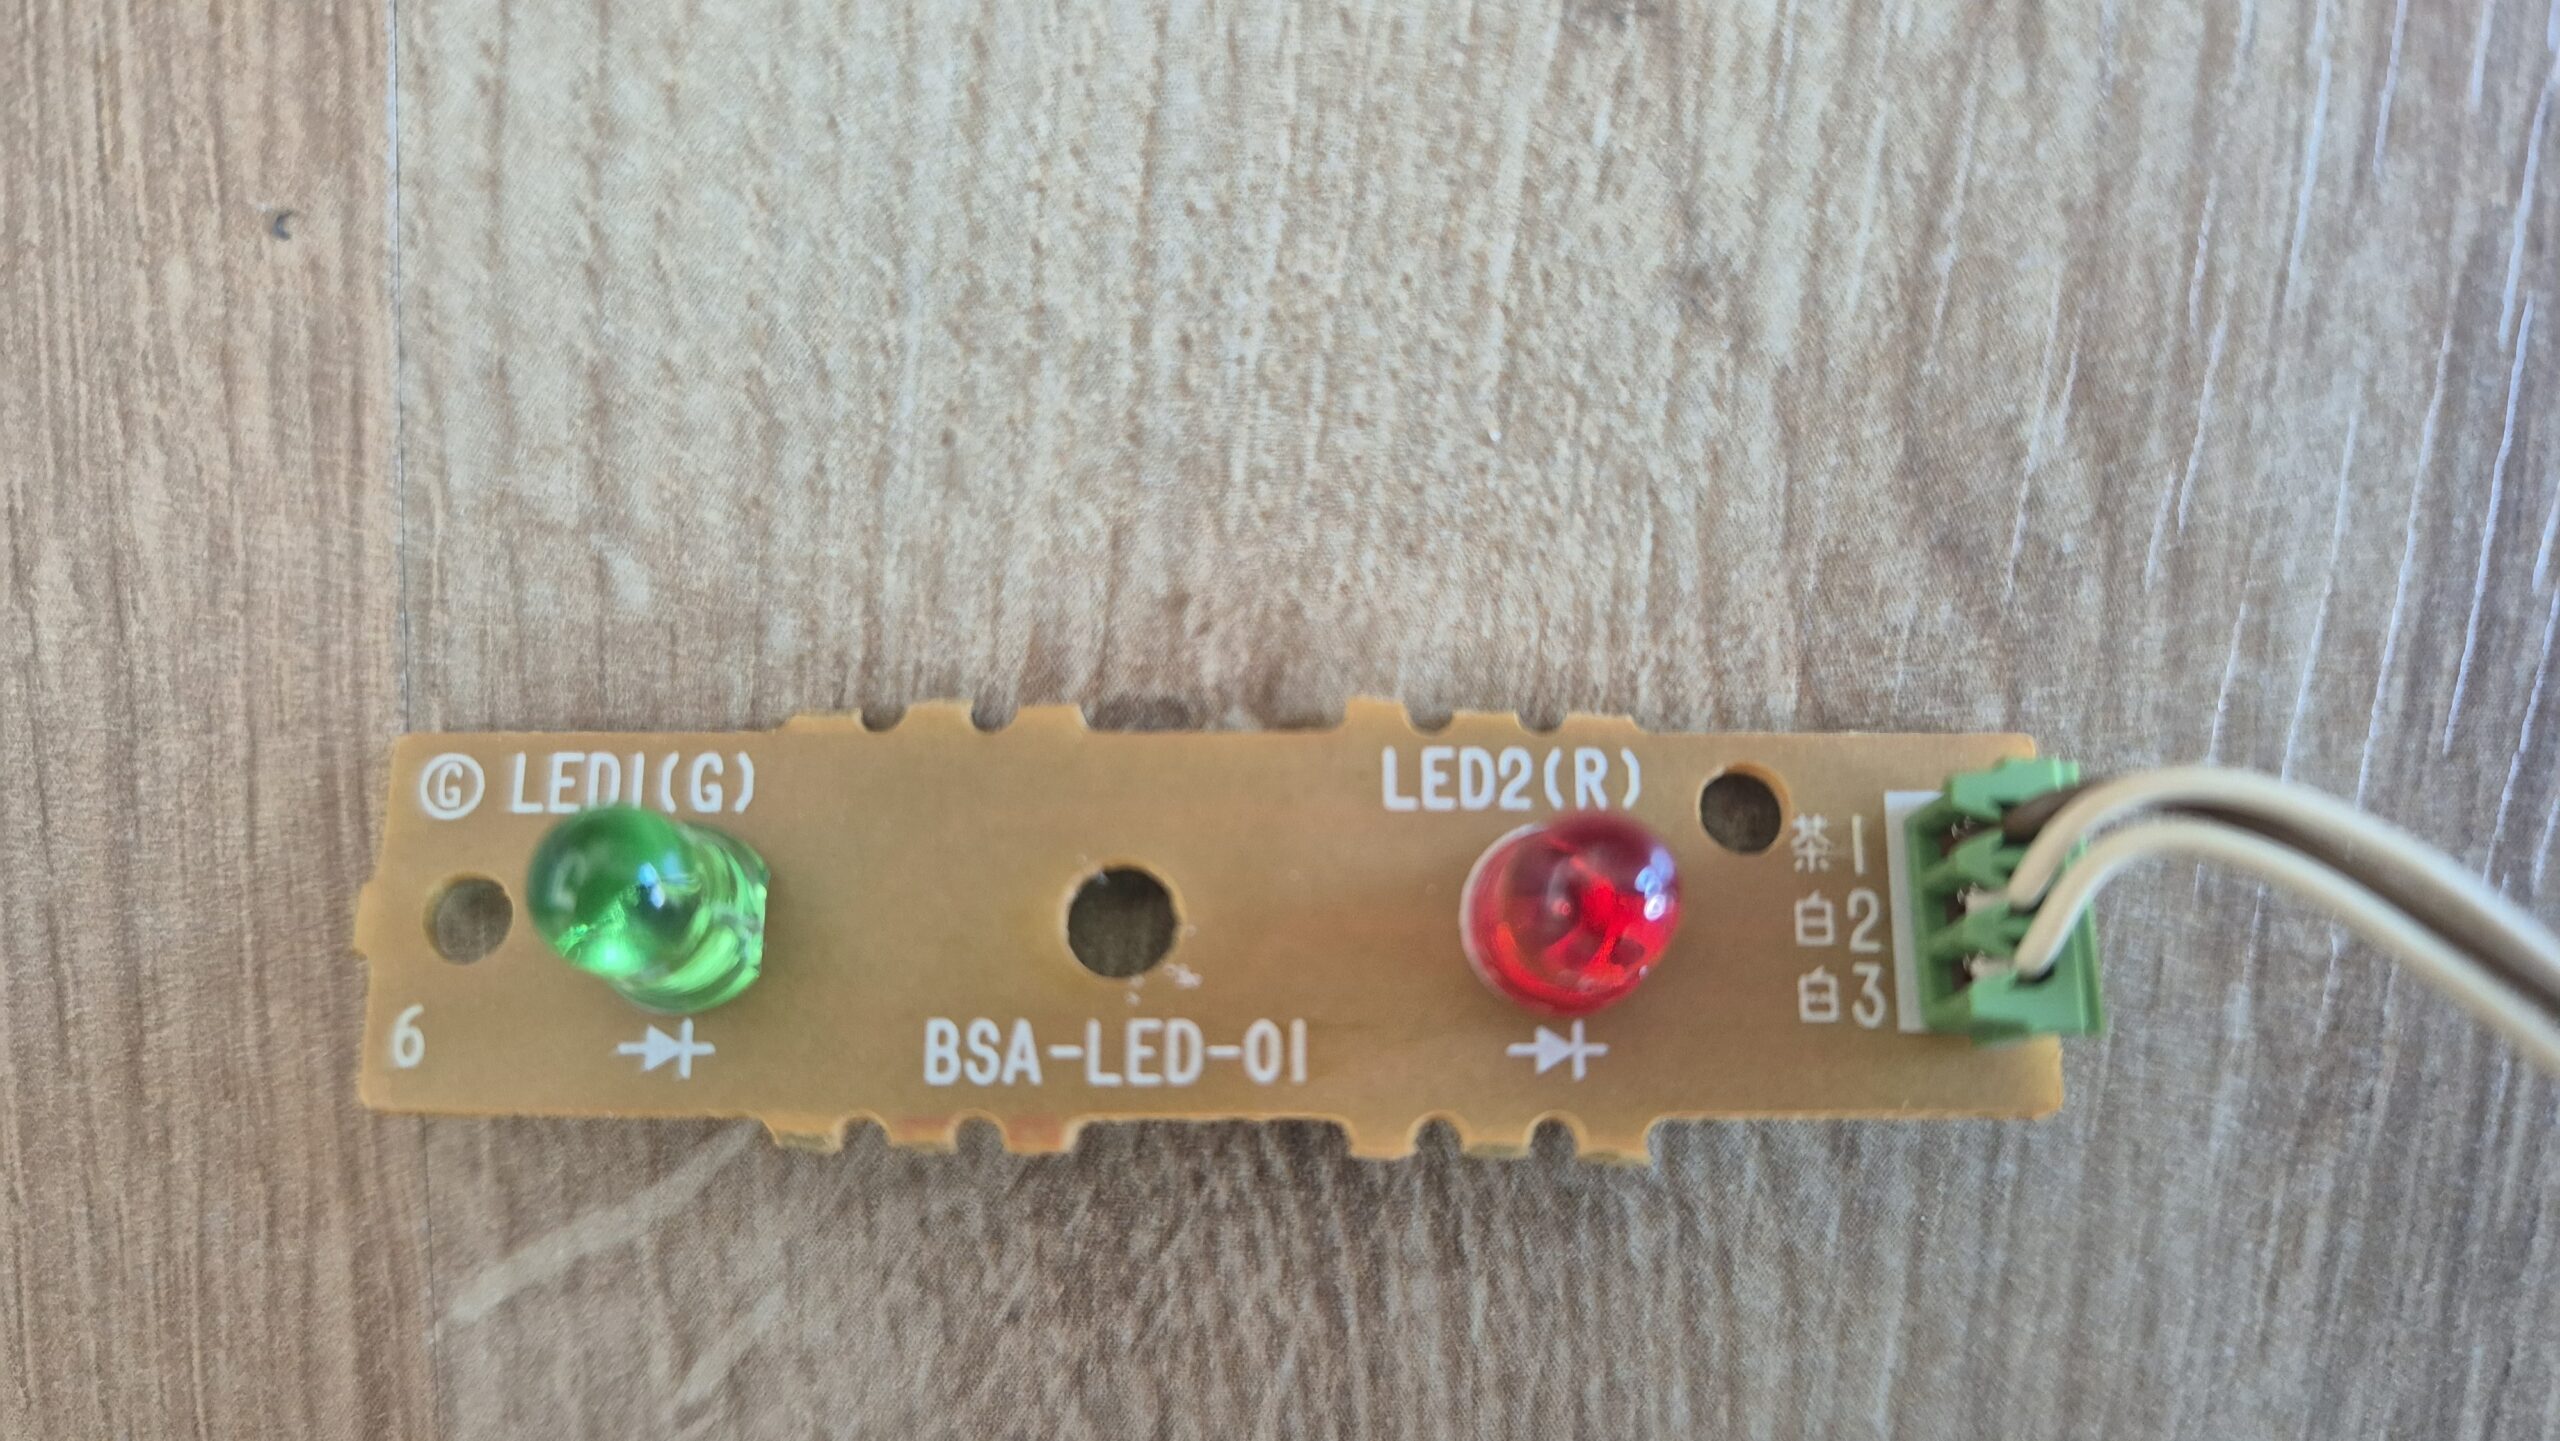
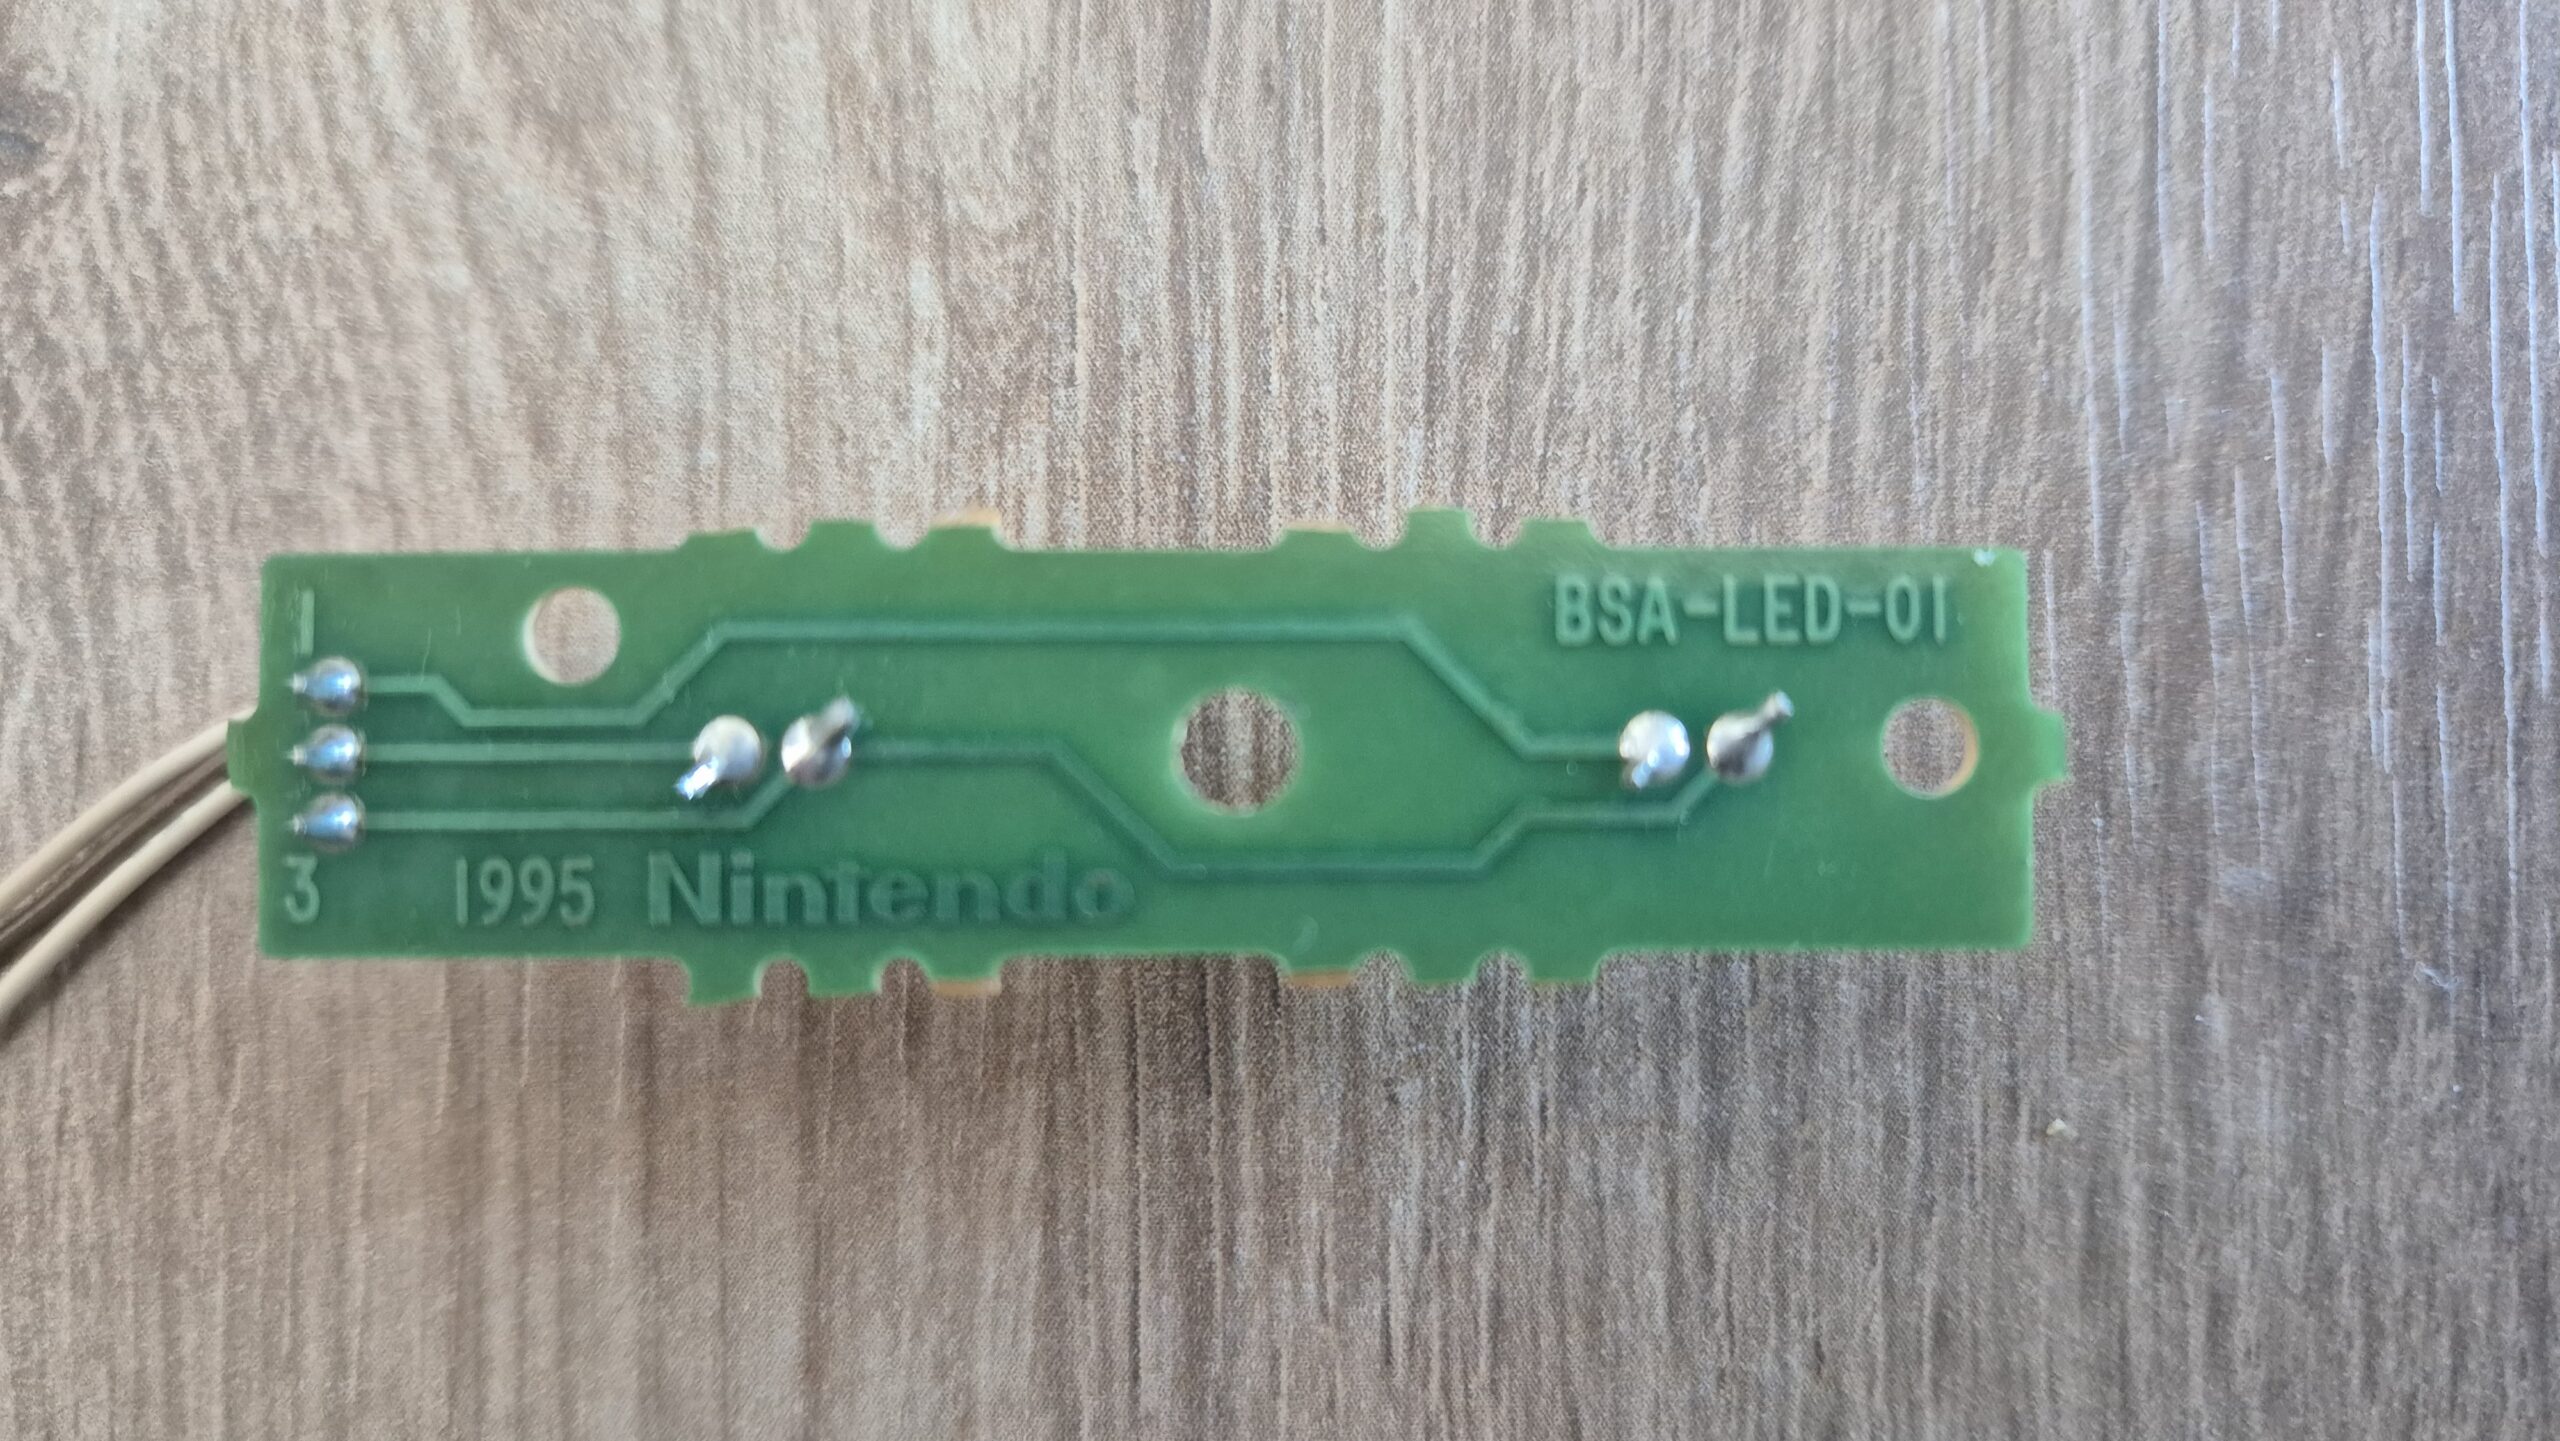
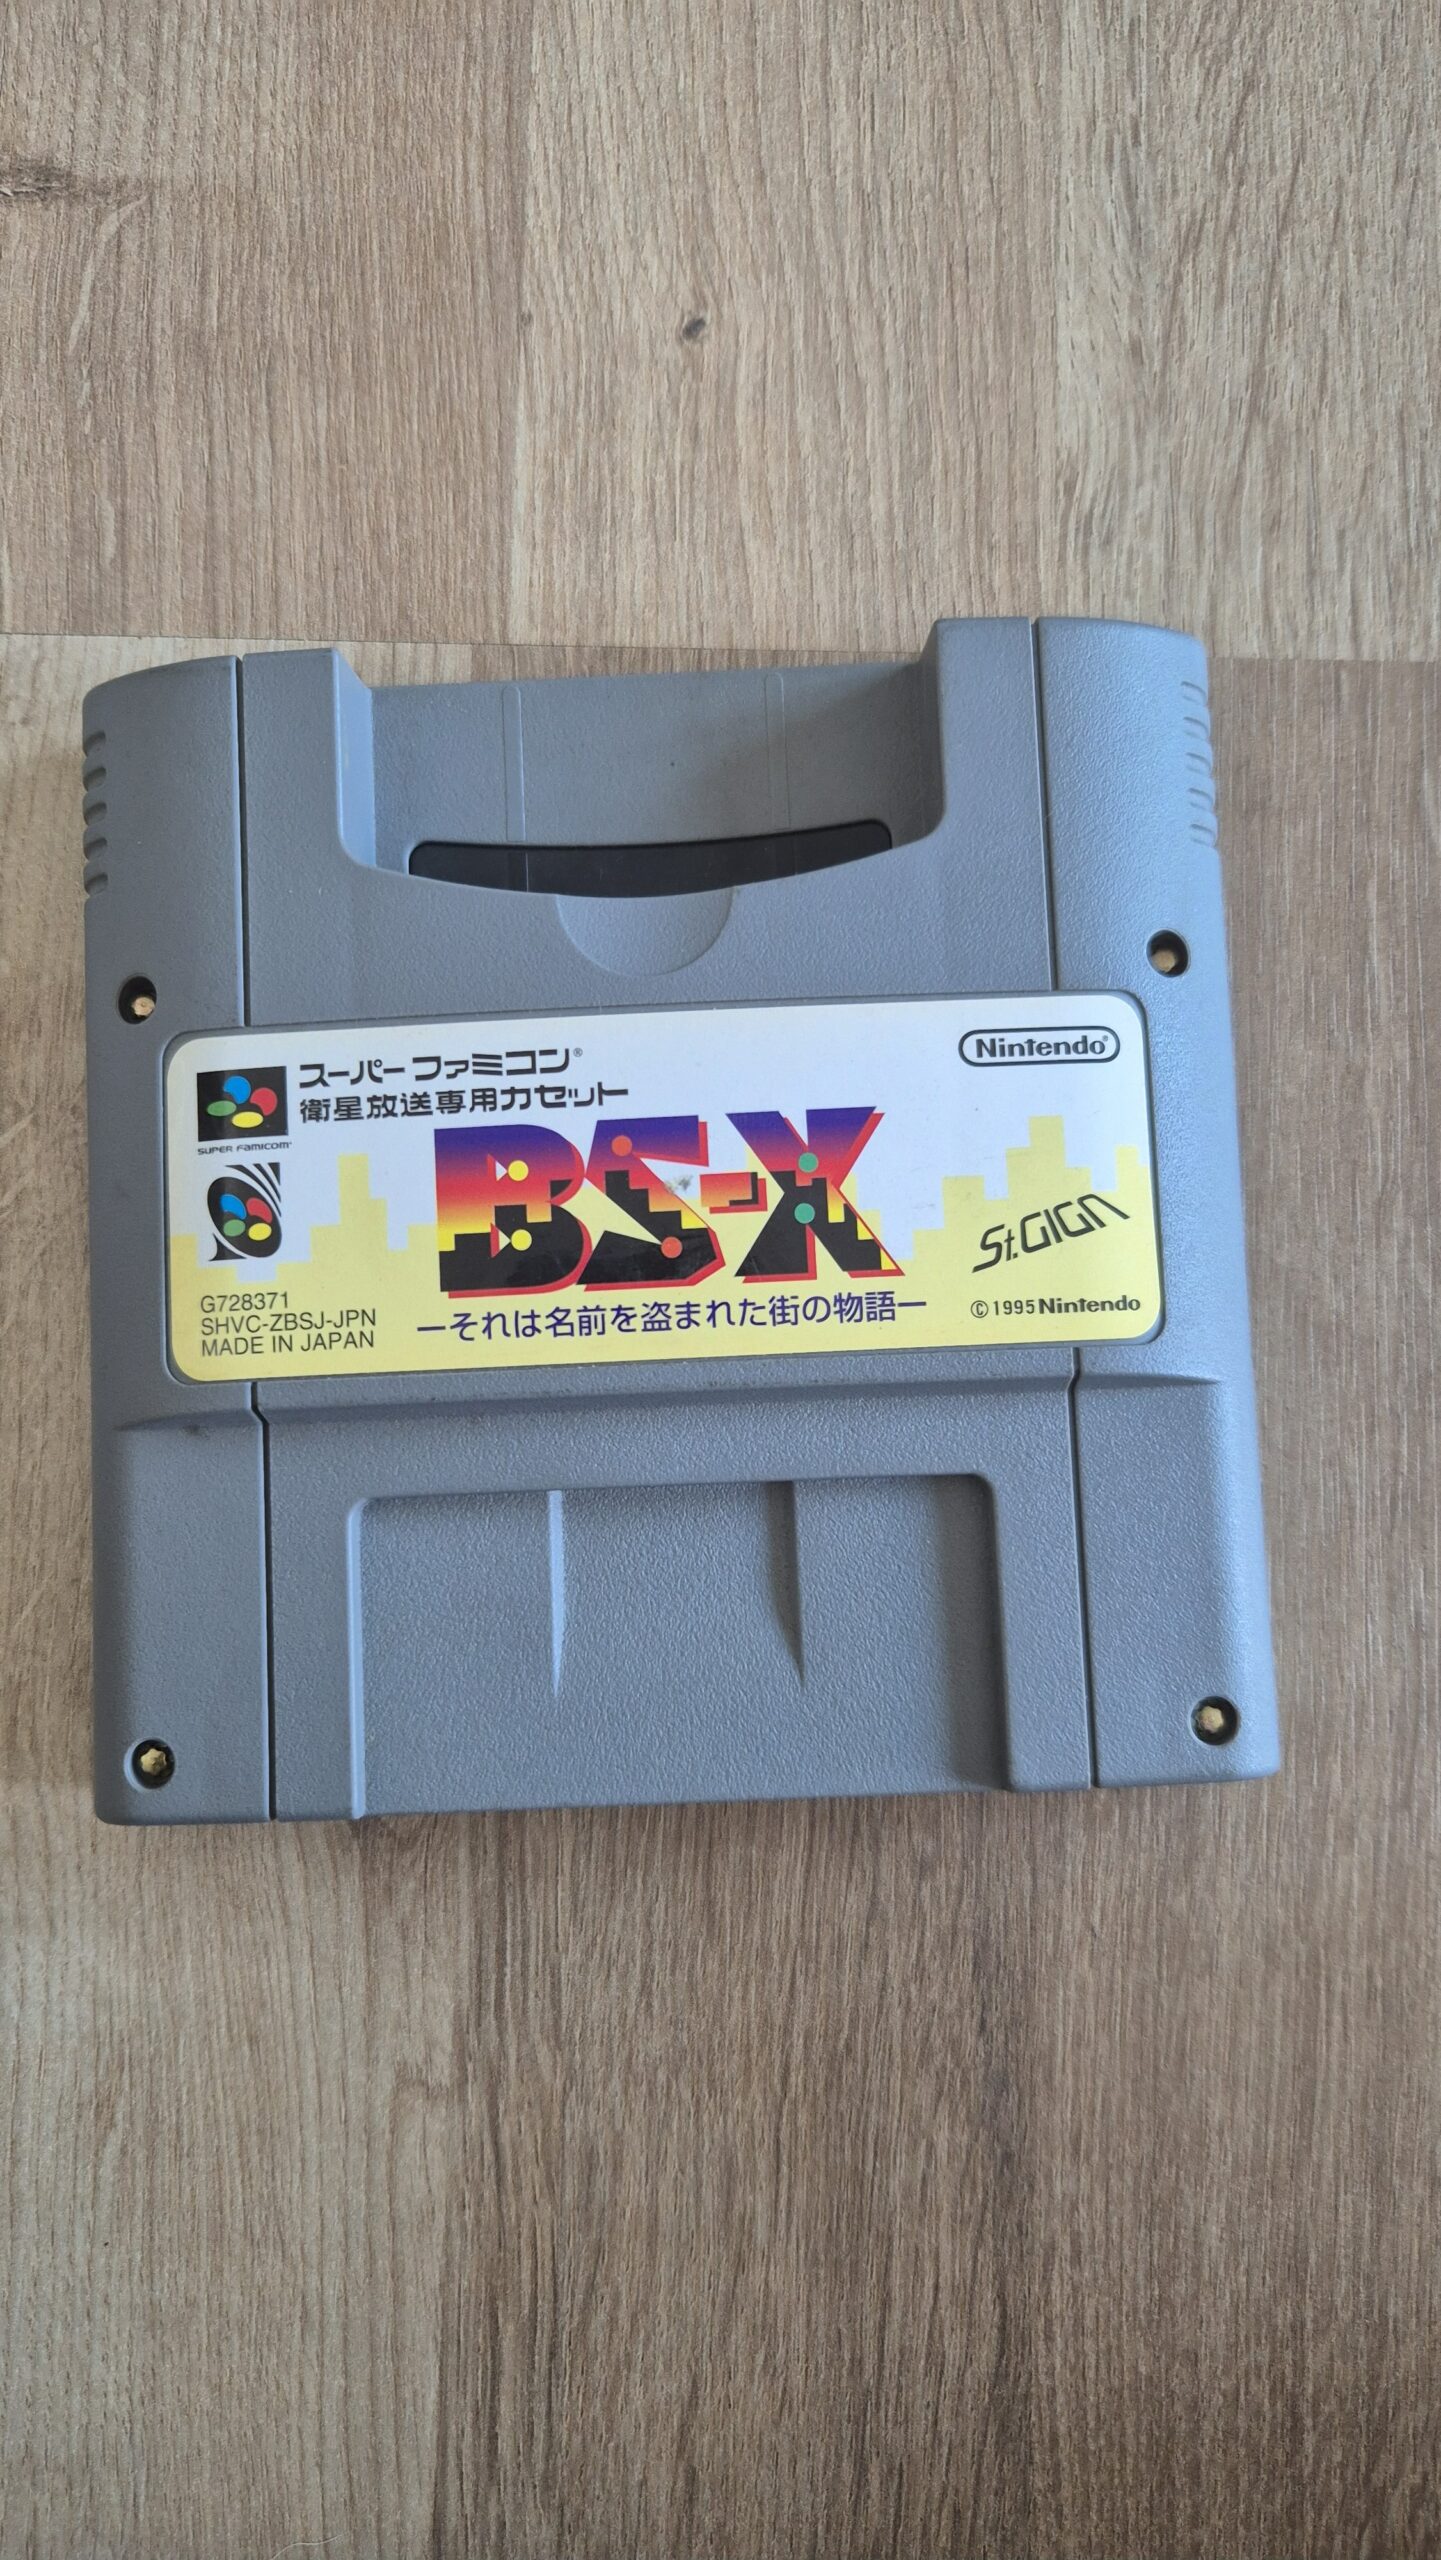
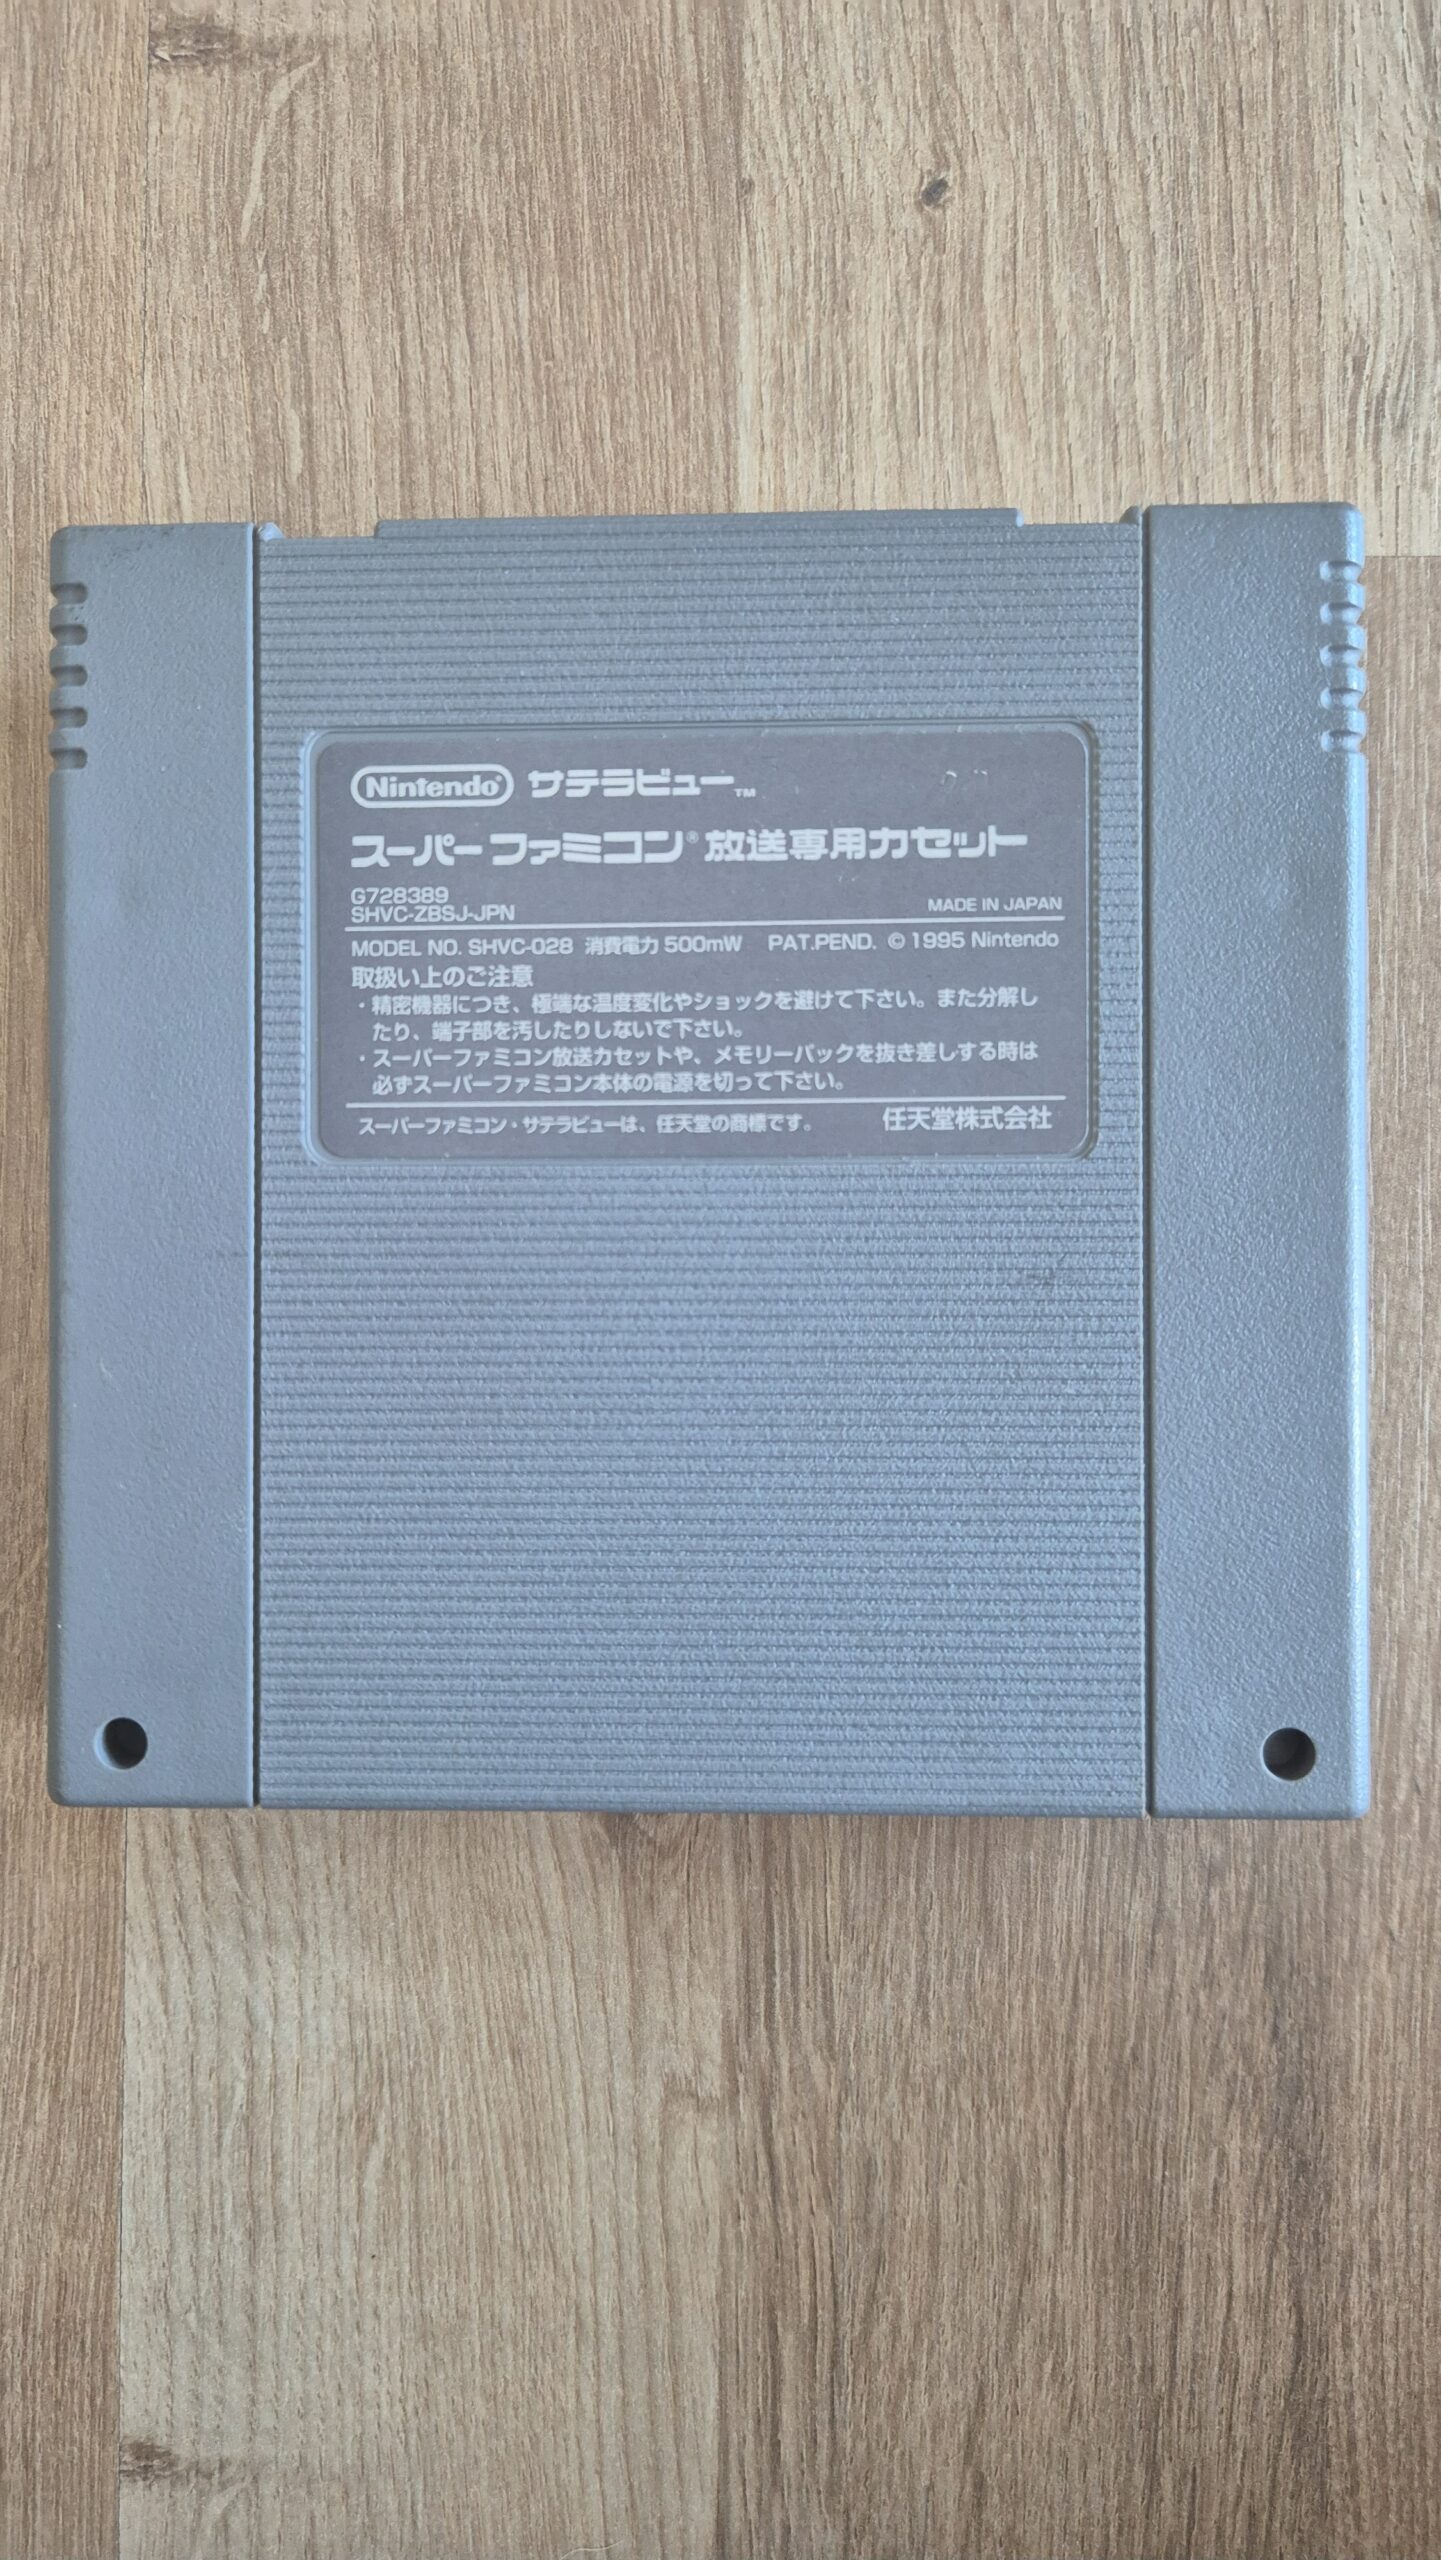
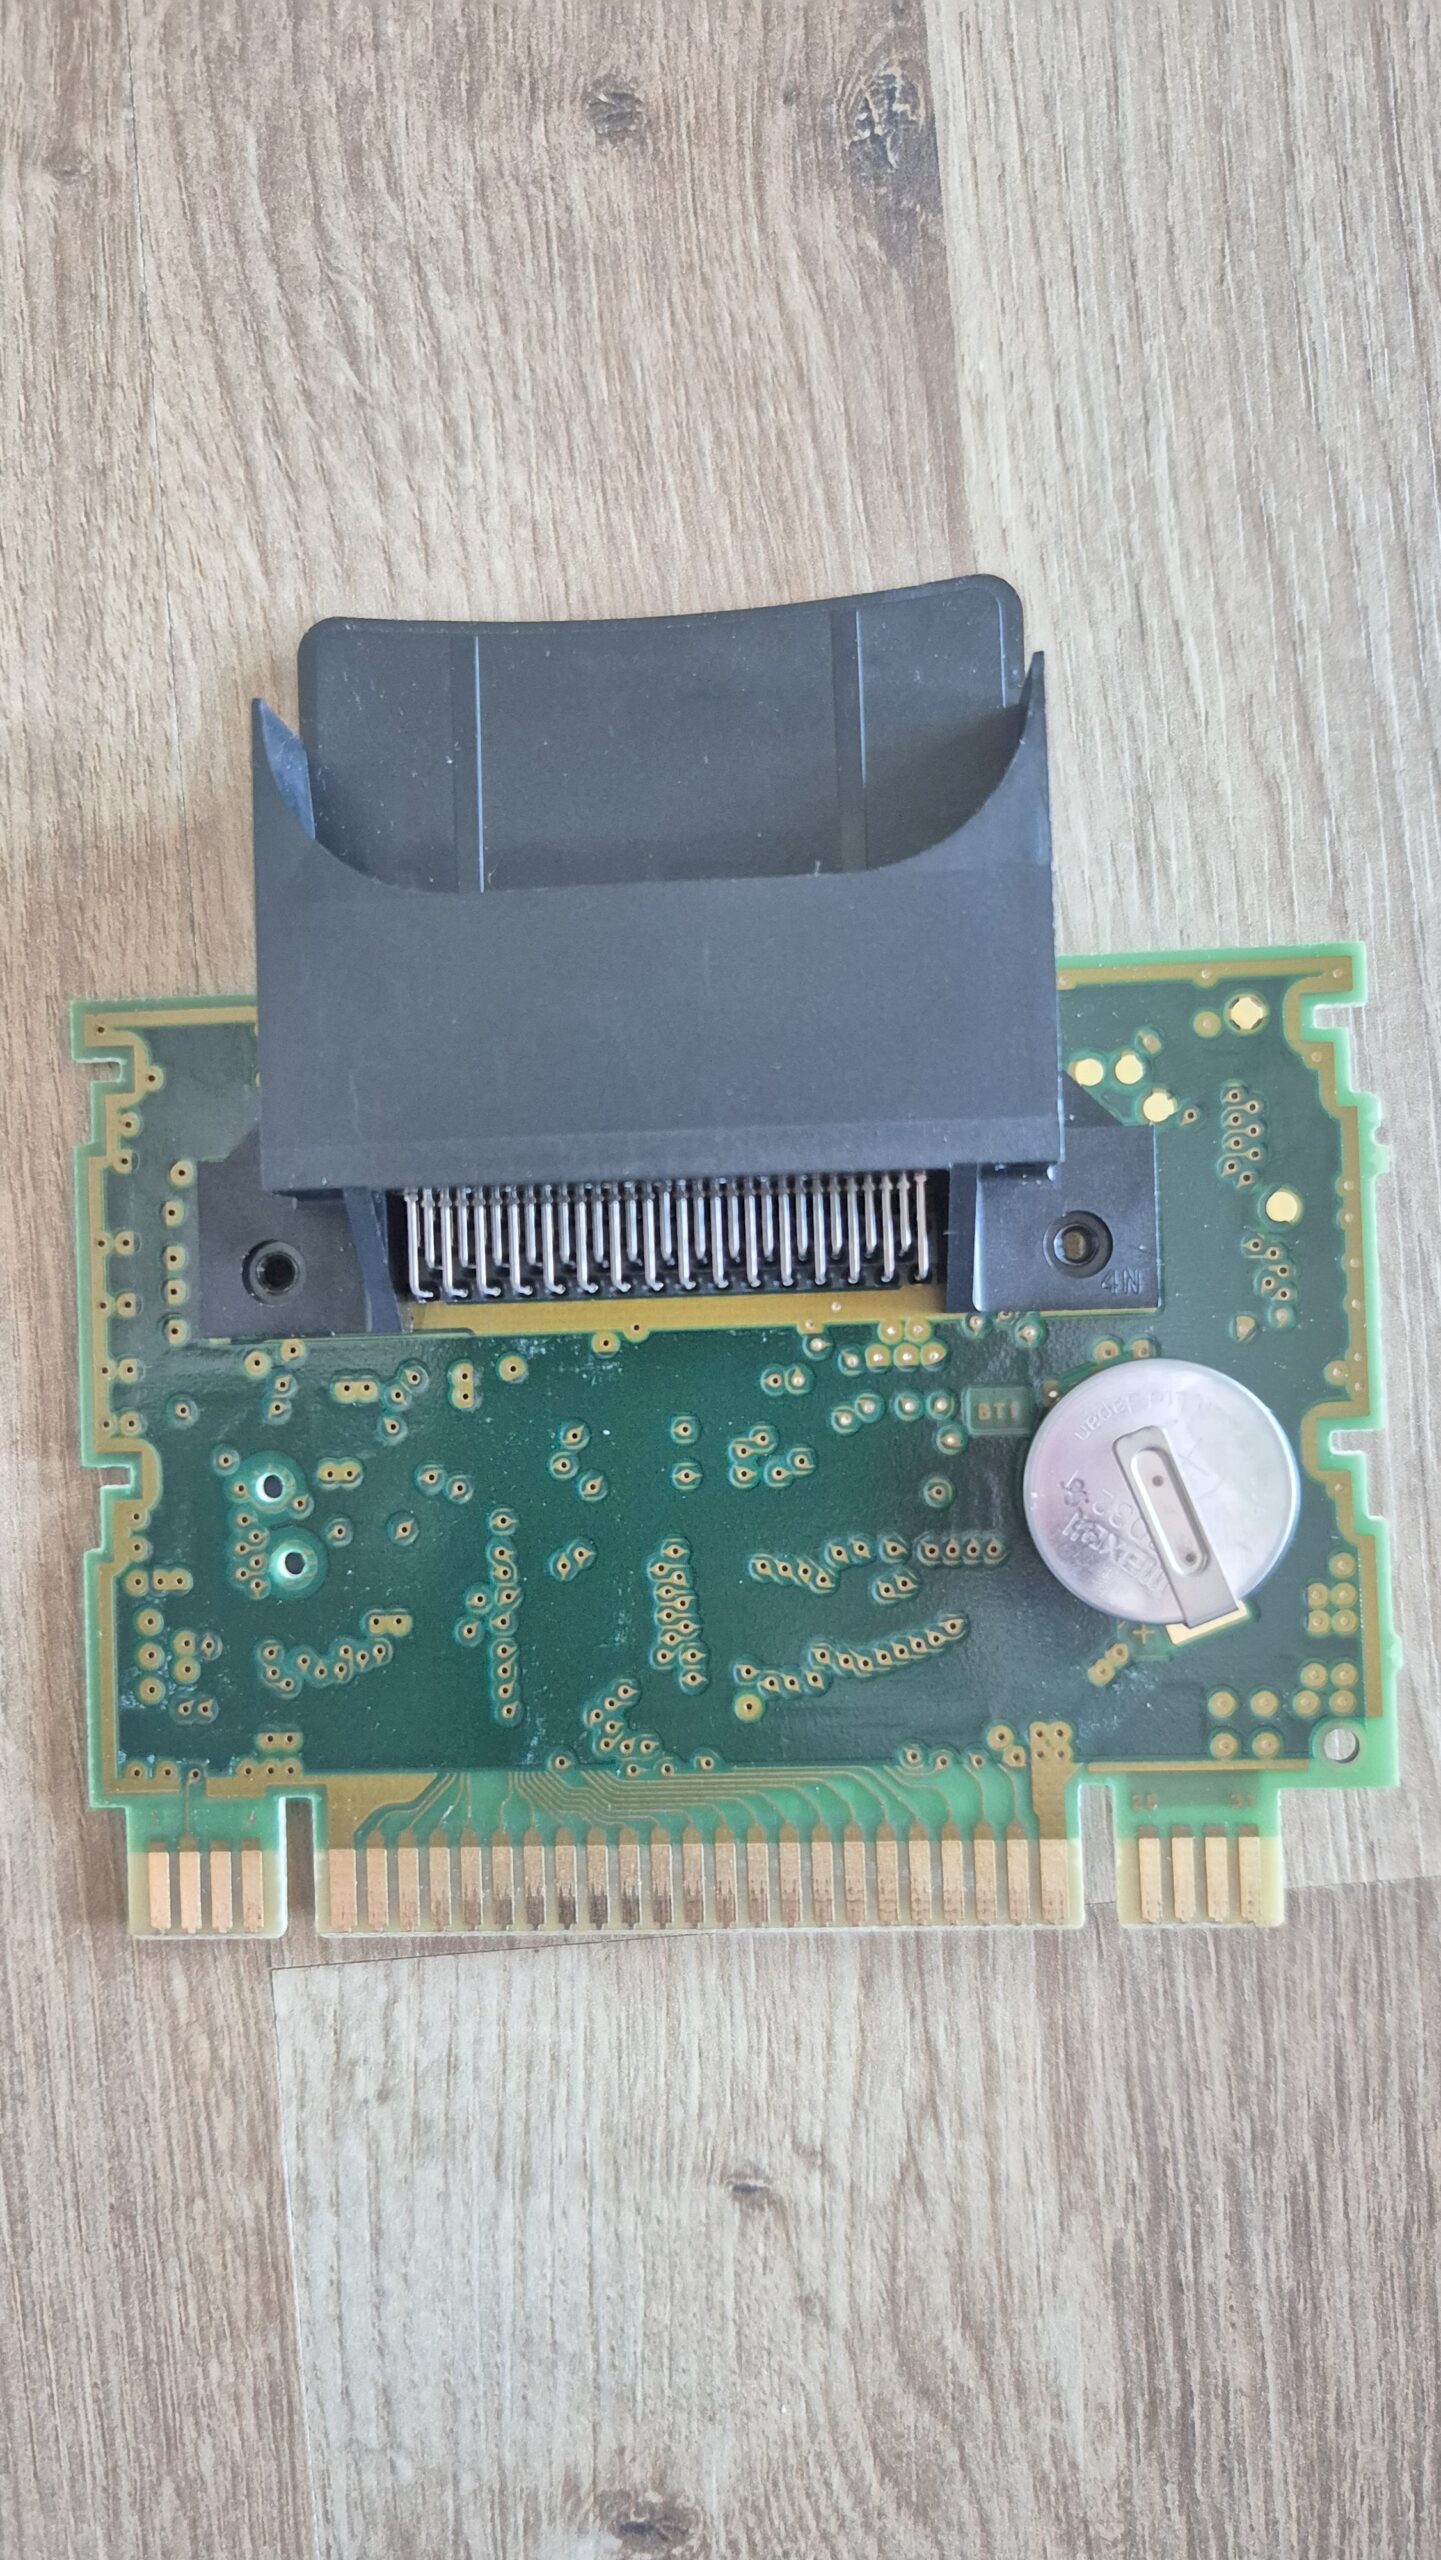
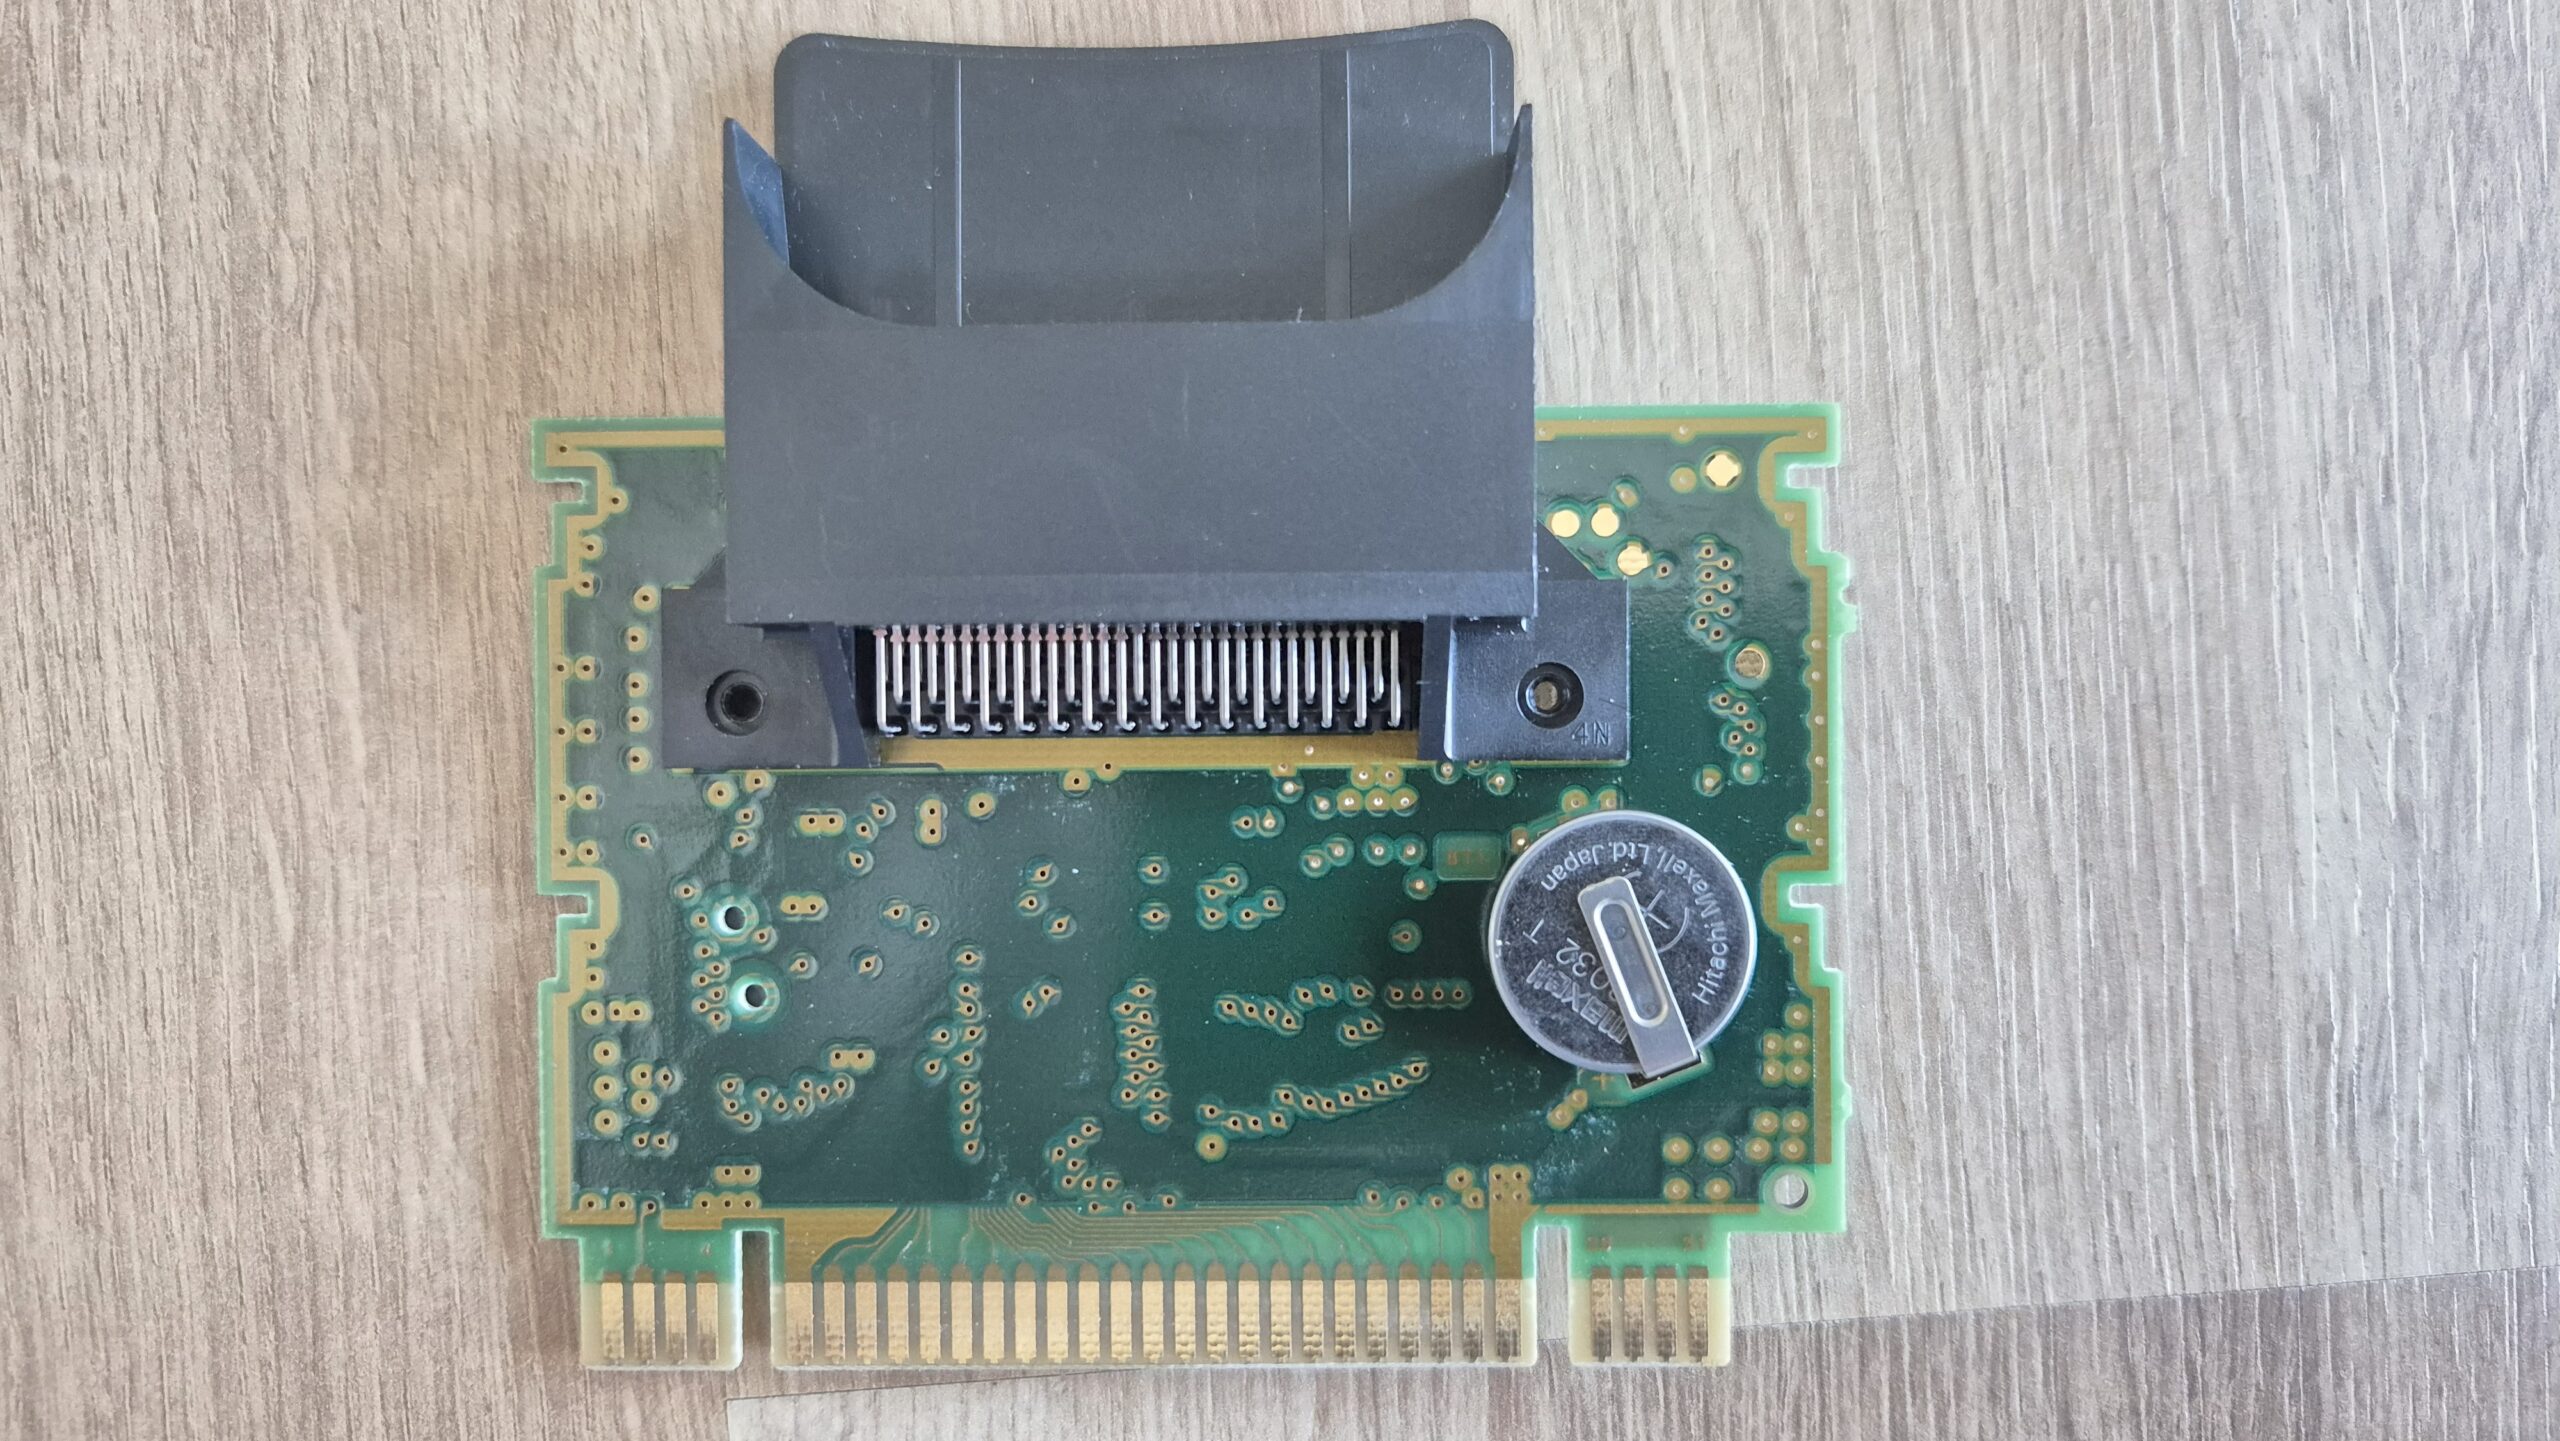
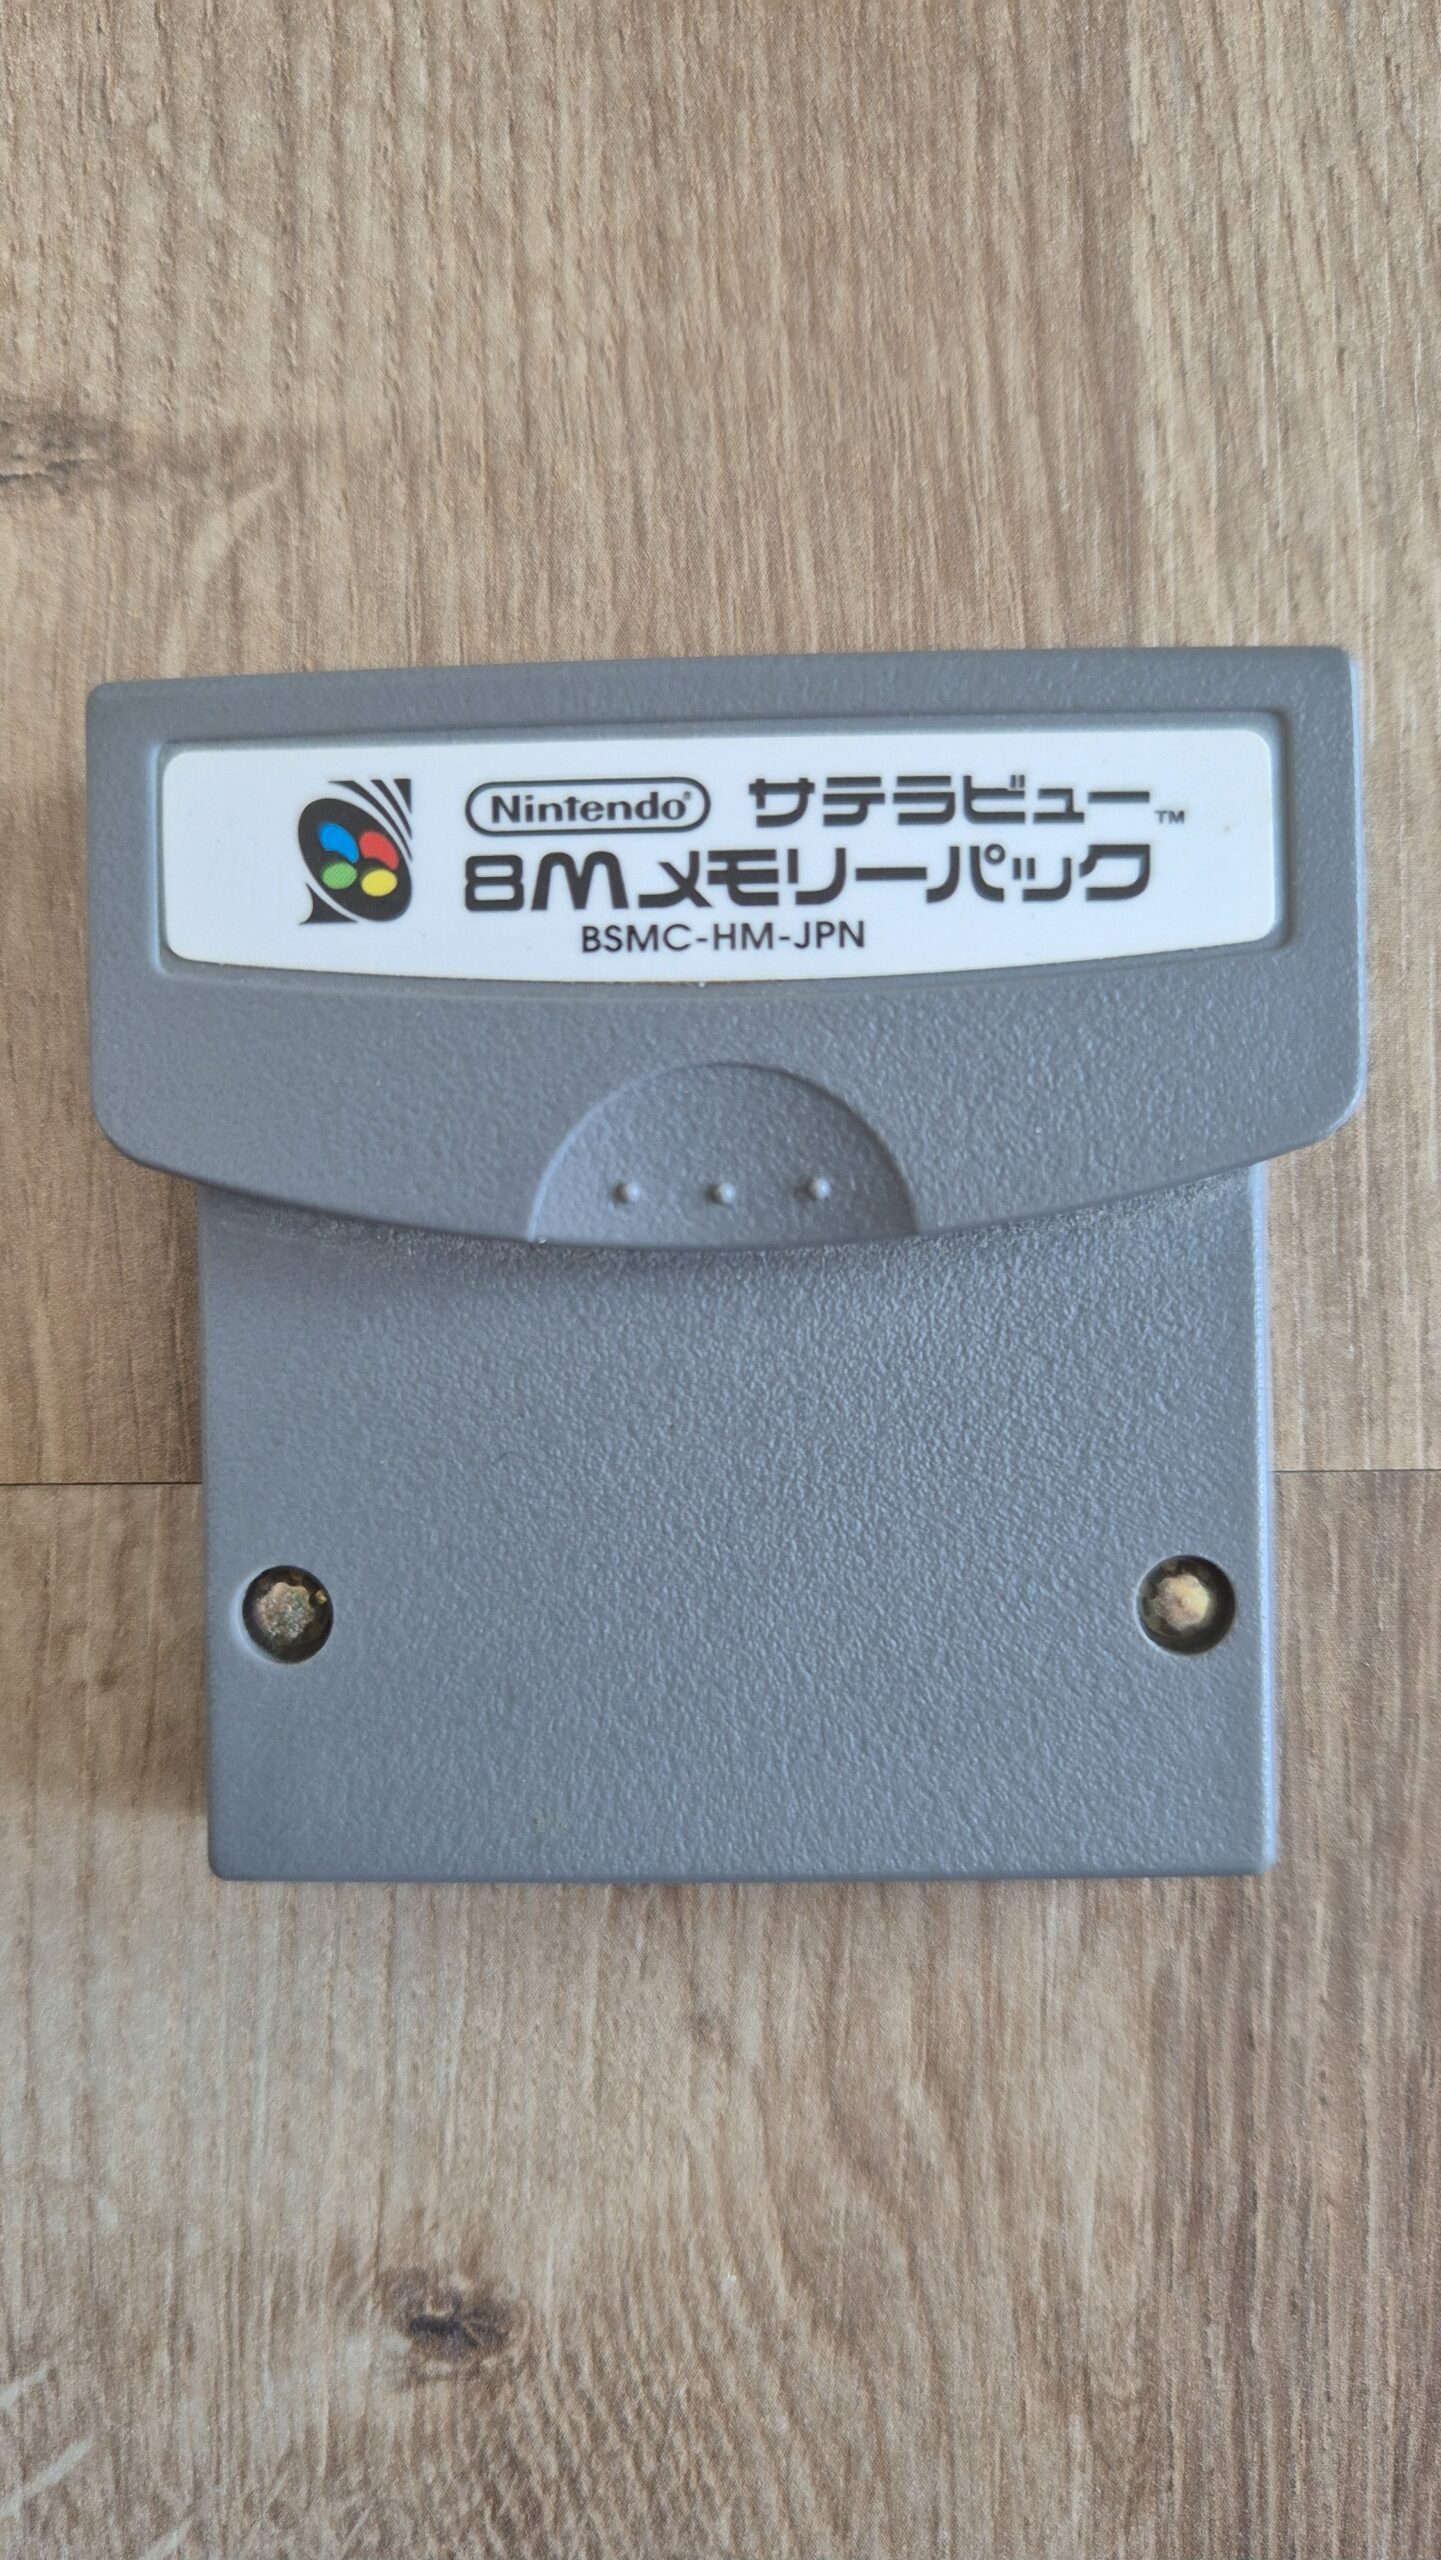
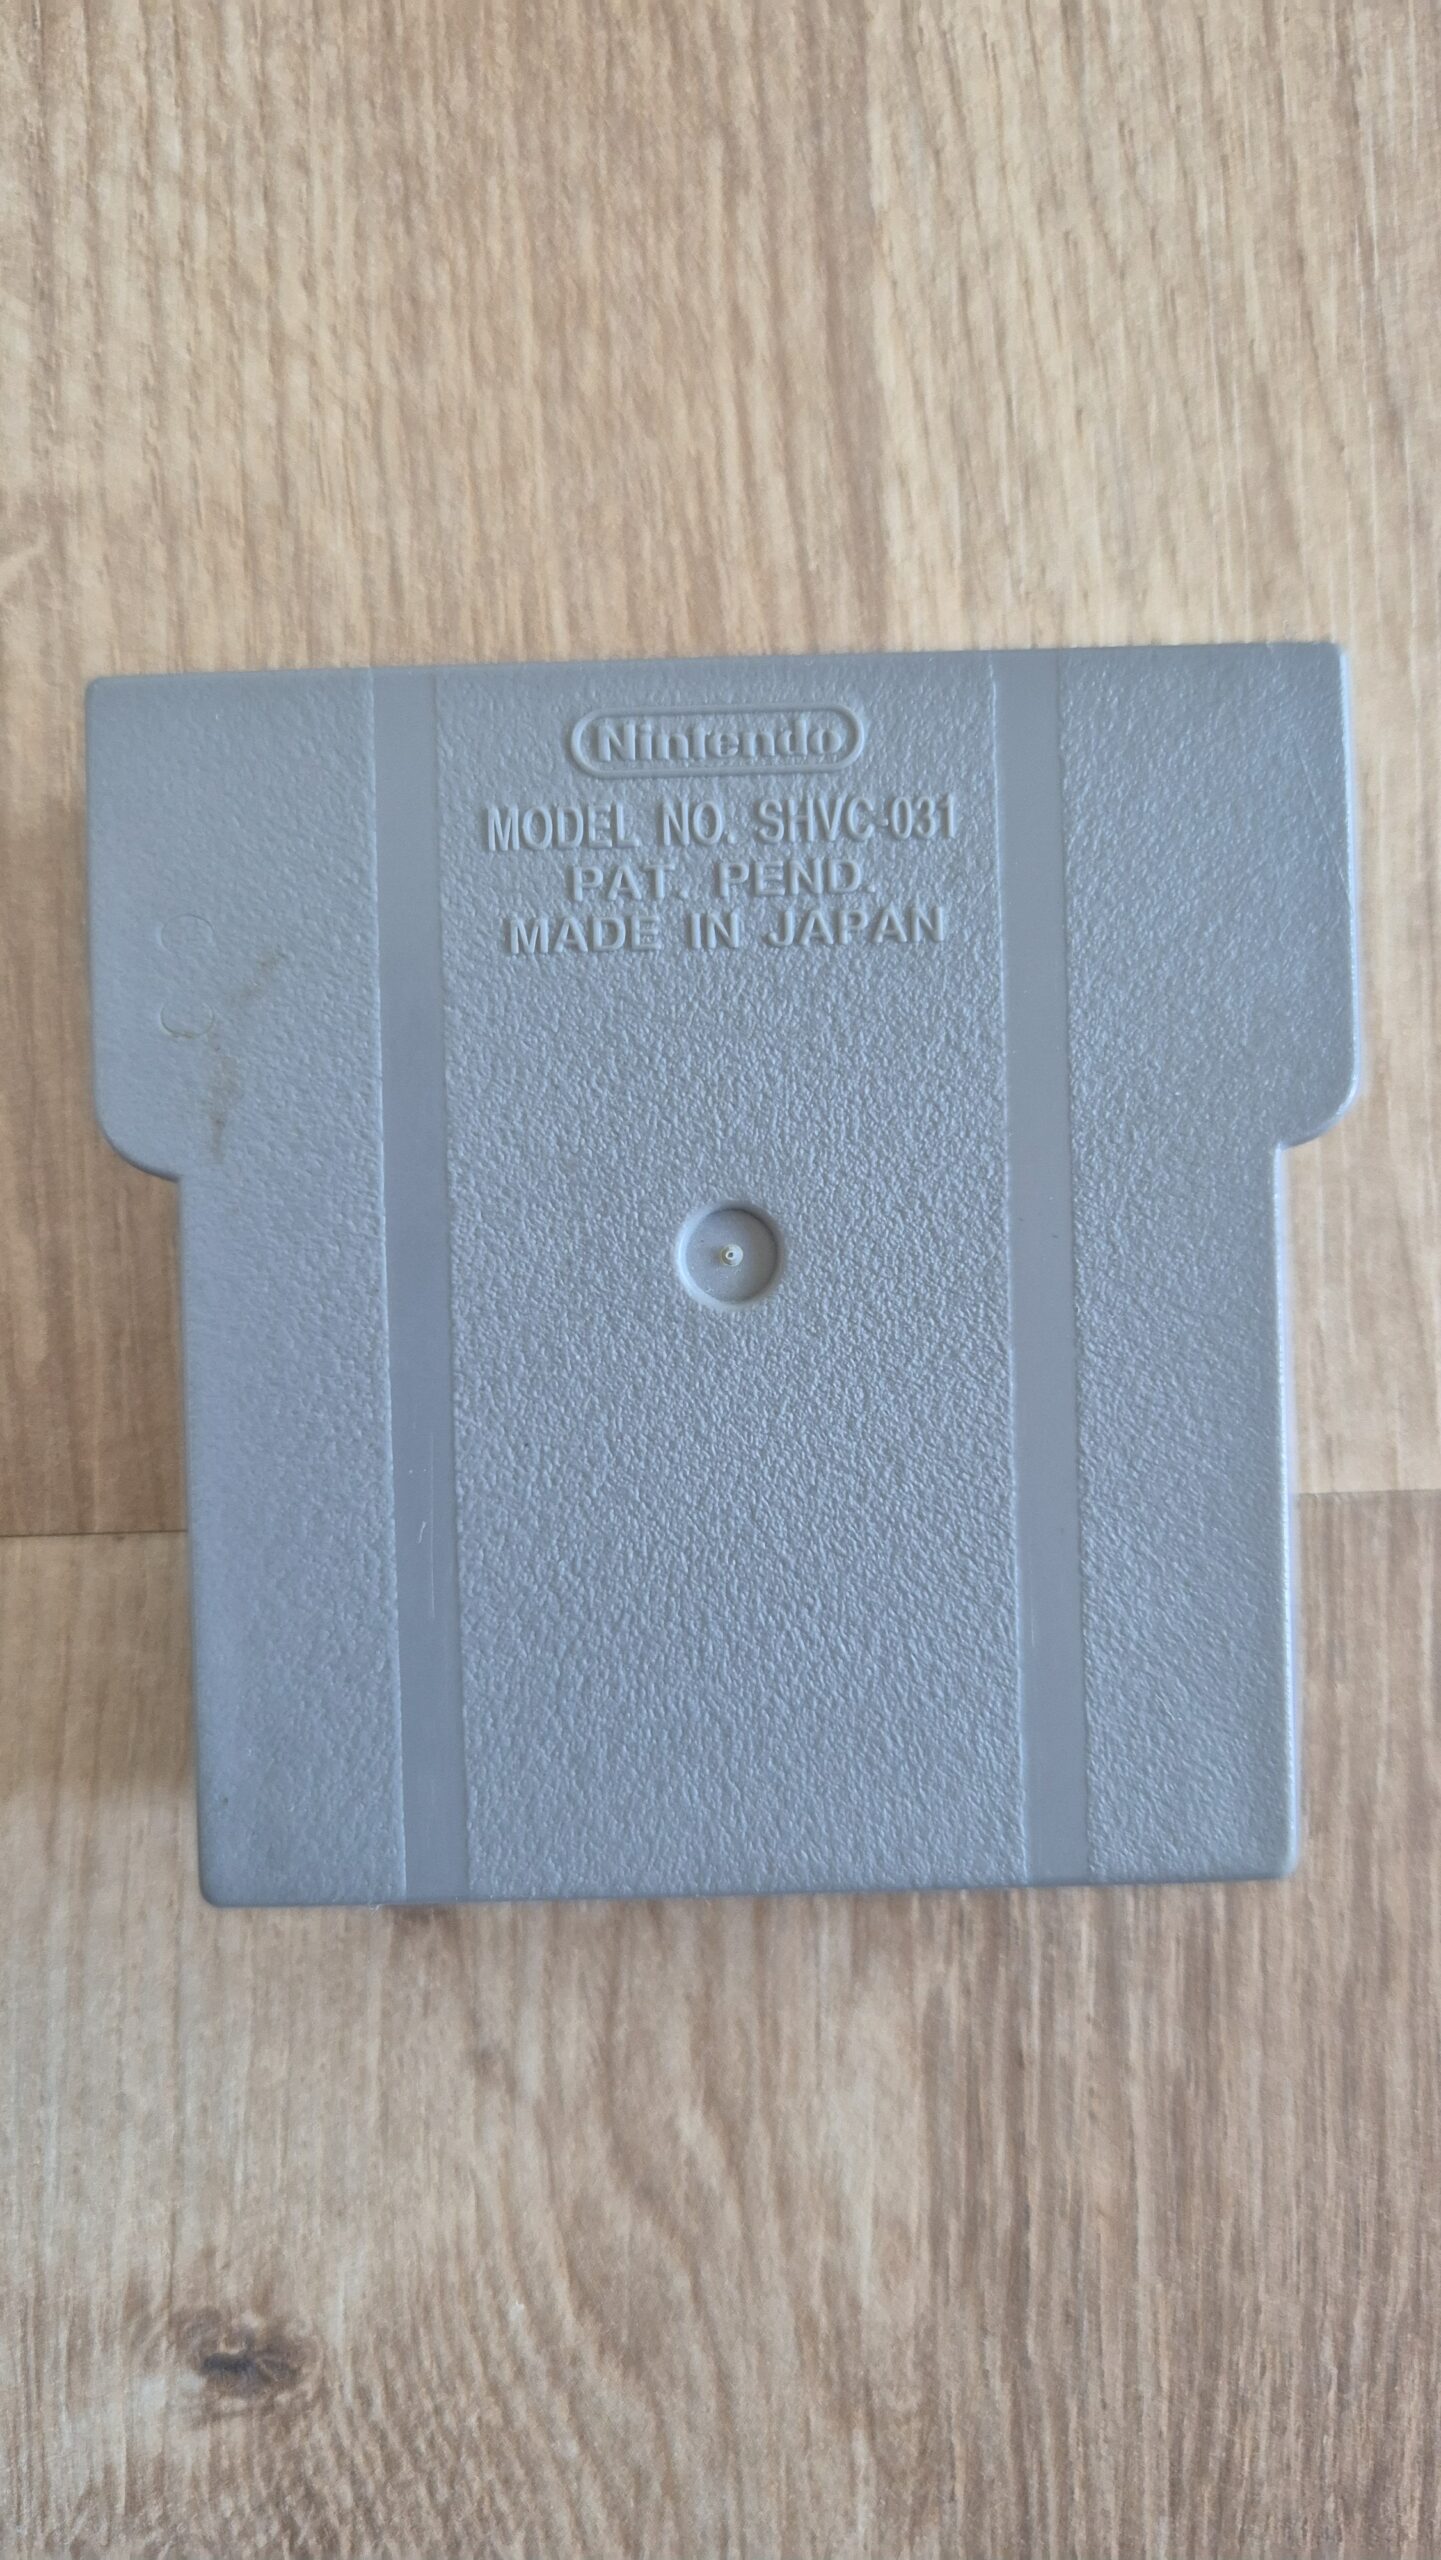
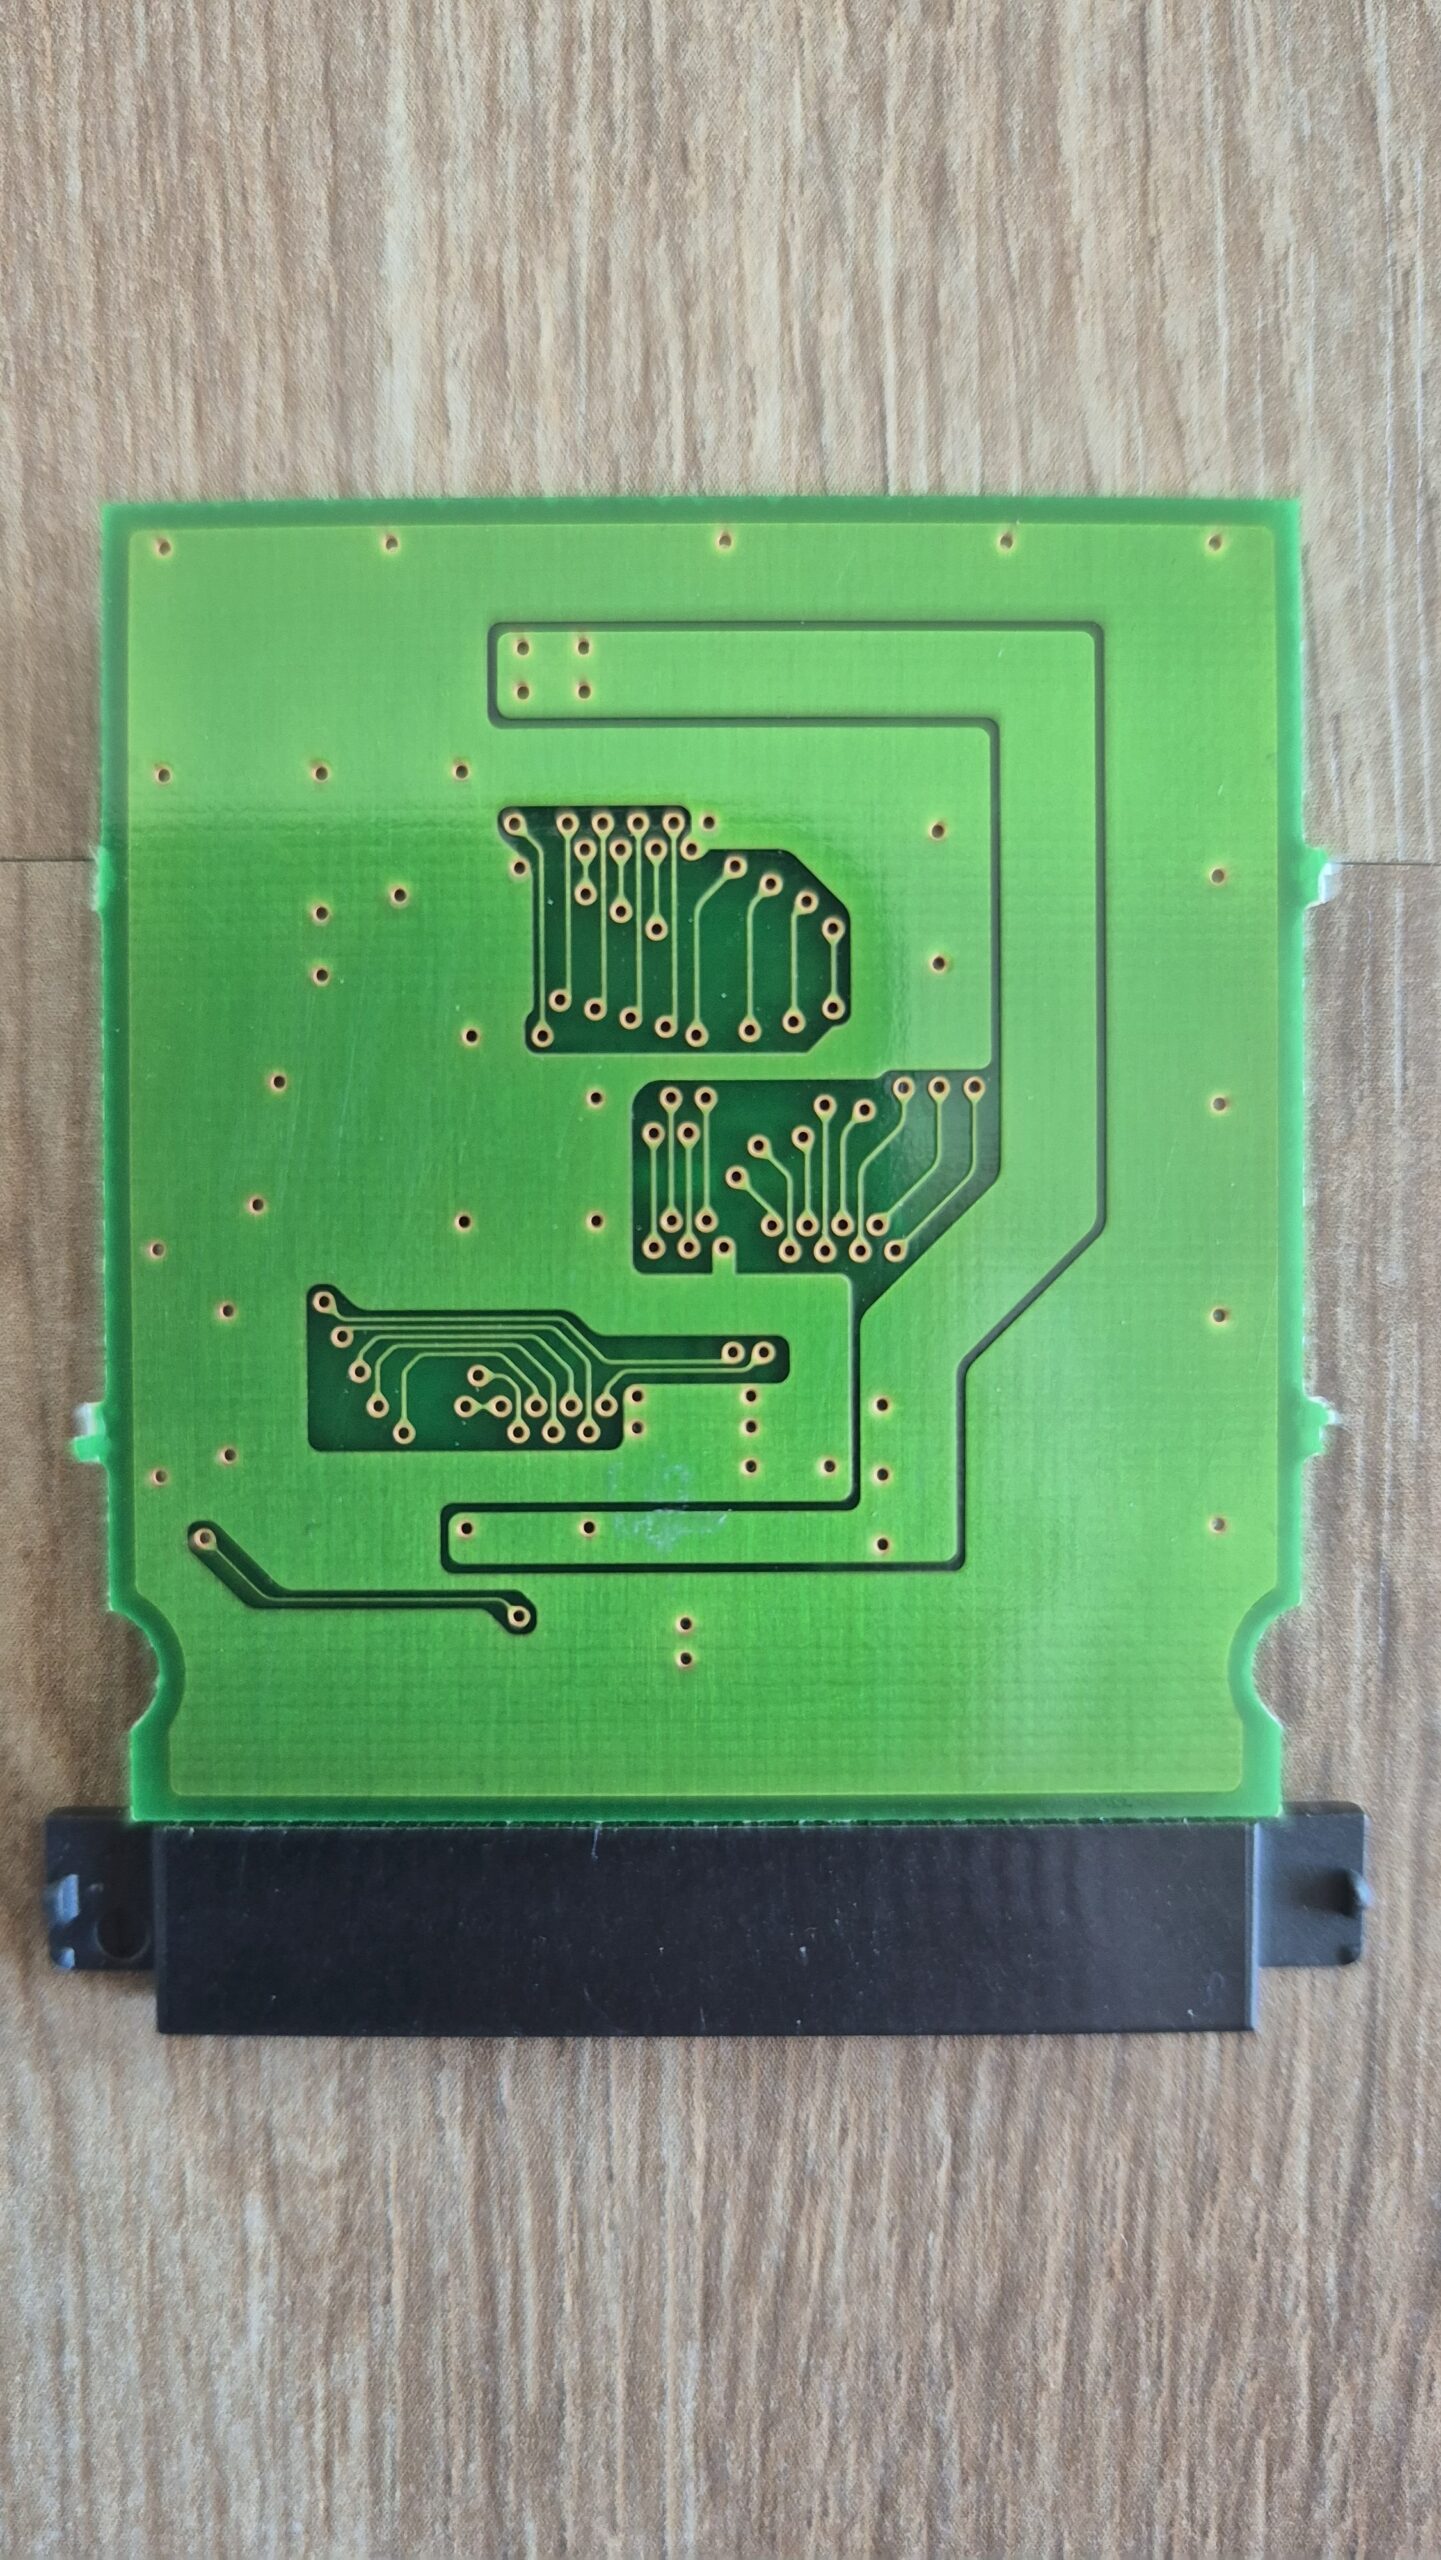
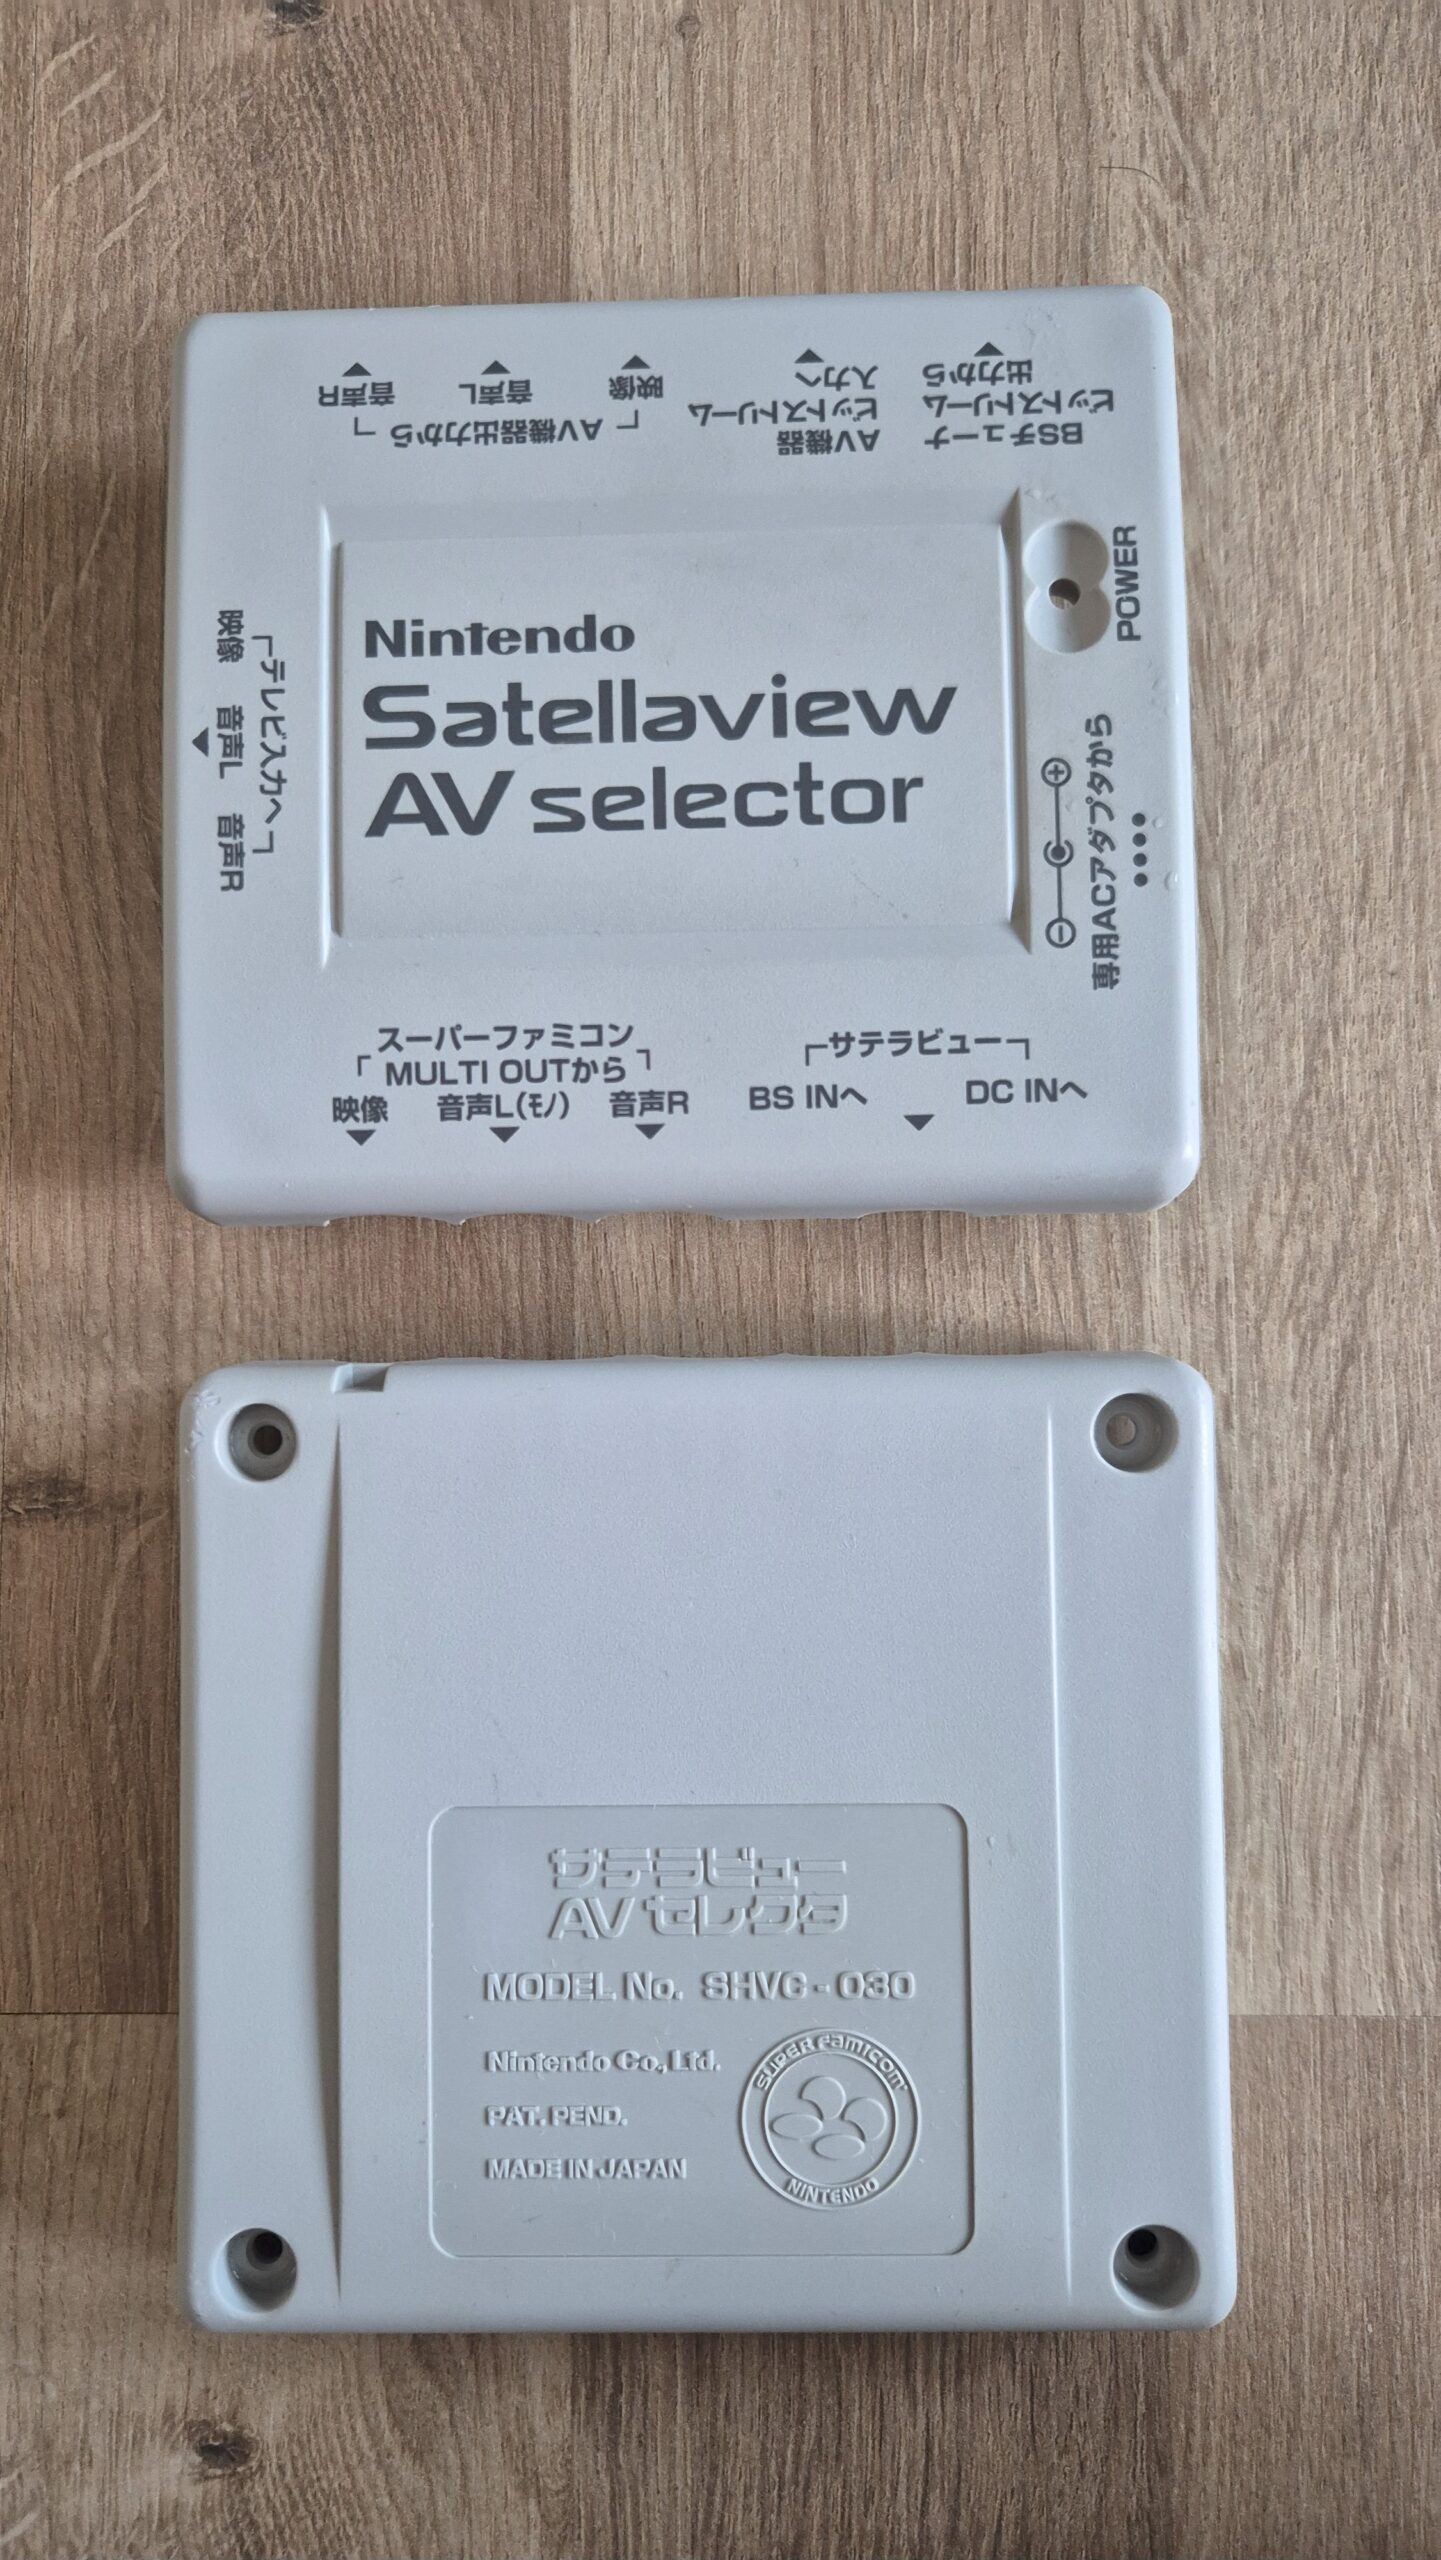
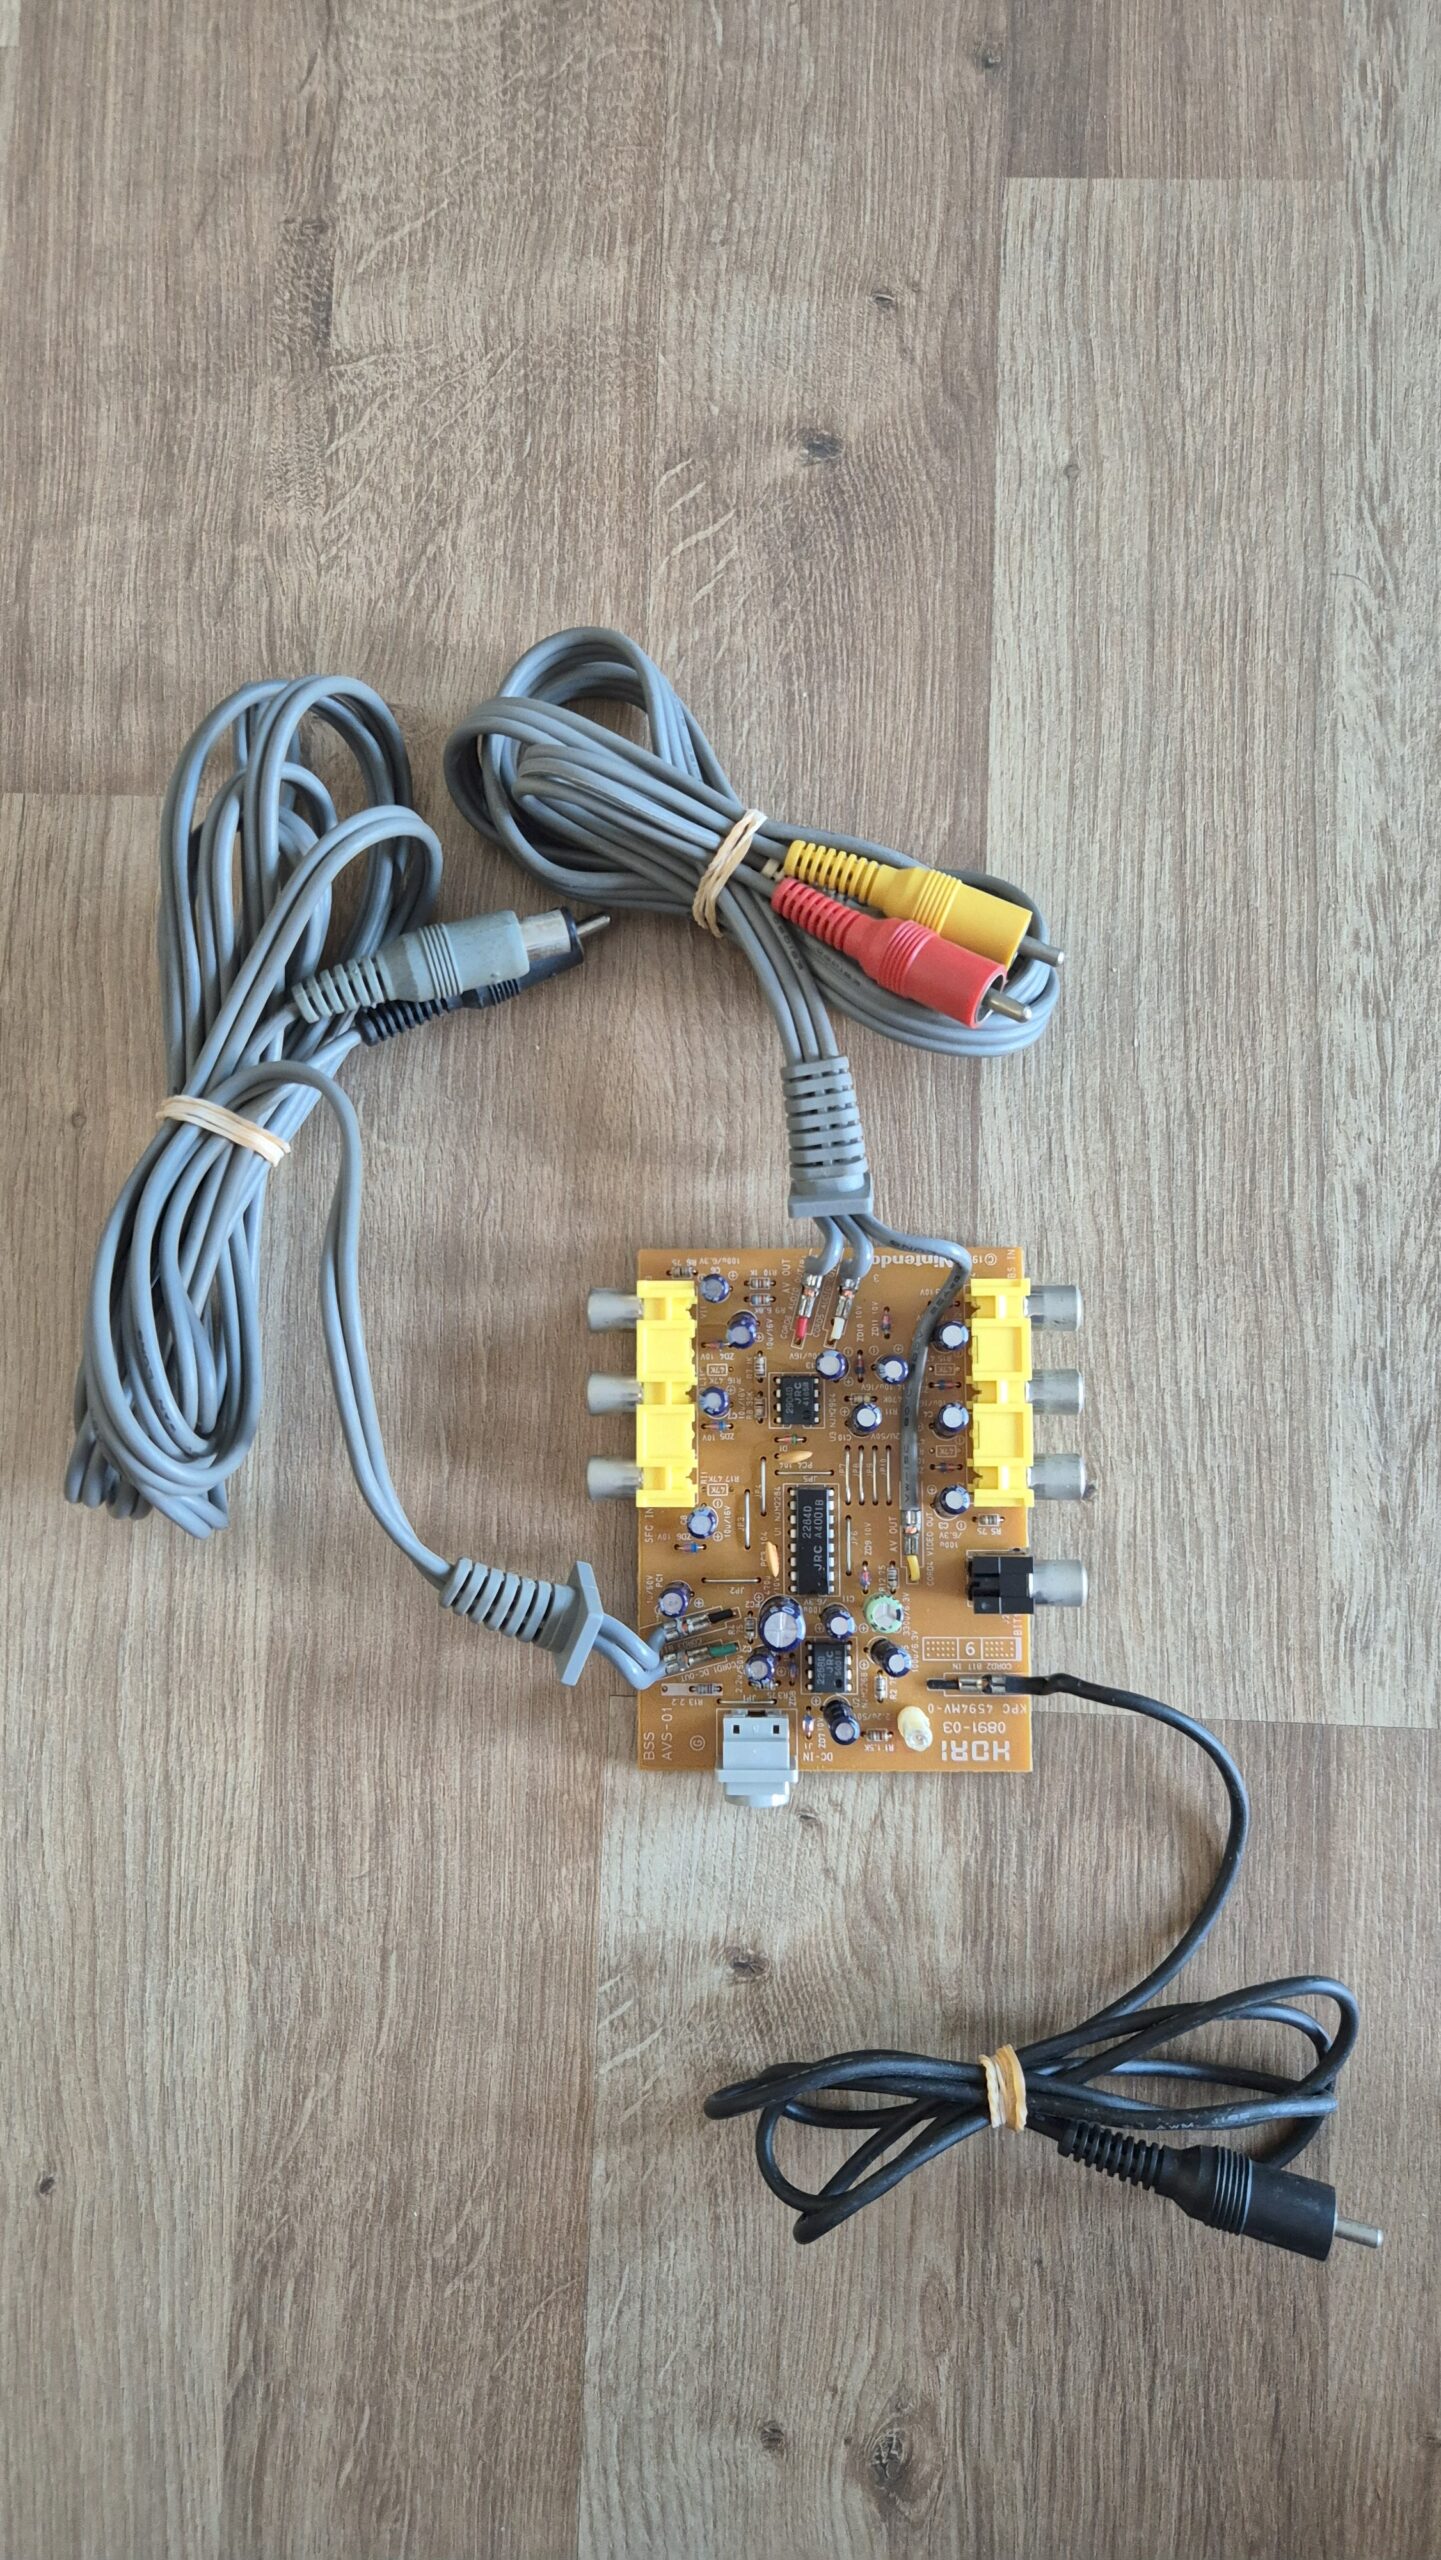
I’vent found any detailed pictures of the Satellaview for Super Famicom/Super Nintendo. So I thought I’d share mine.
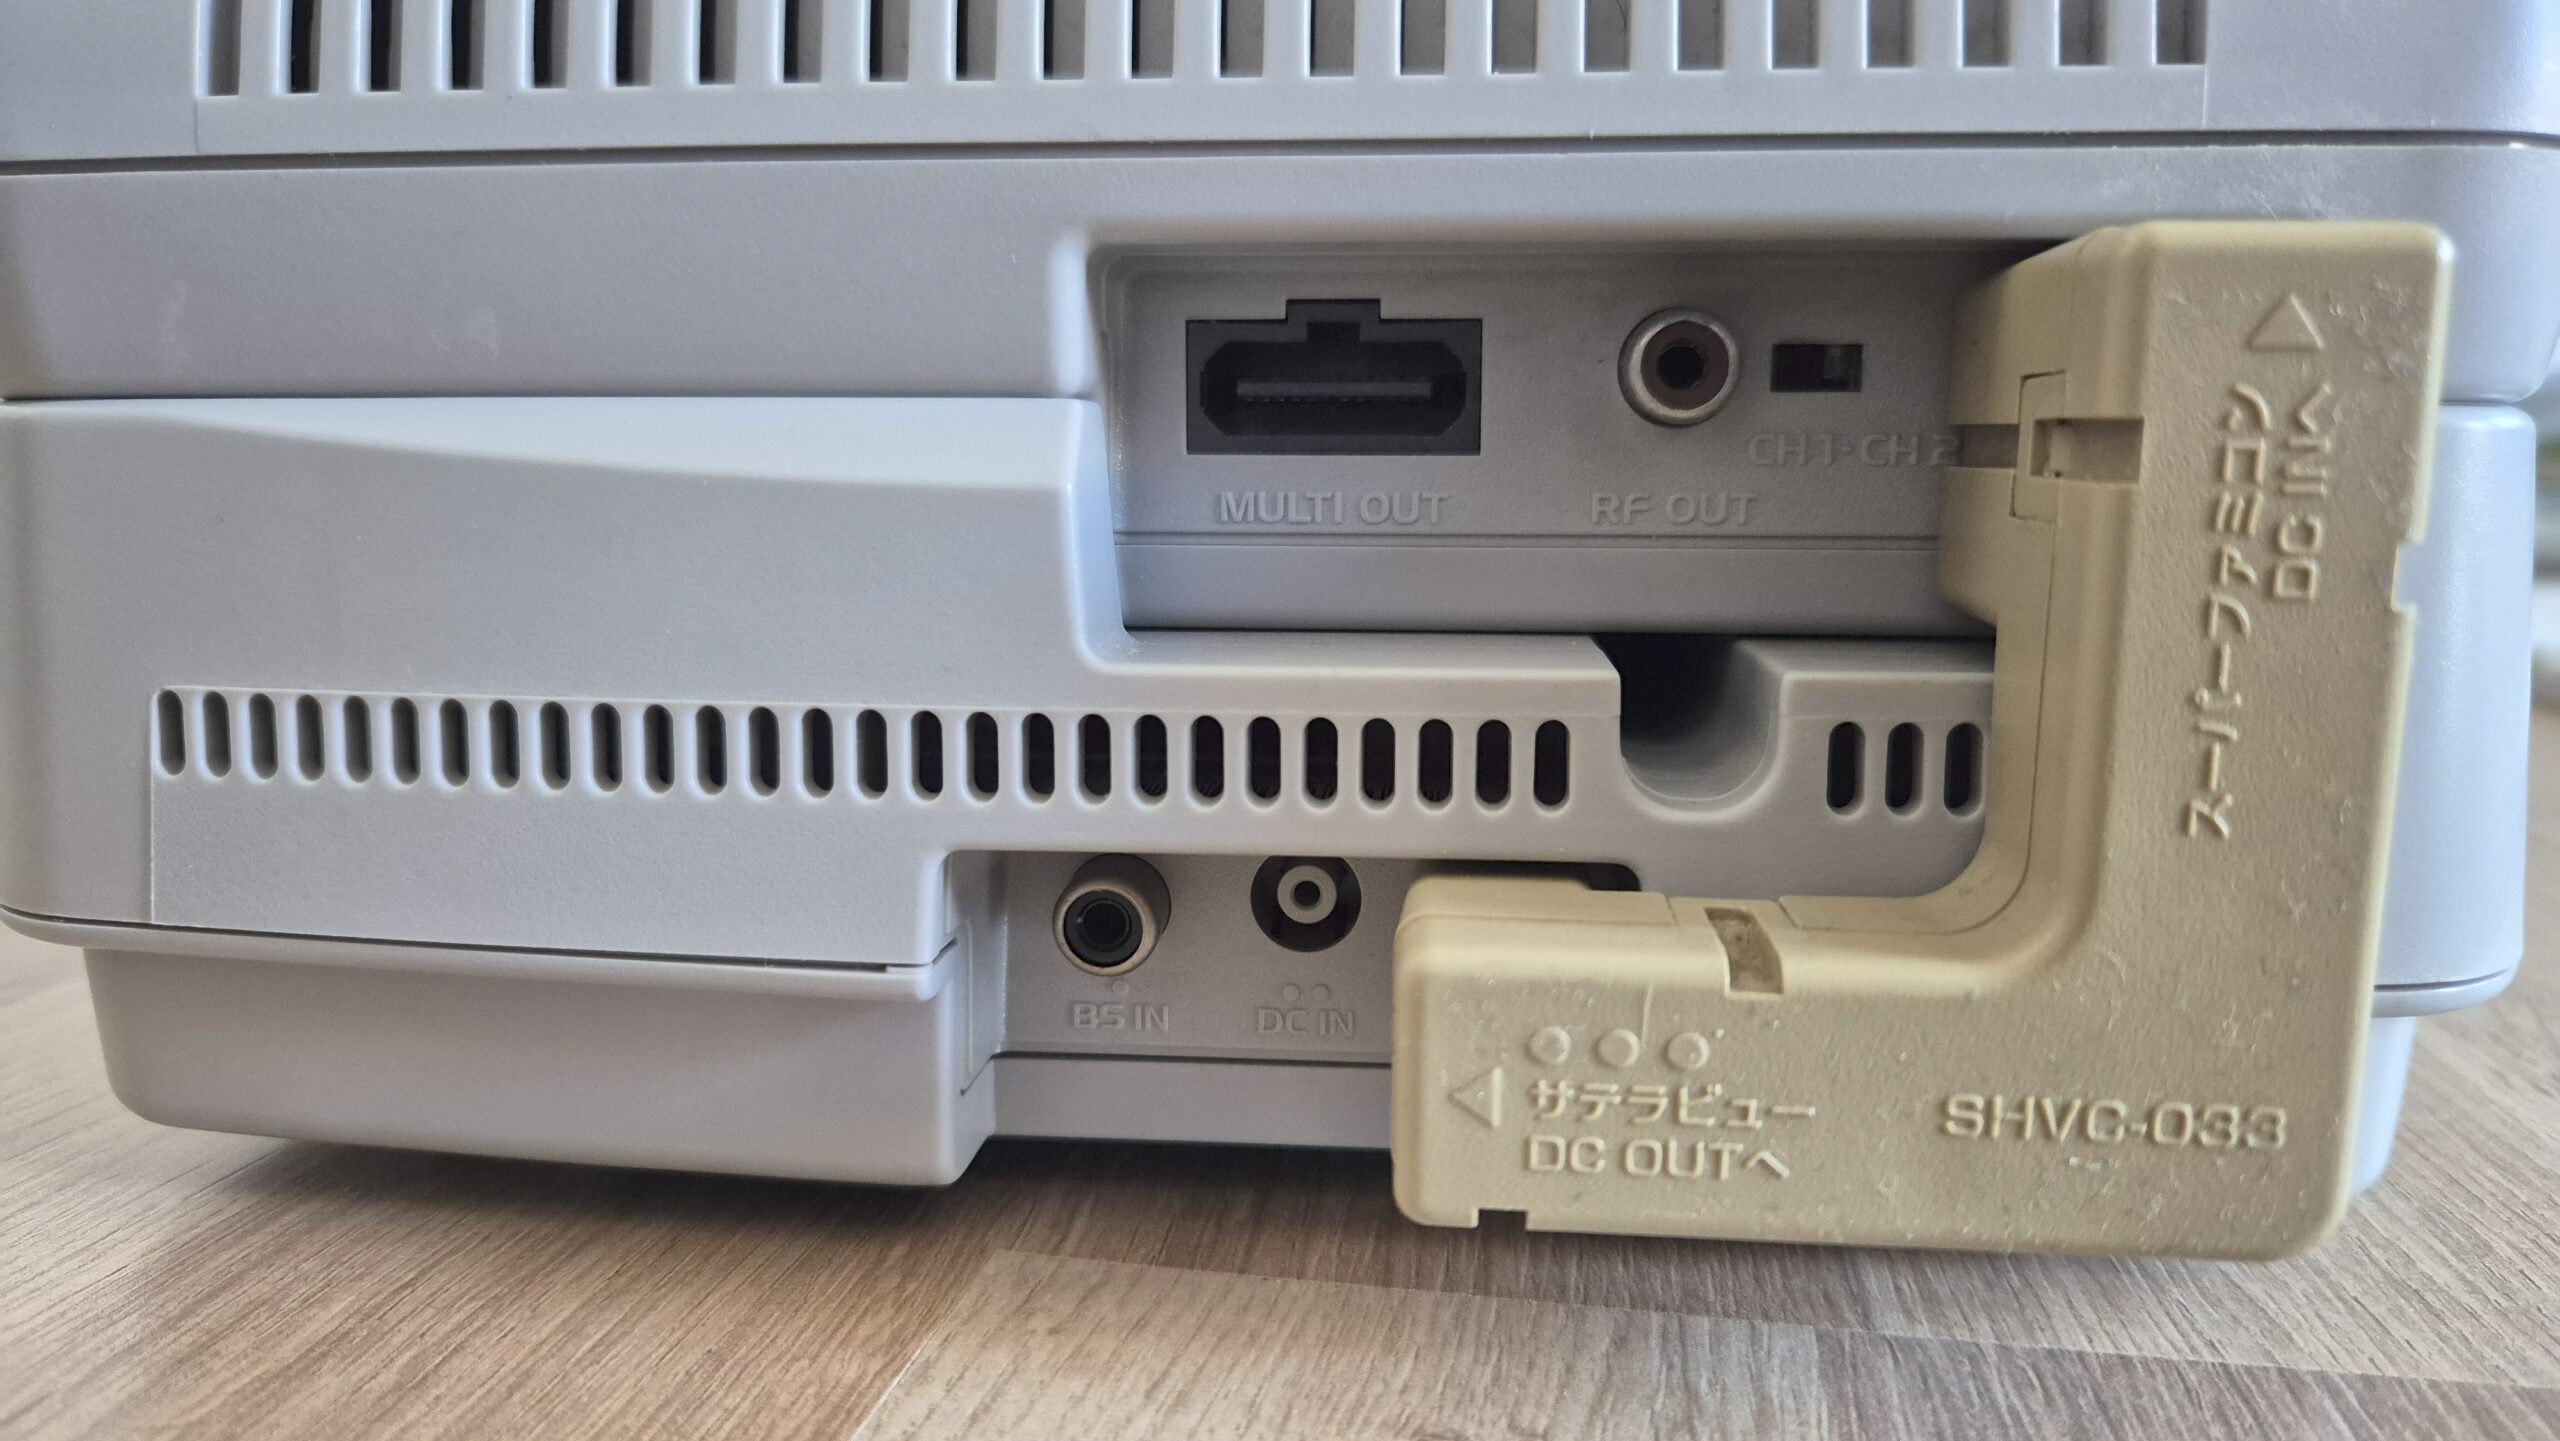
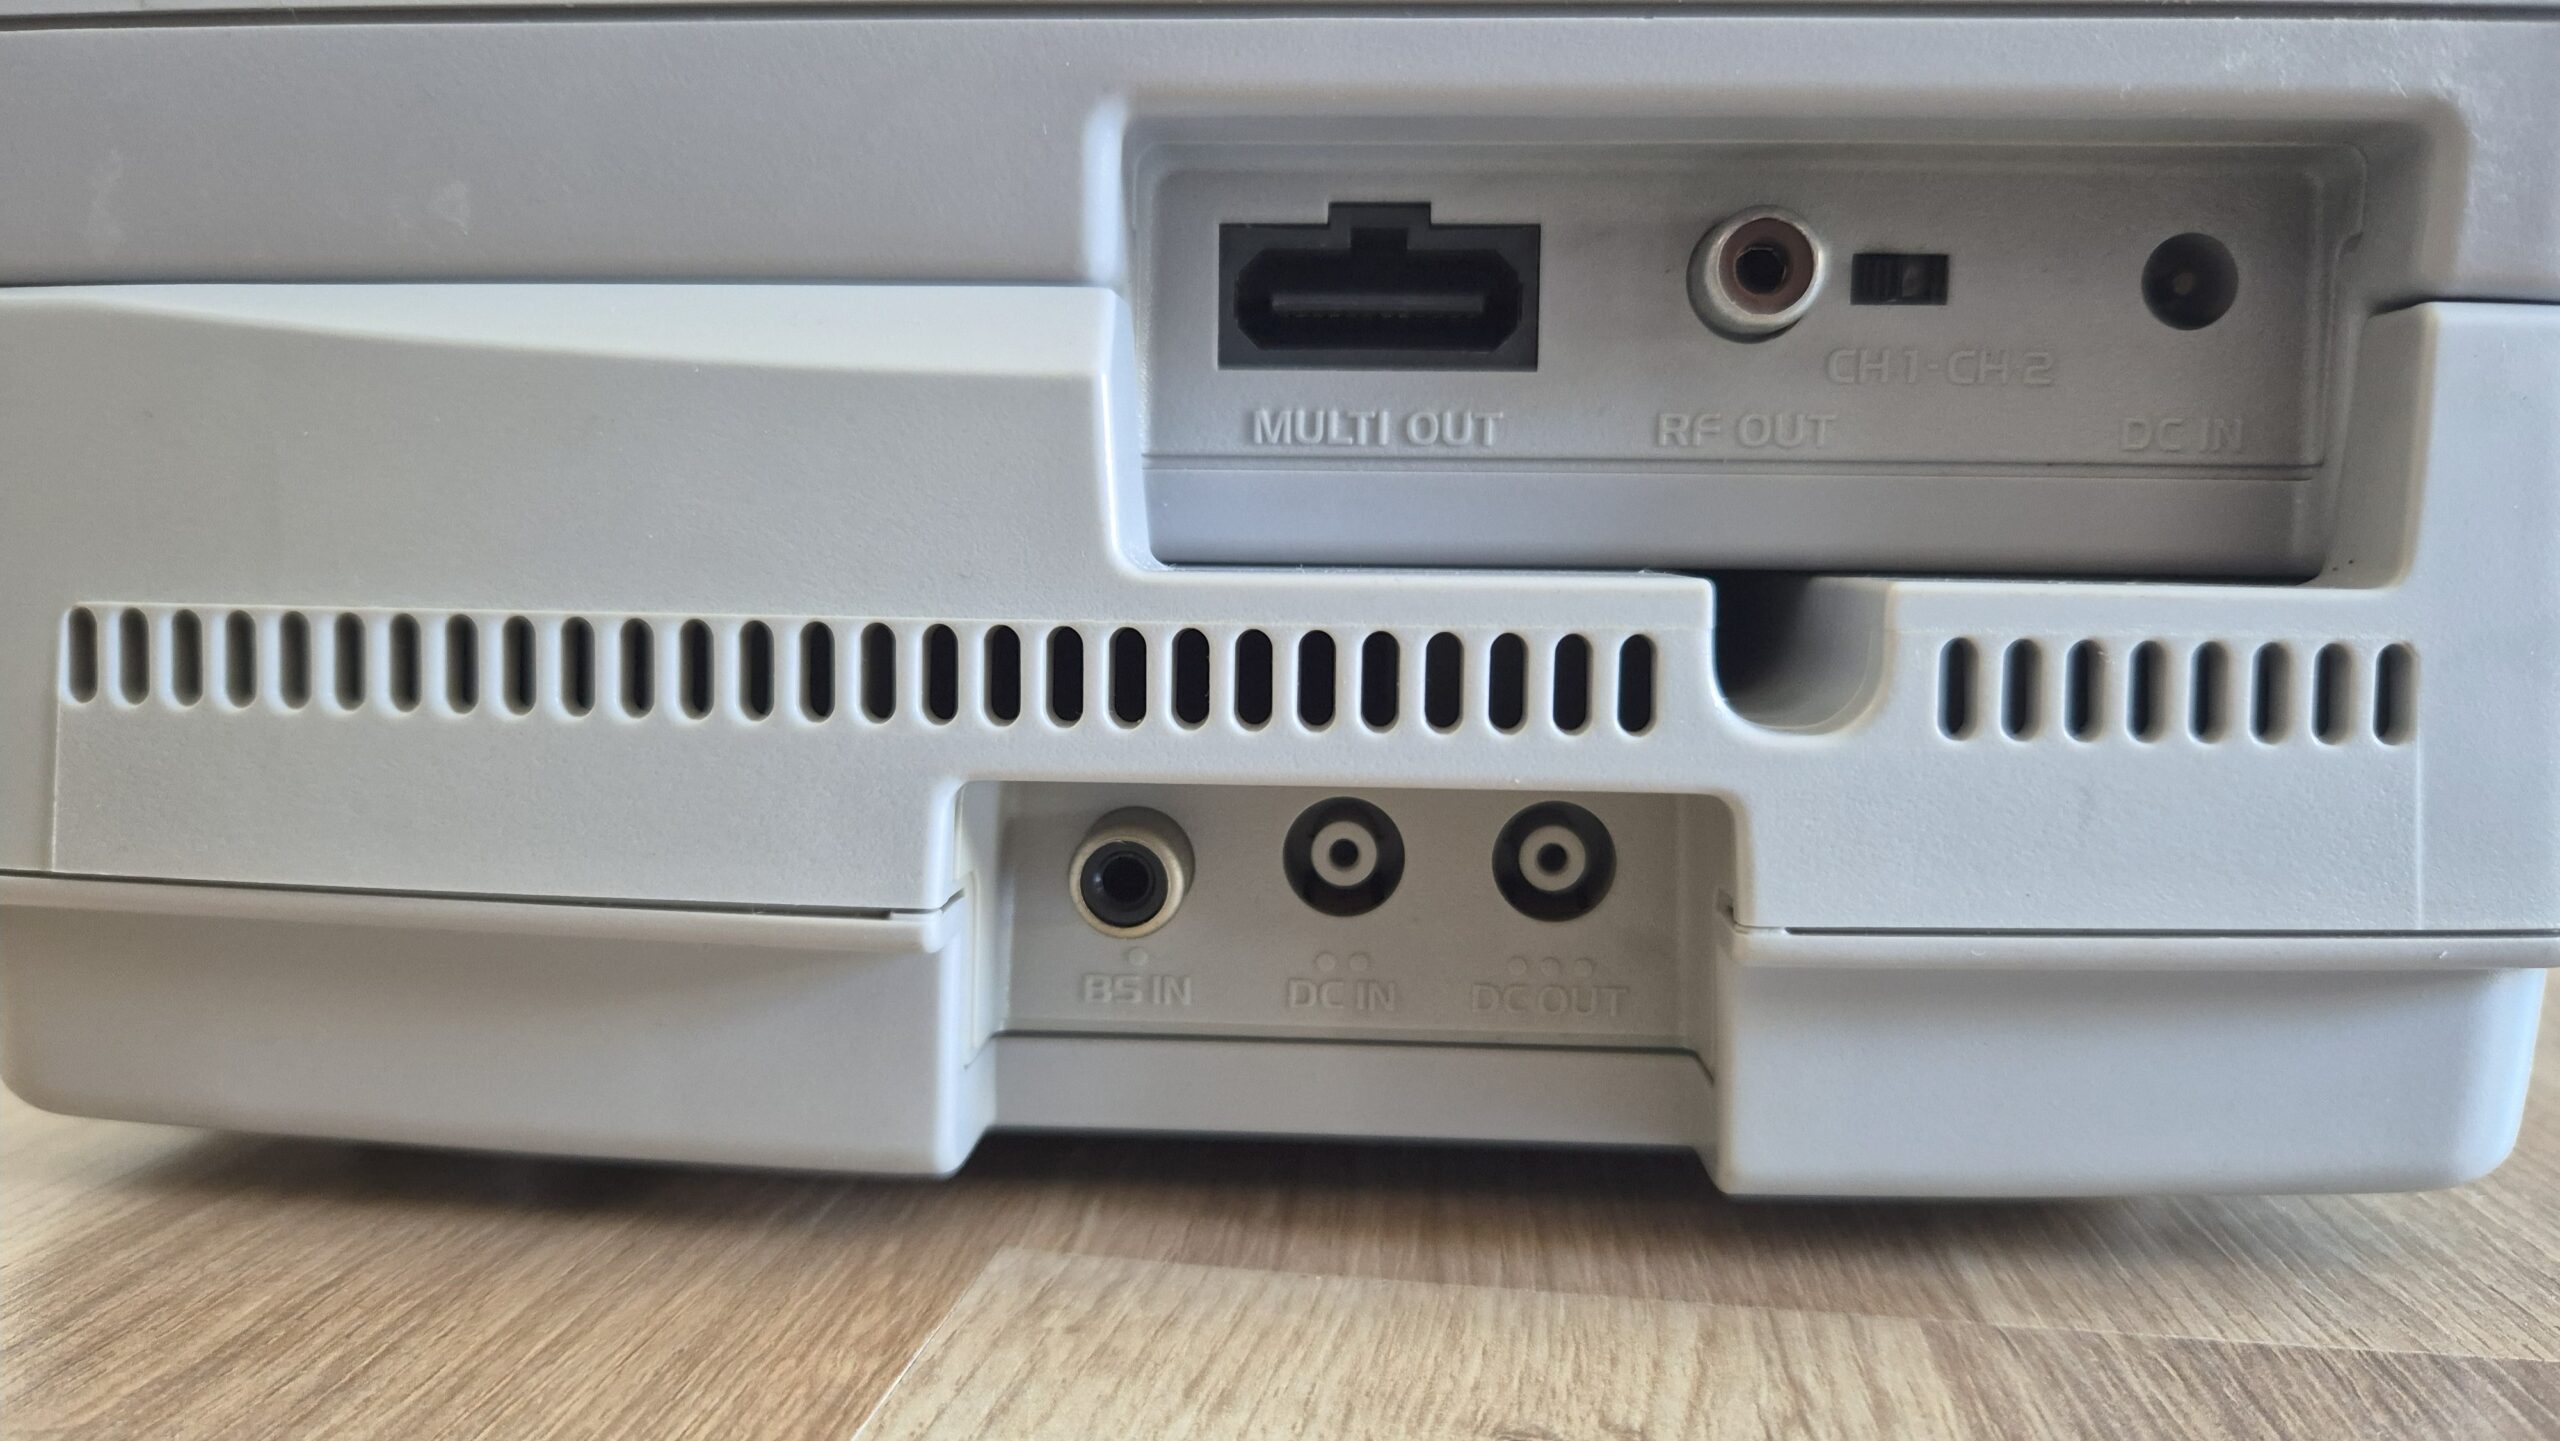
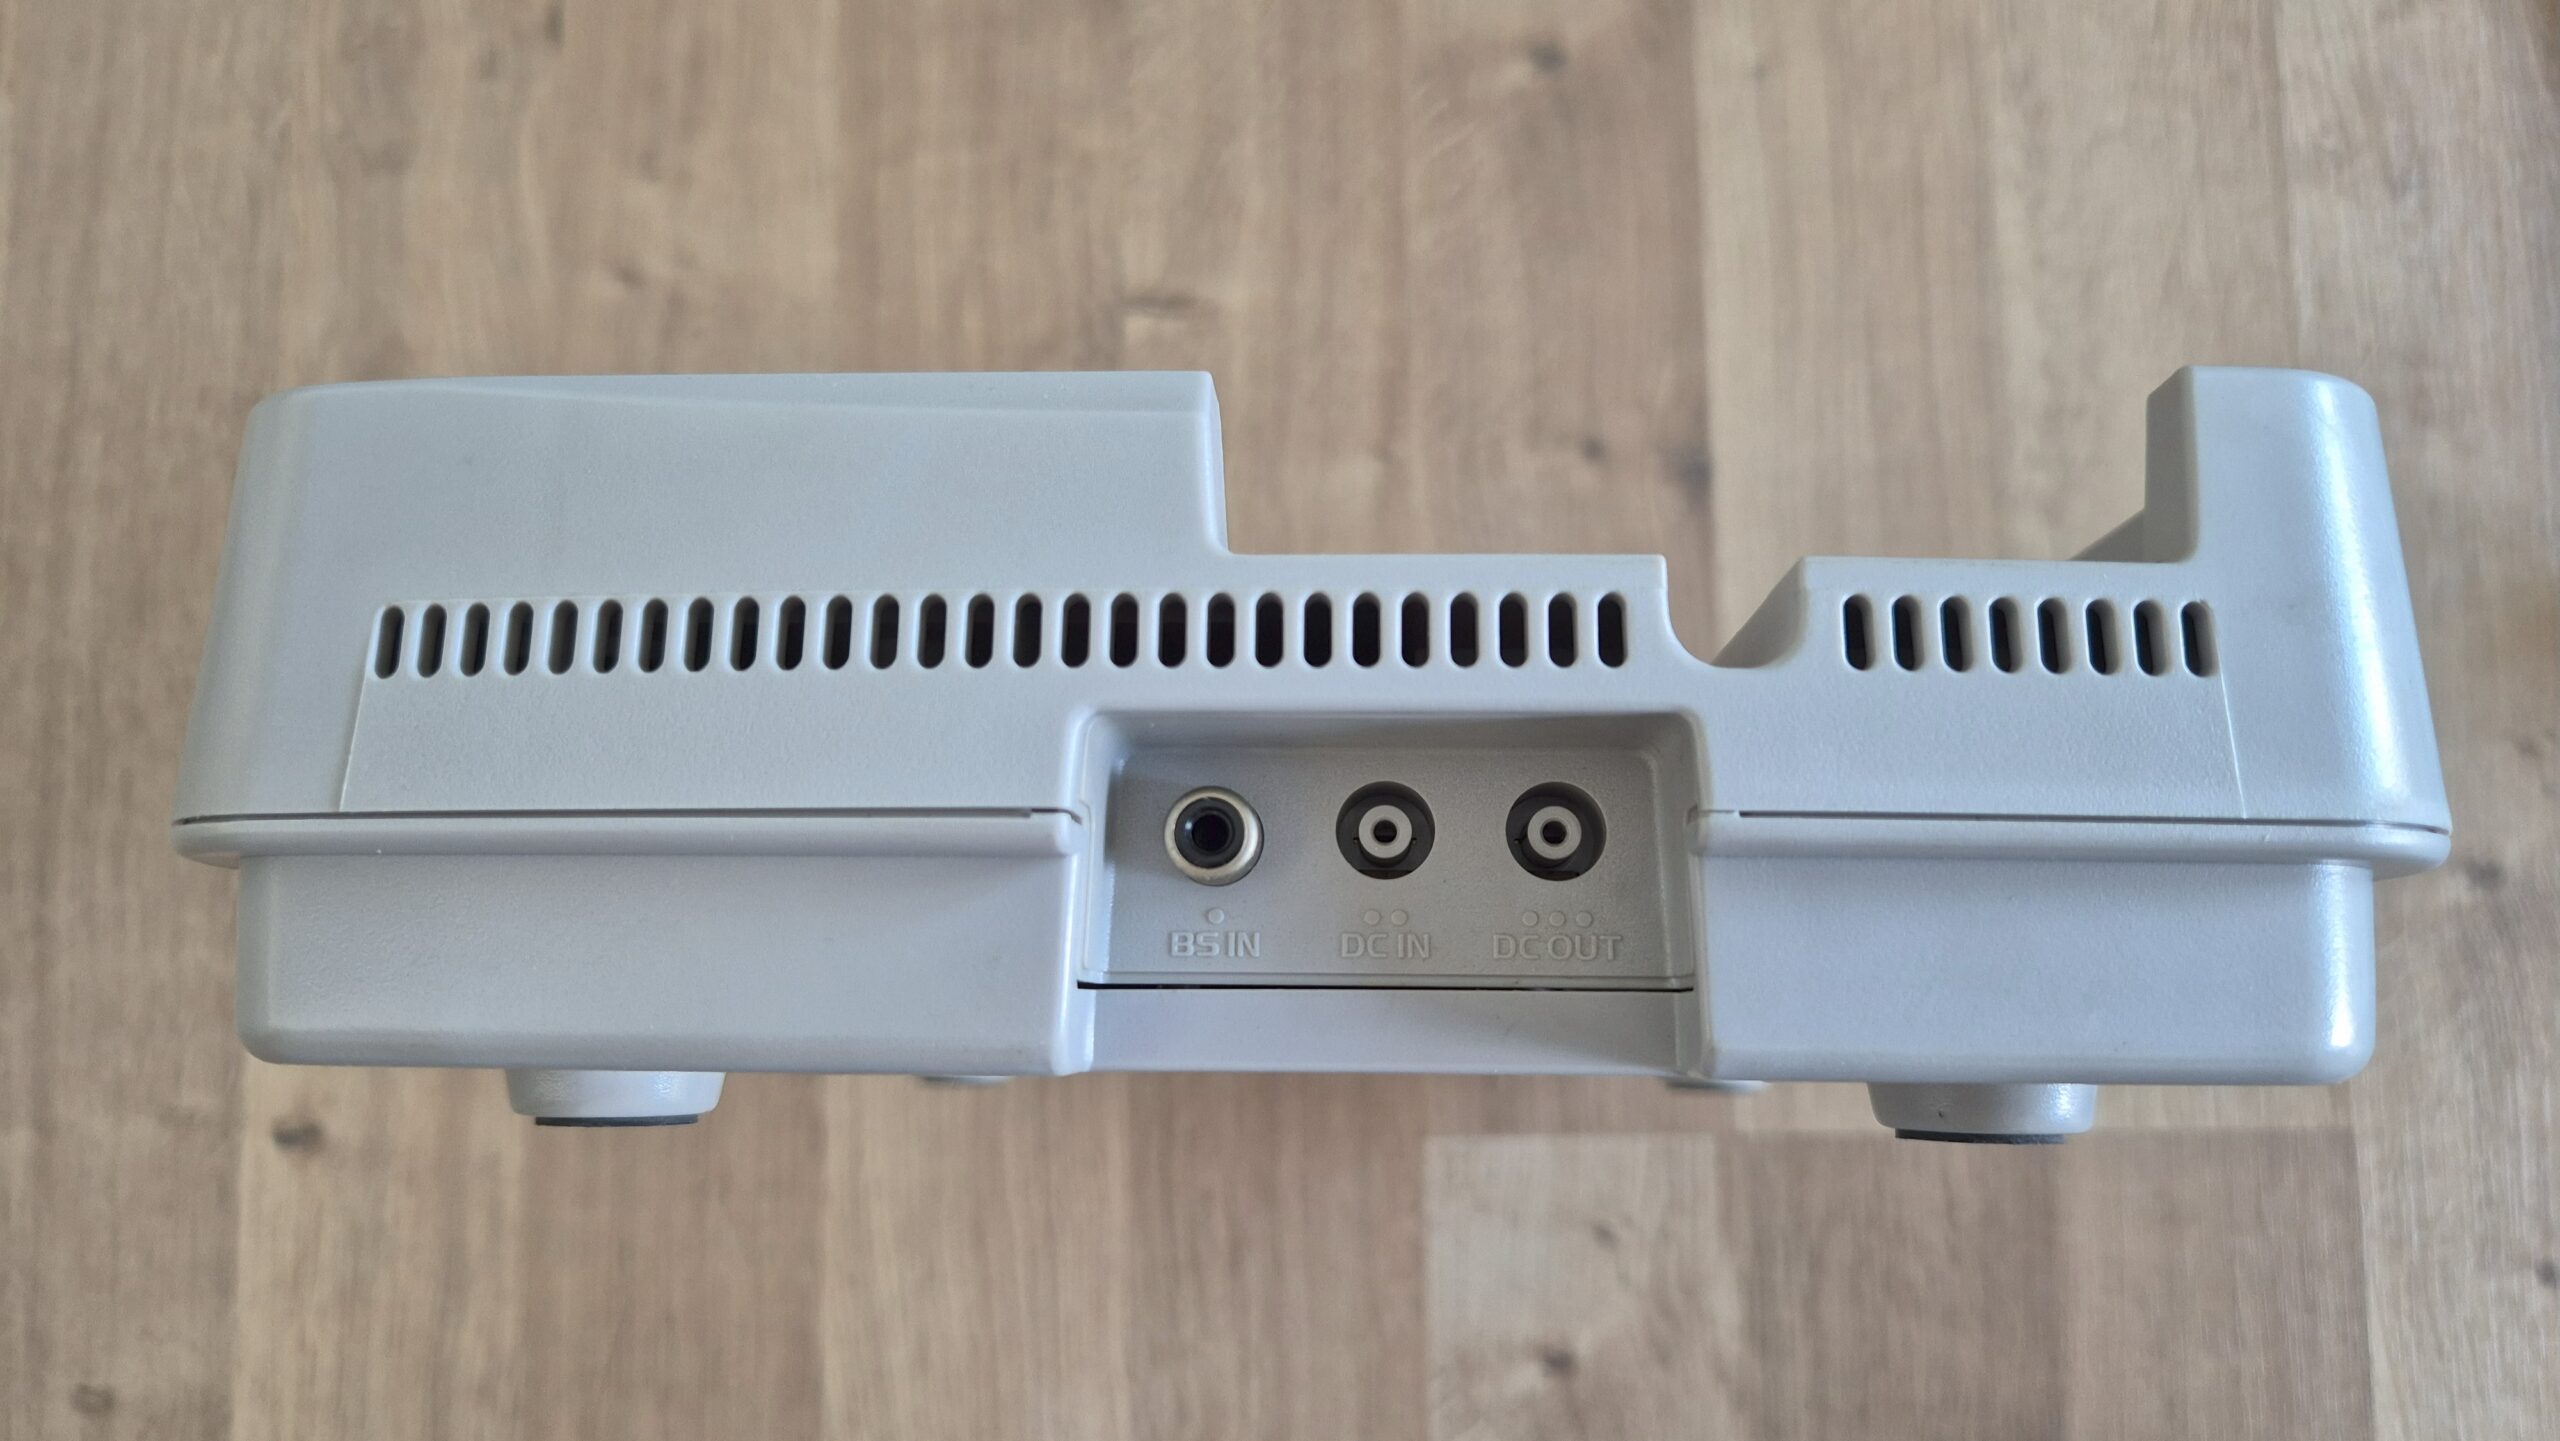
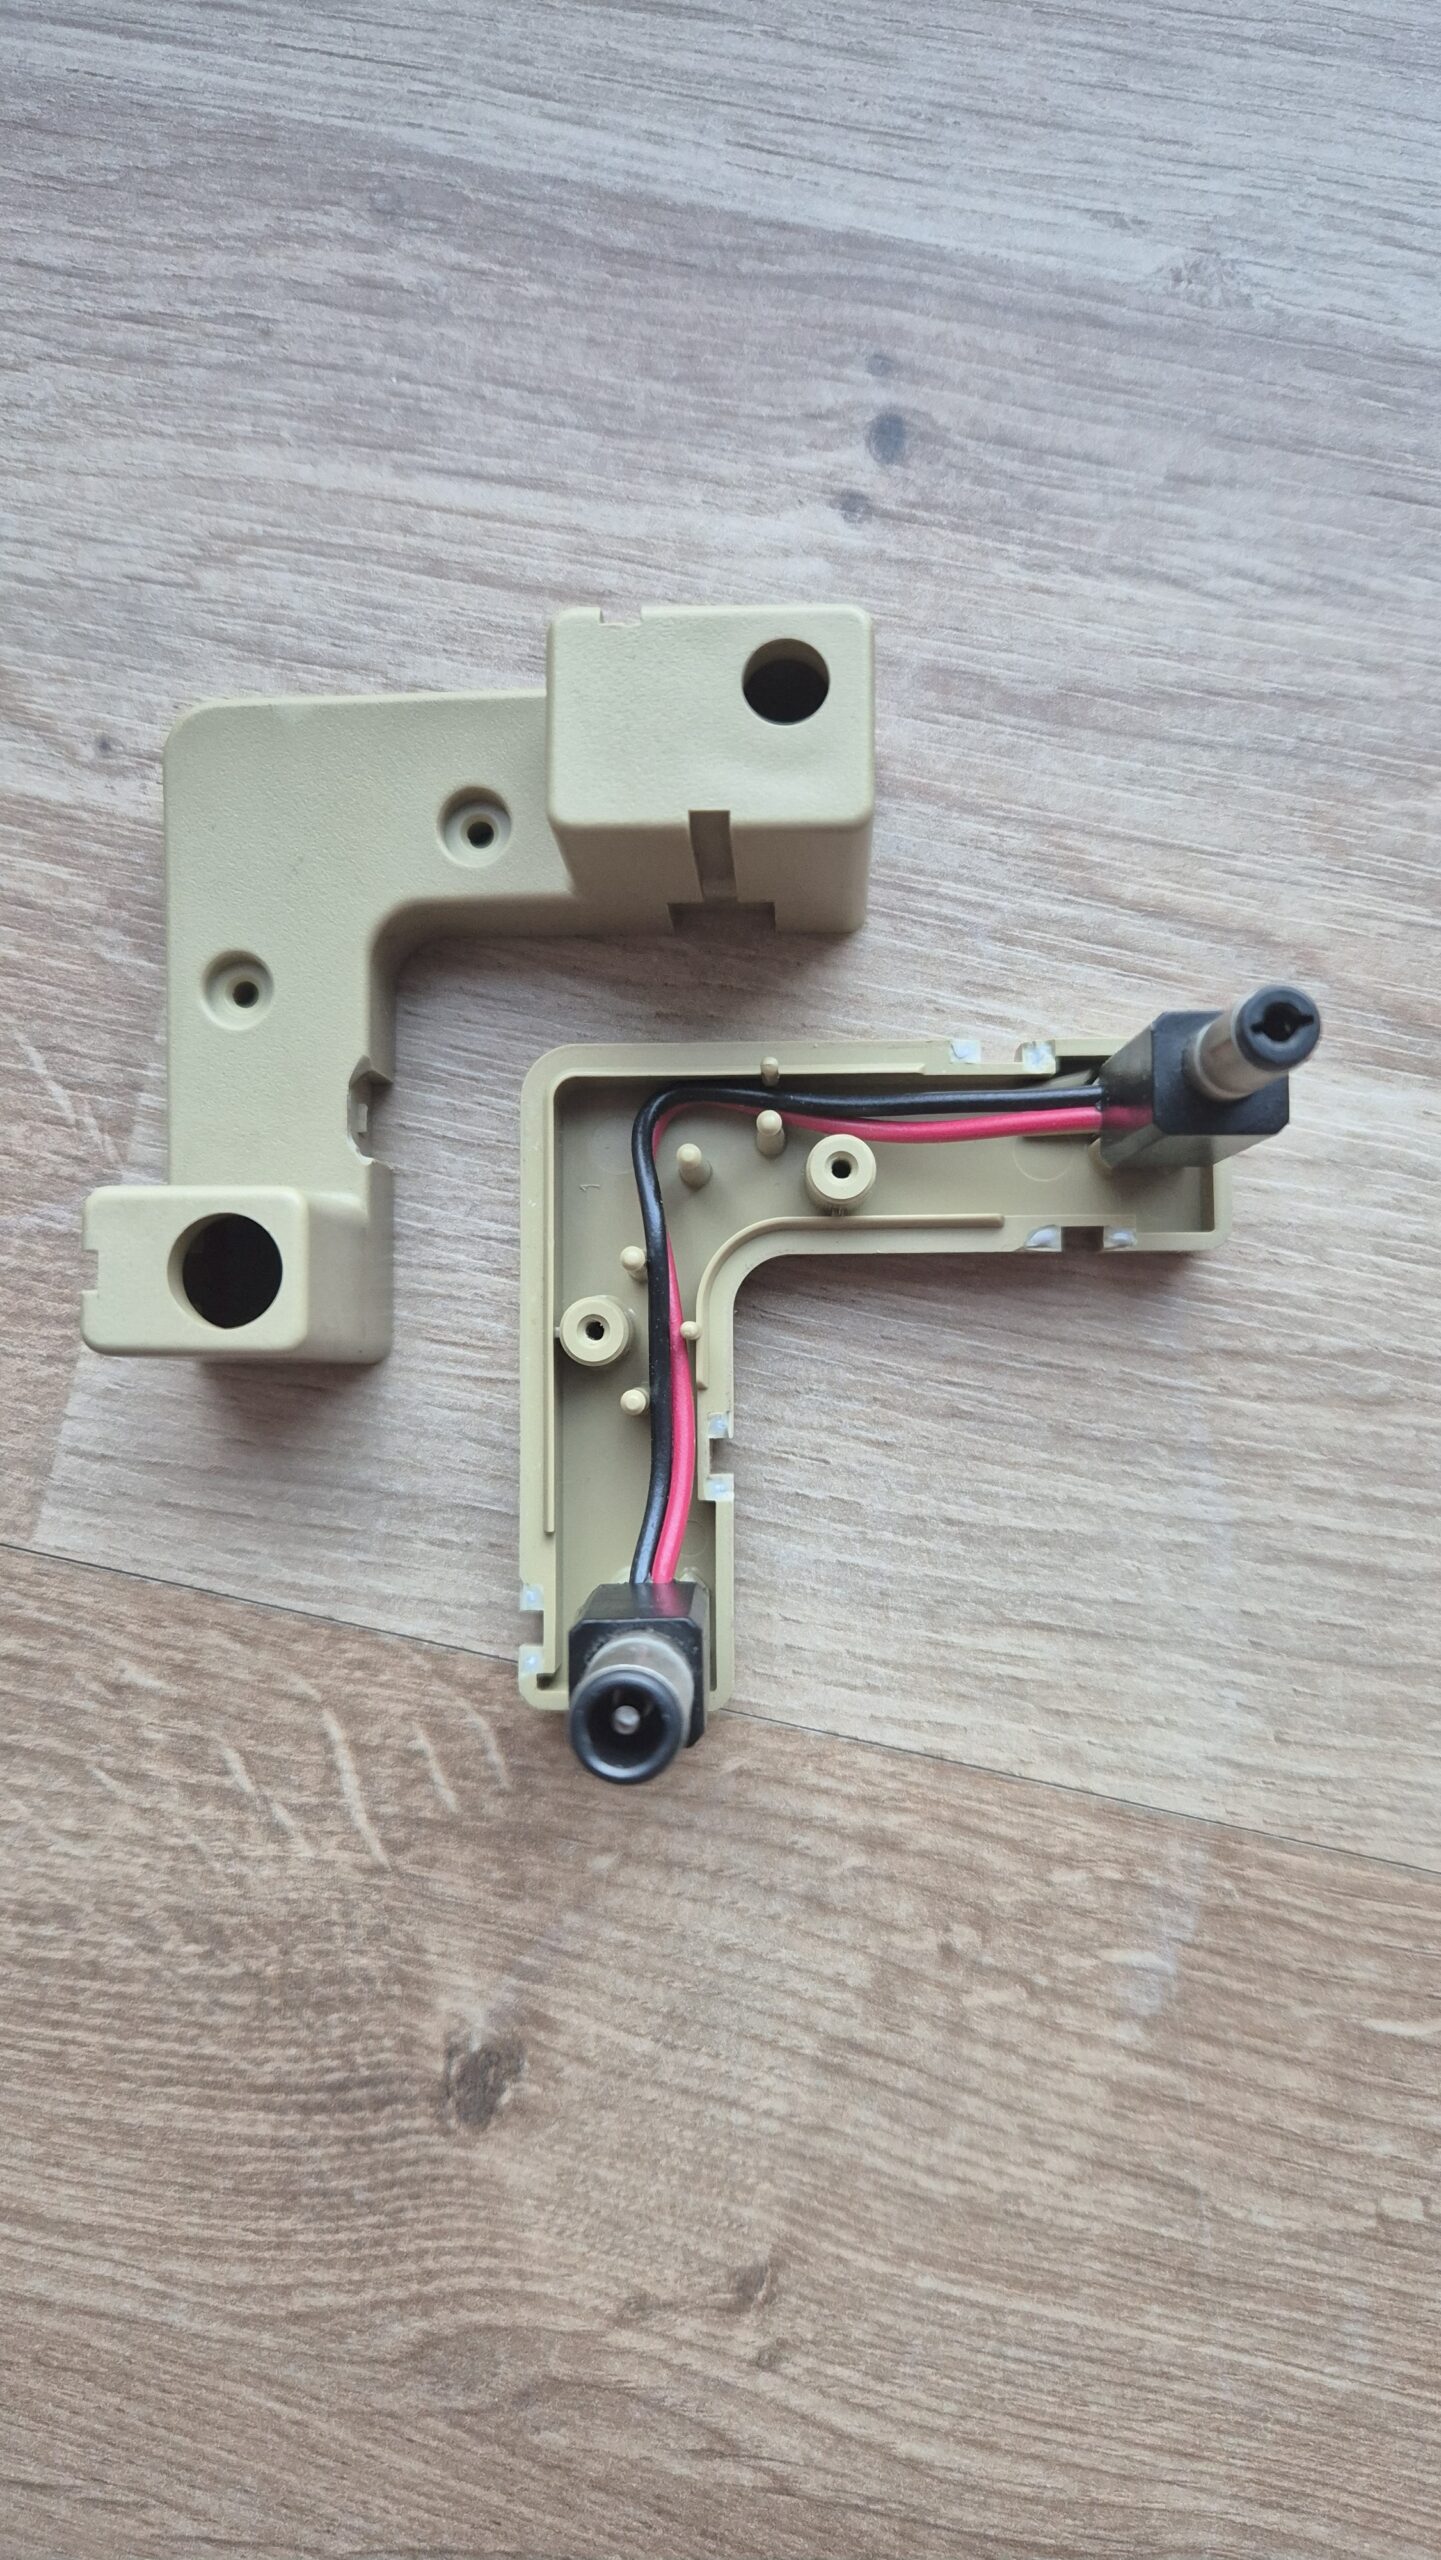
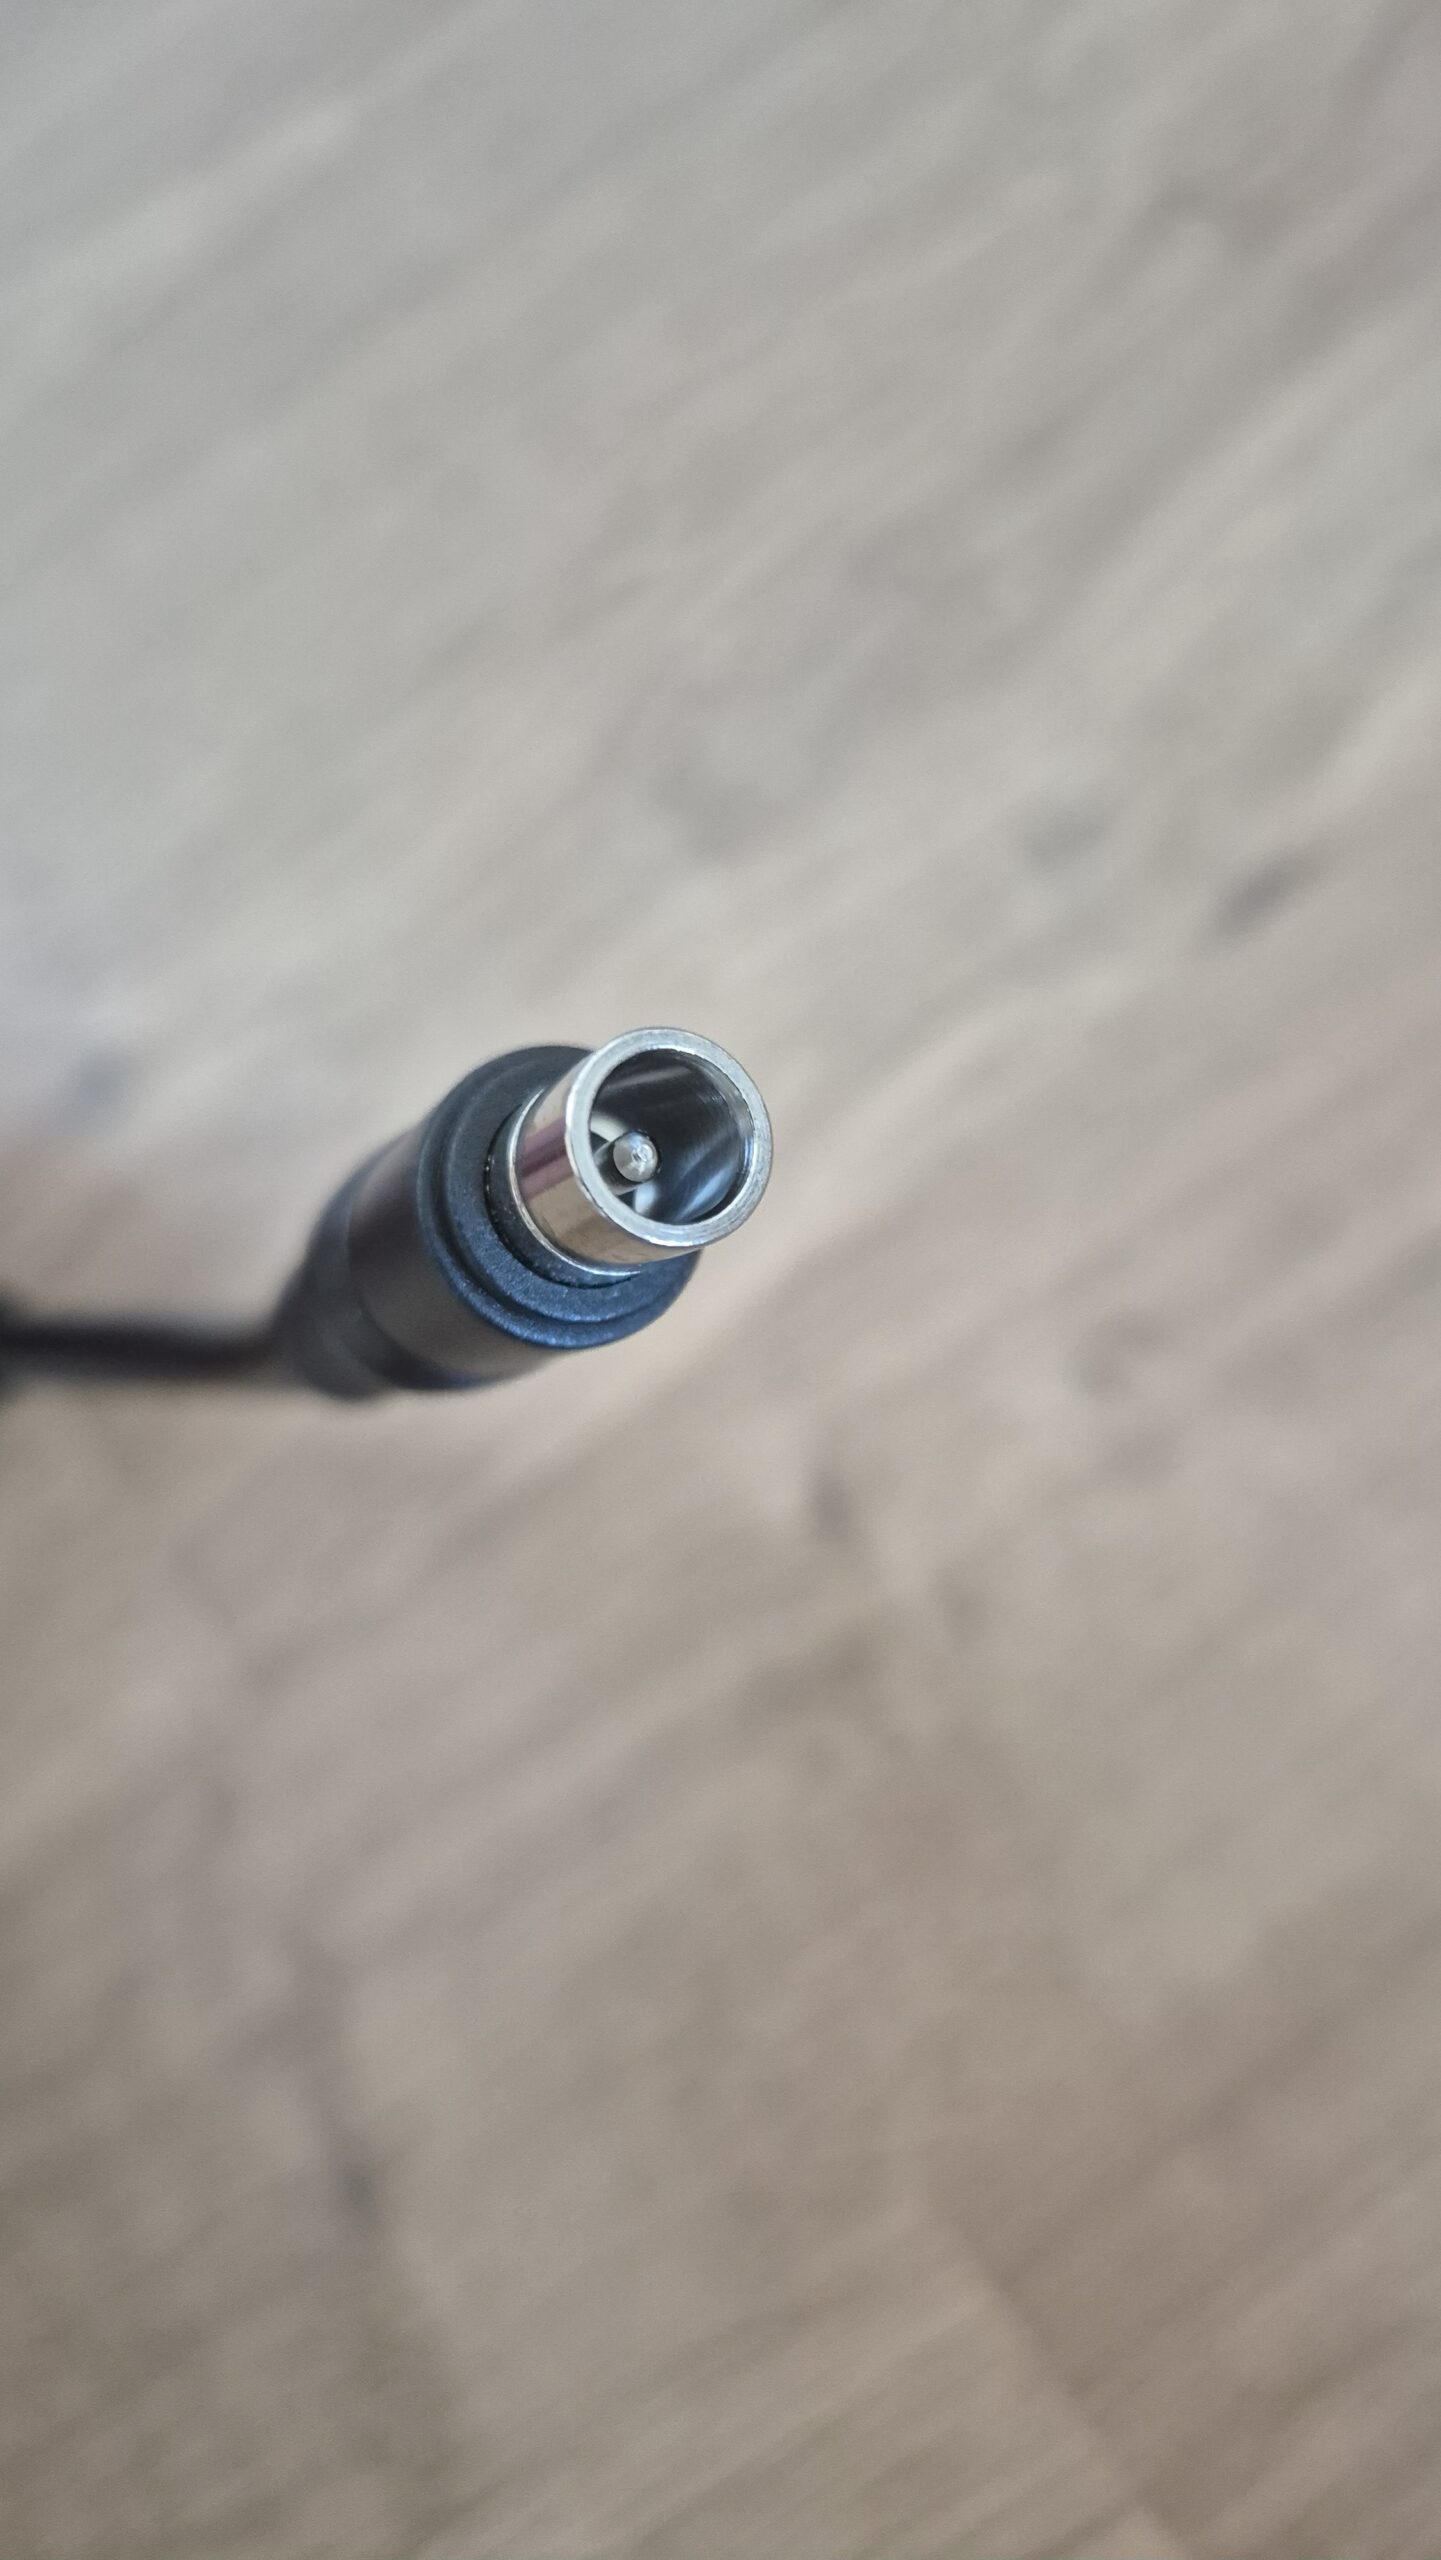
If you need a power adapter for your Satellaview its 8.0mm with 2.0mm pin. You can find one here: https://a.aliexpress.com/_EGyQdDC
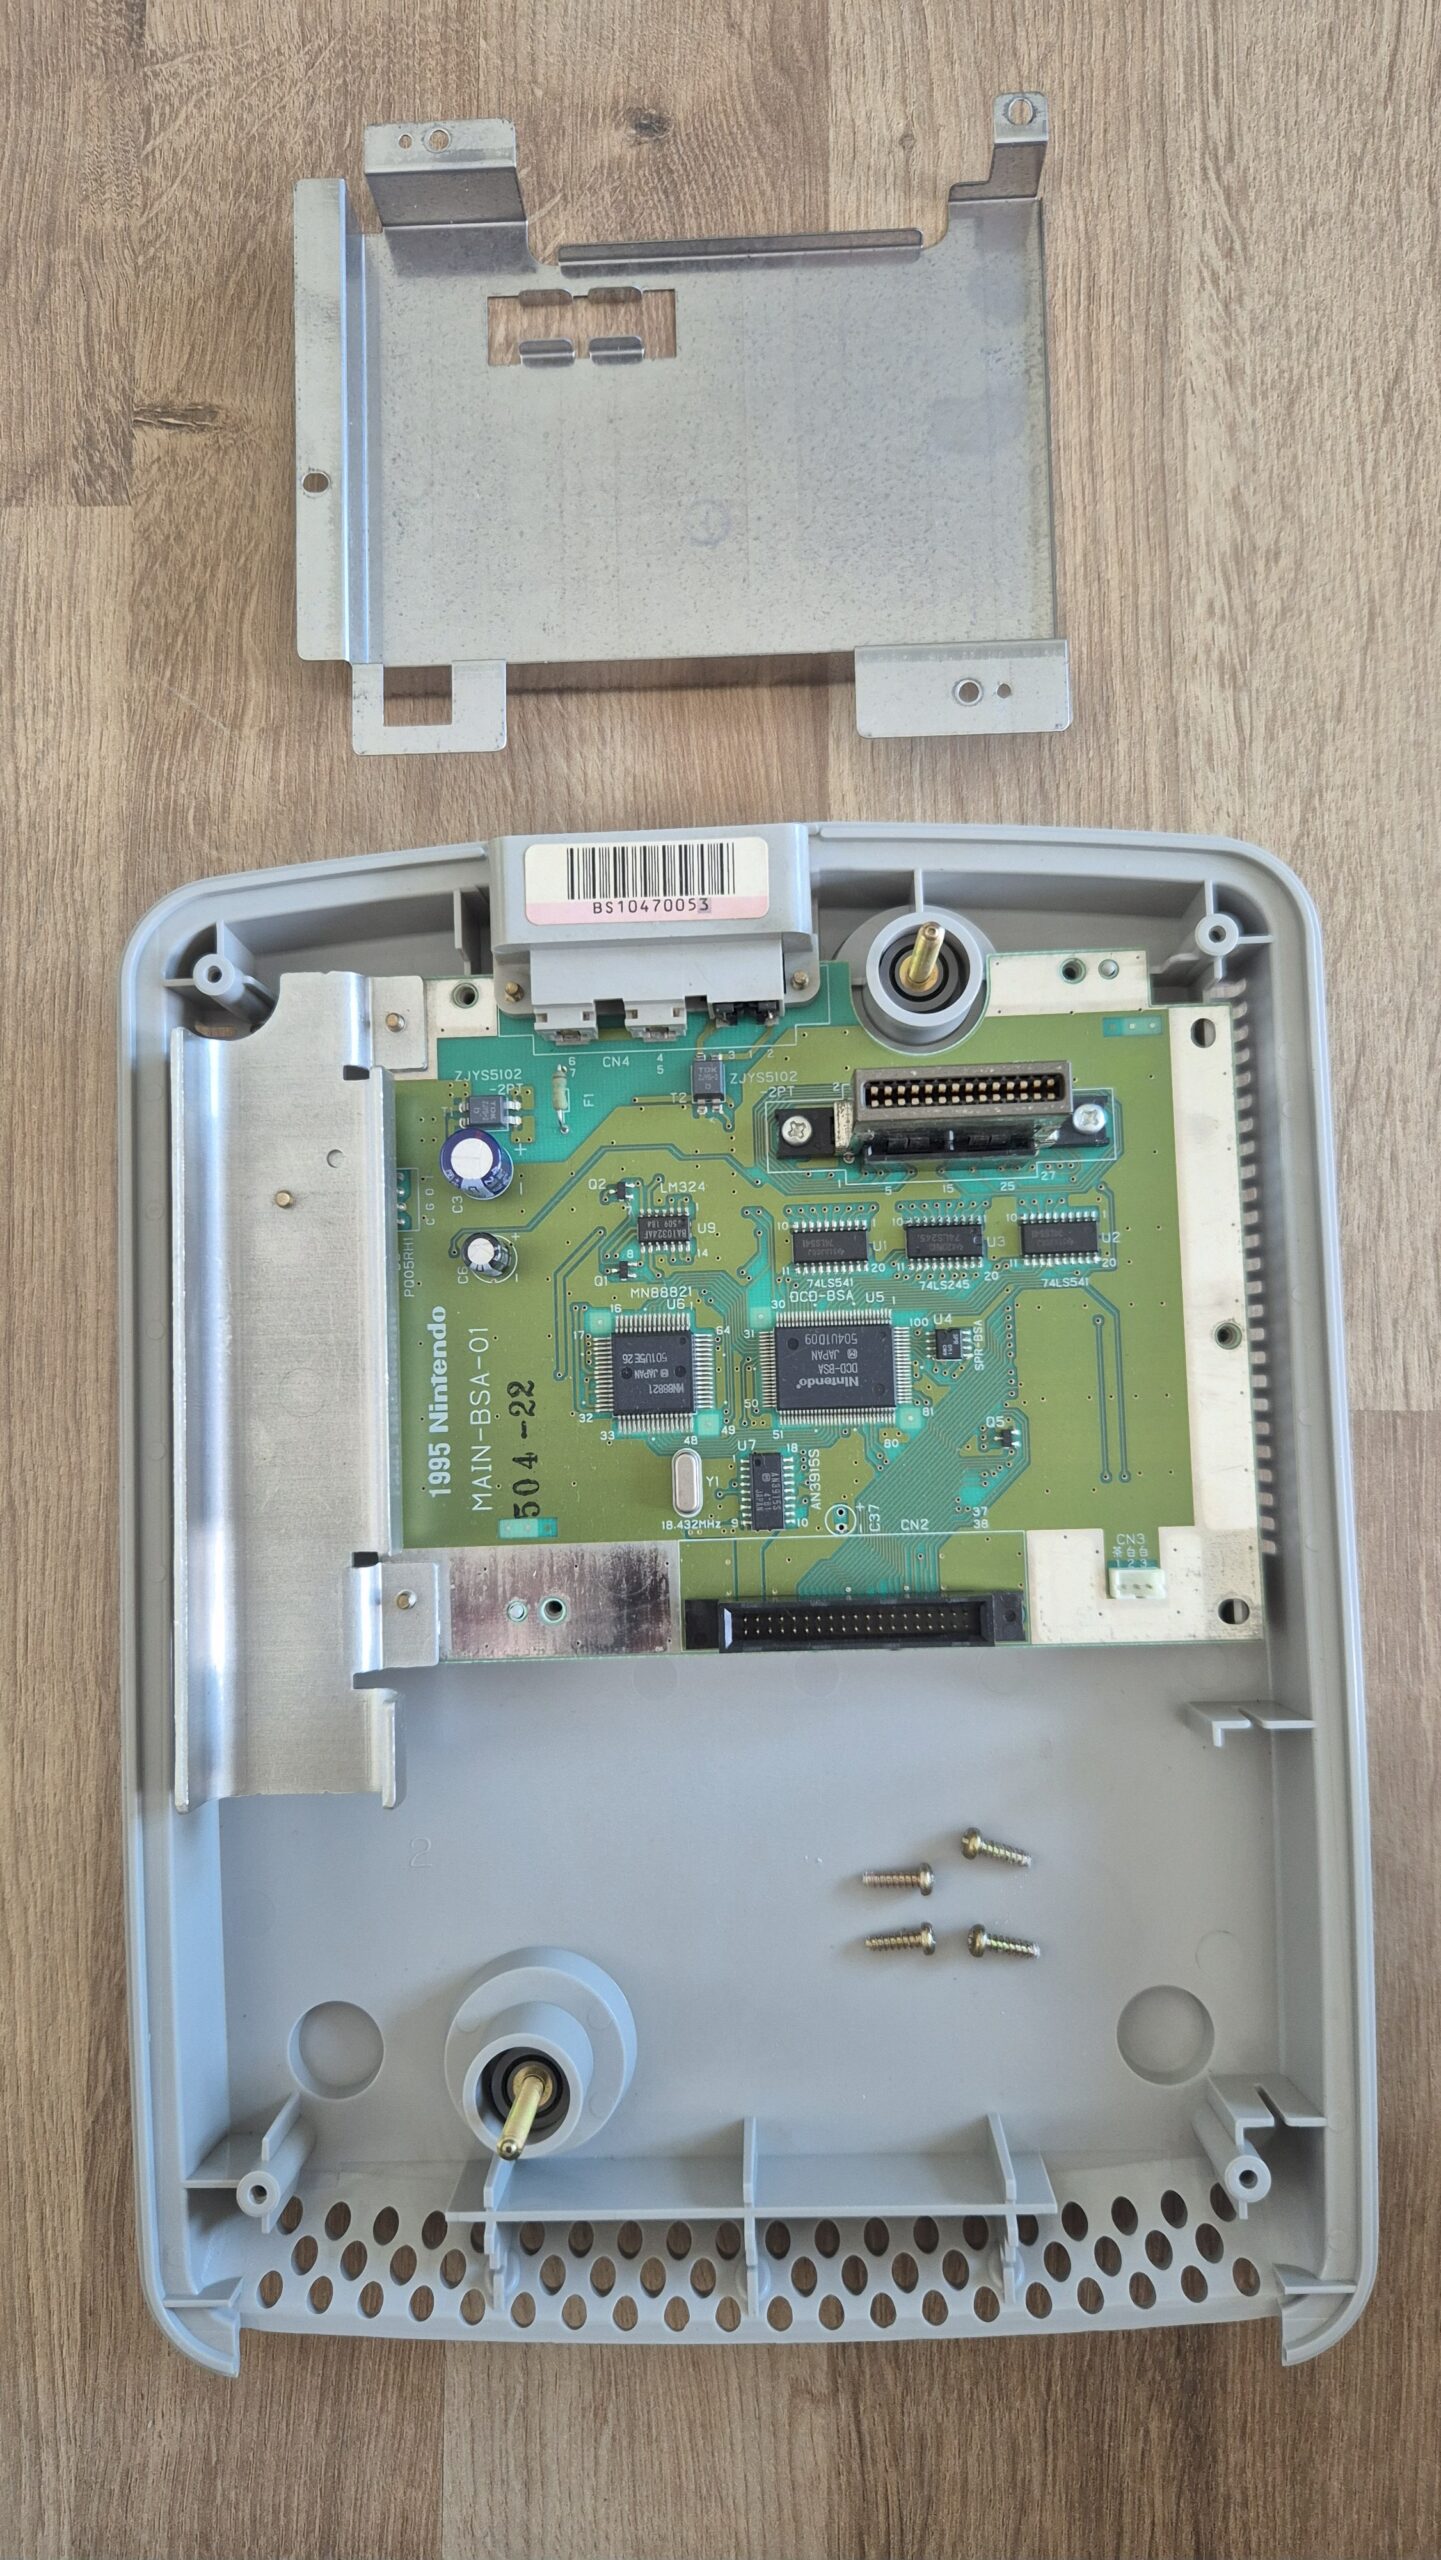
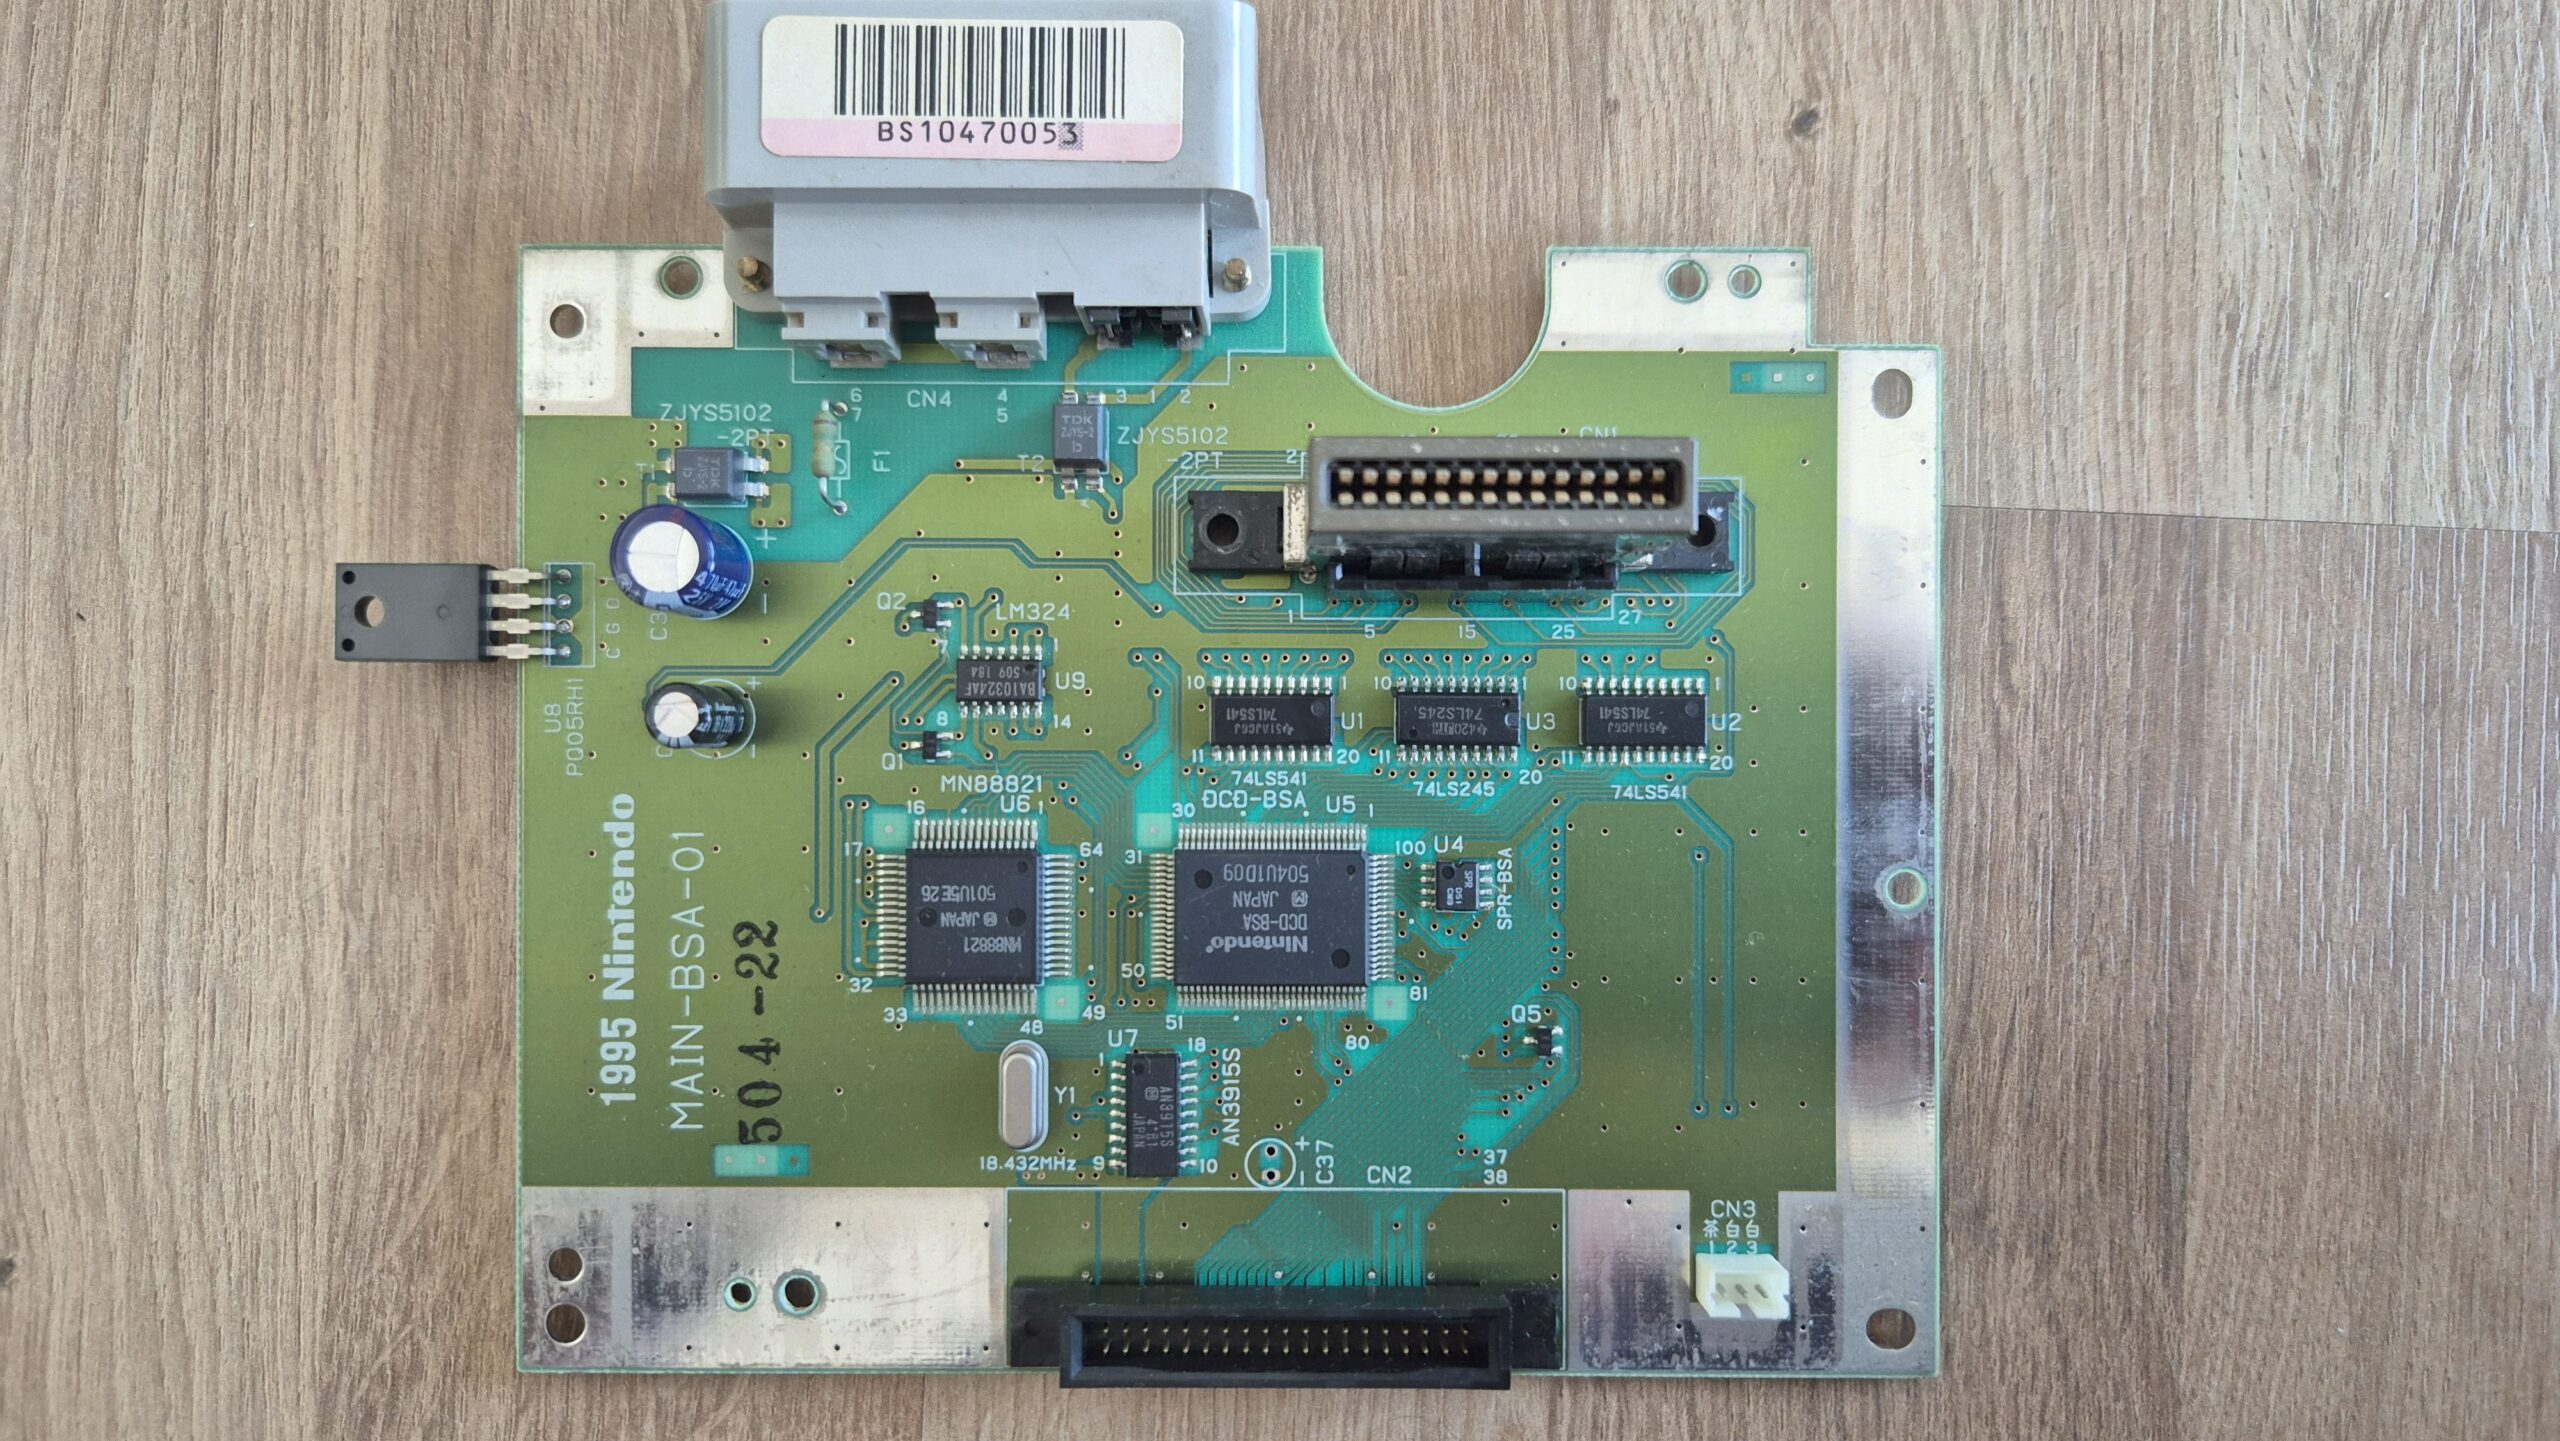
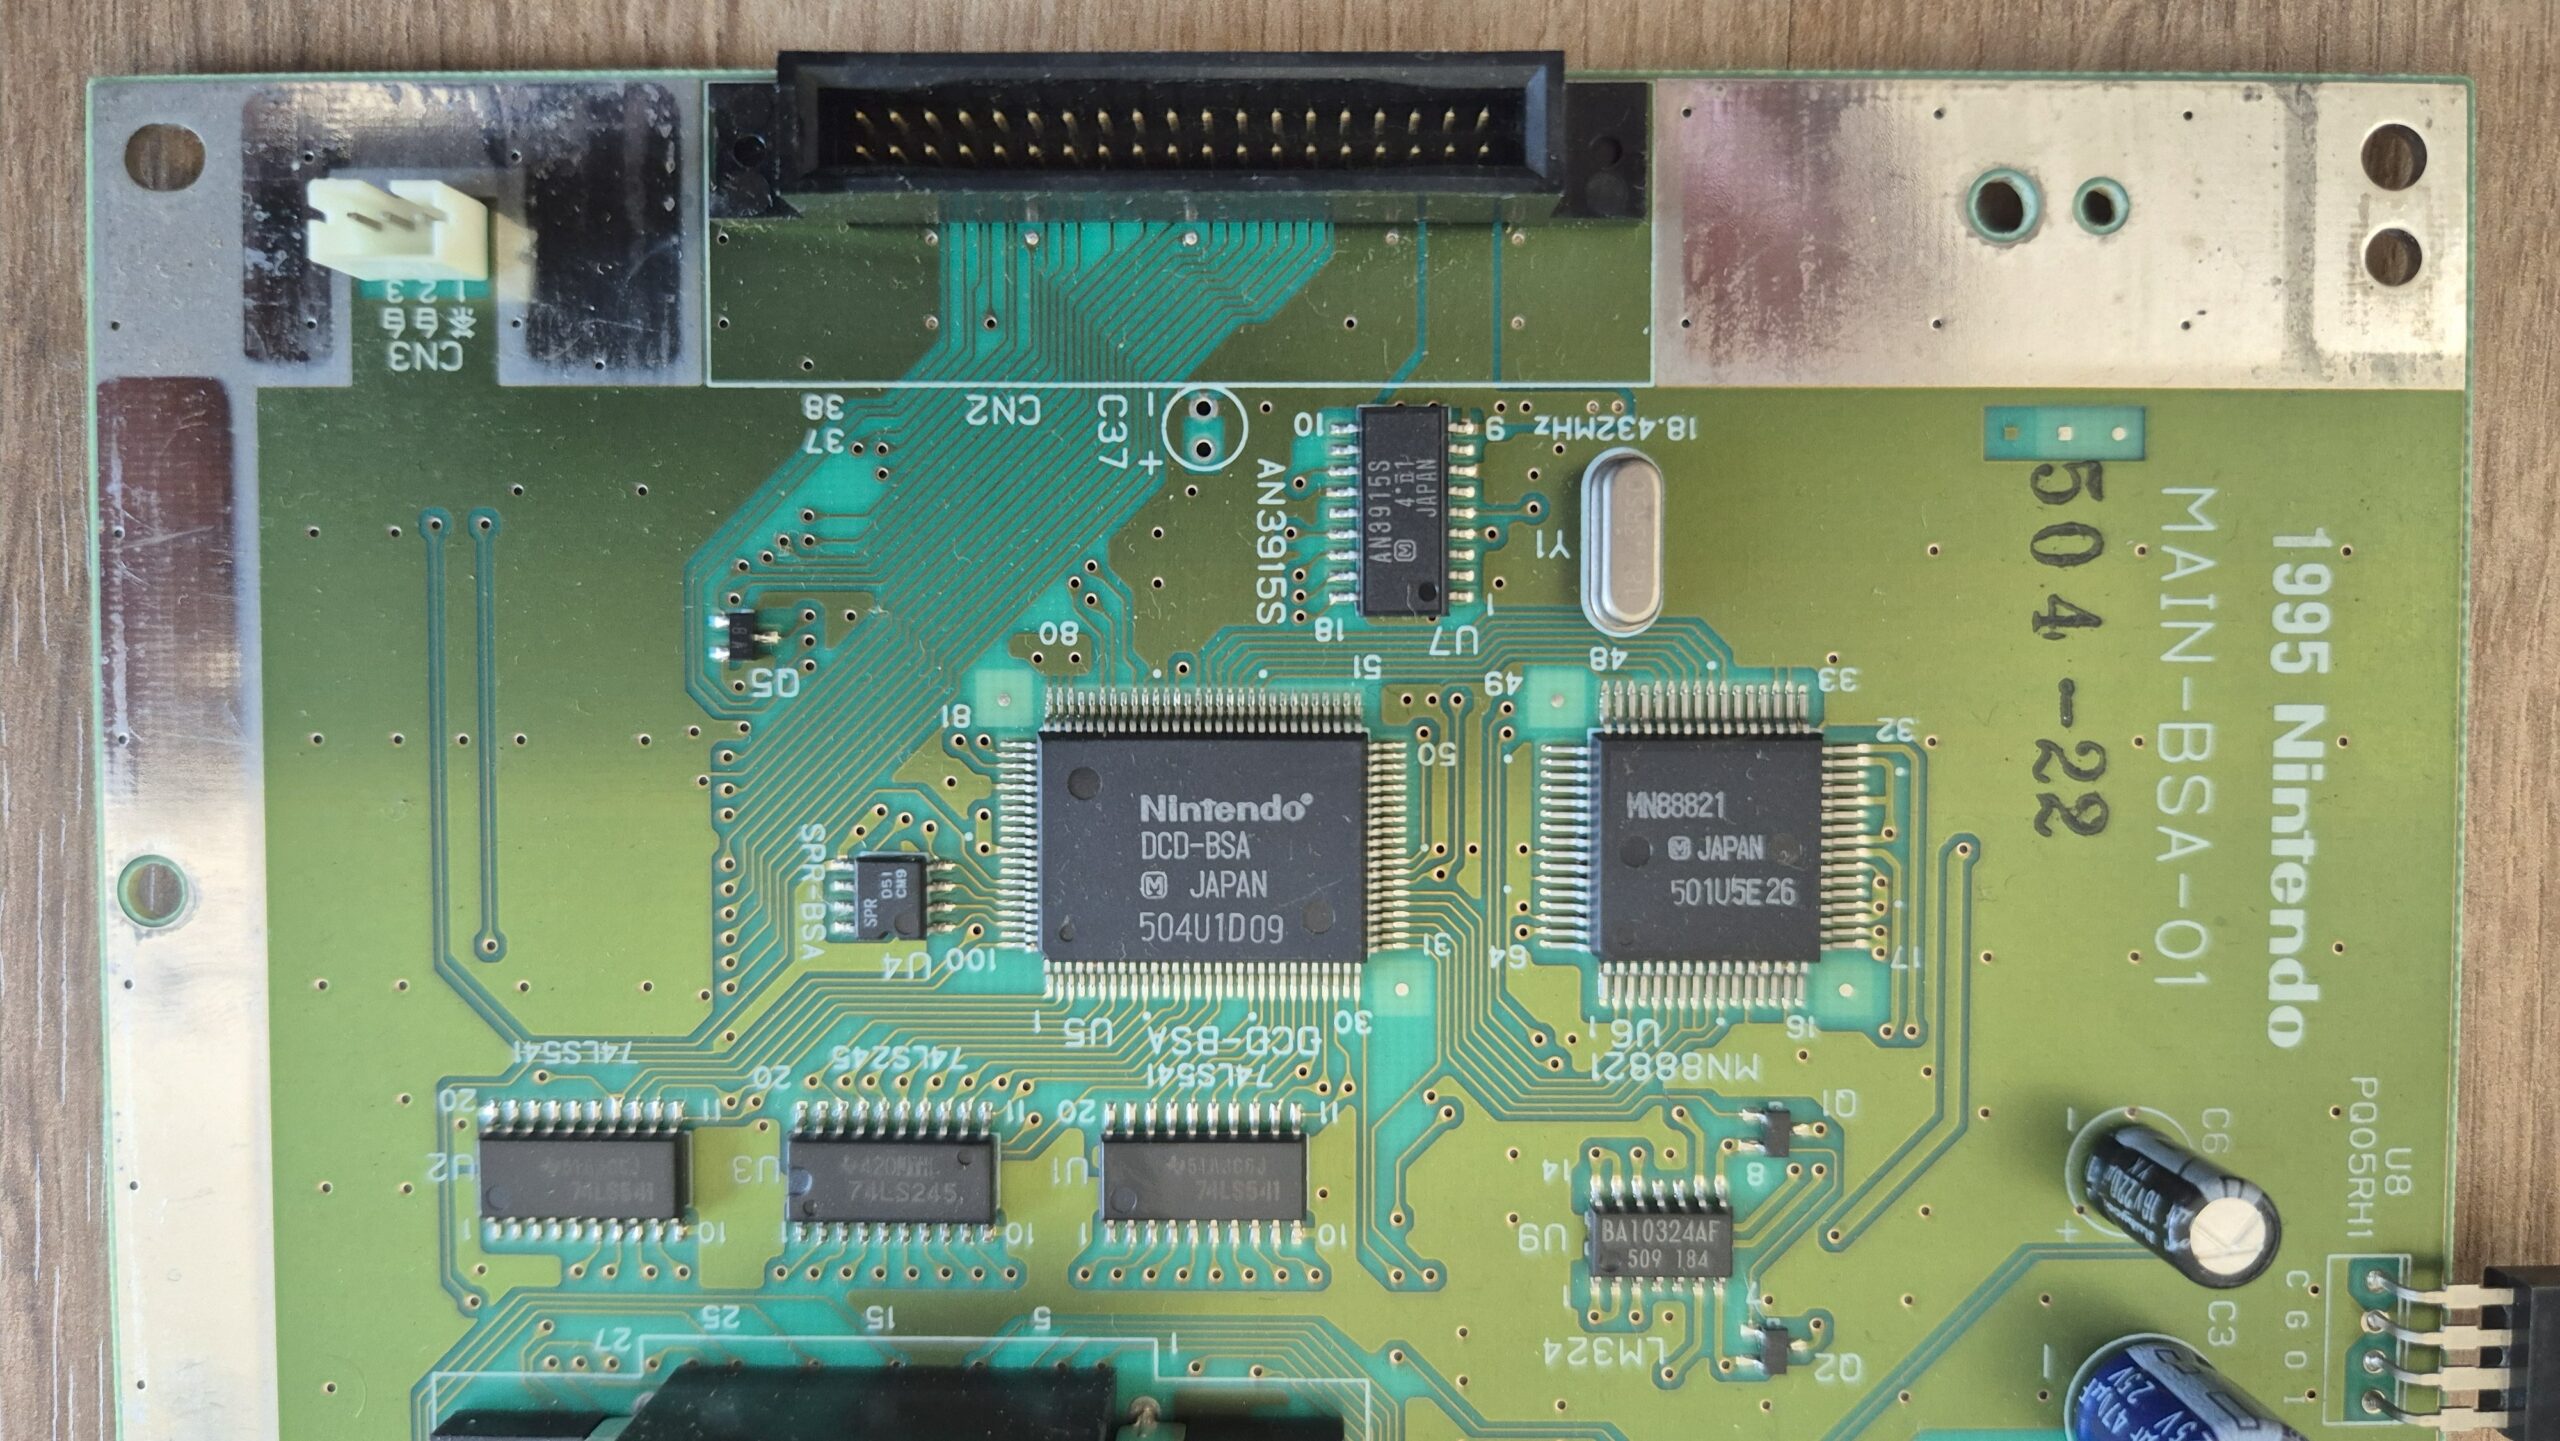
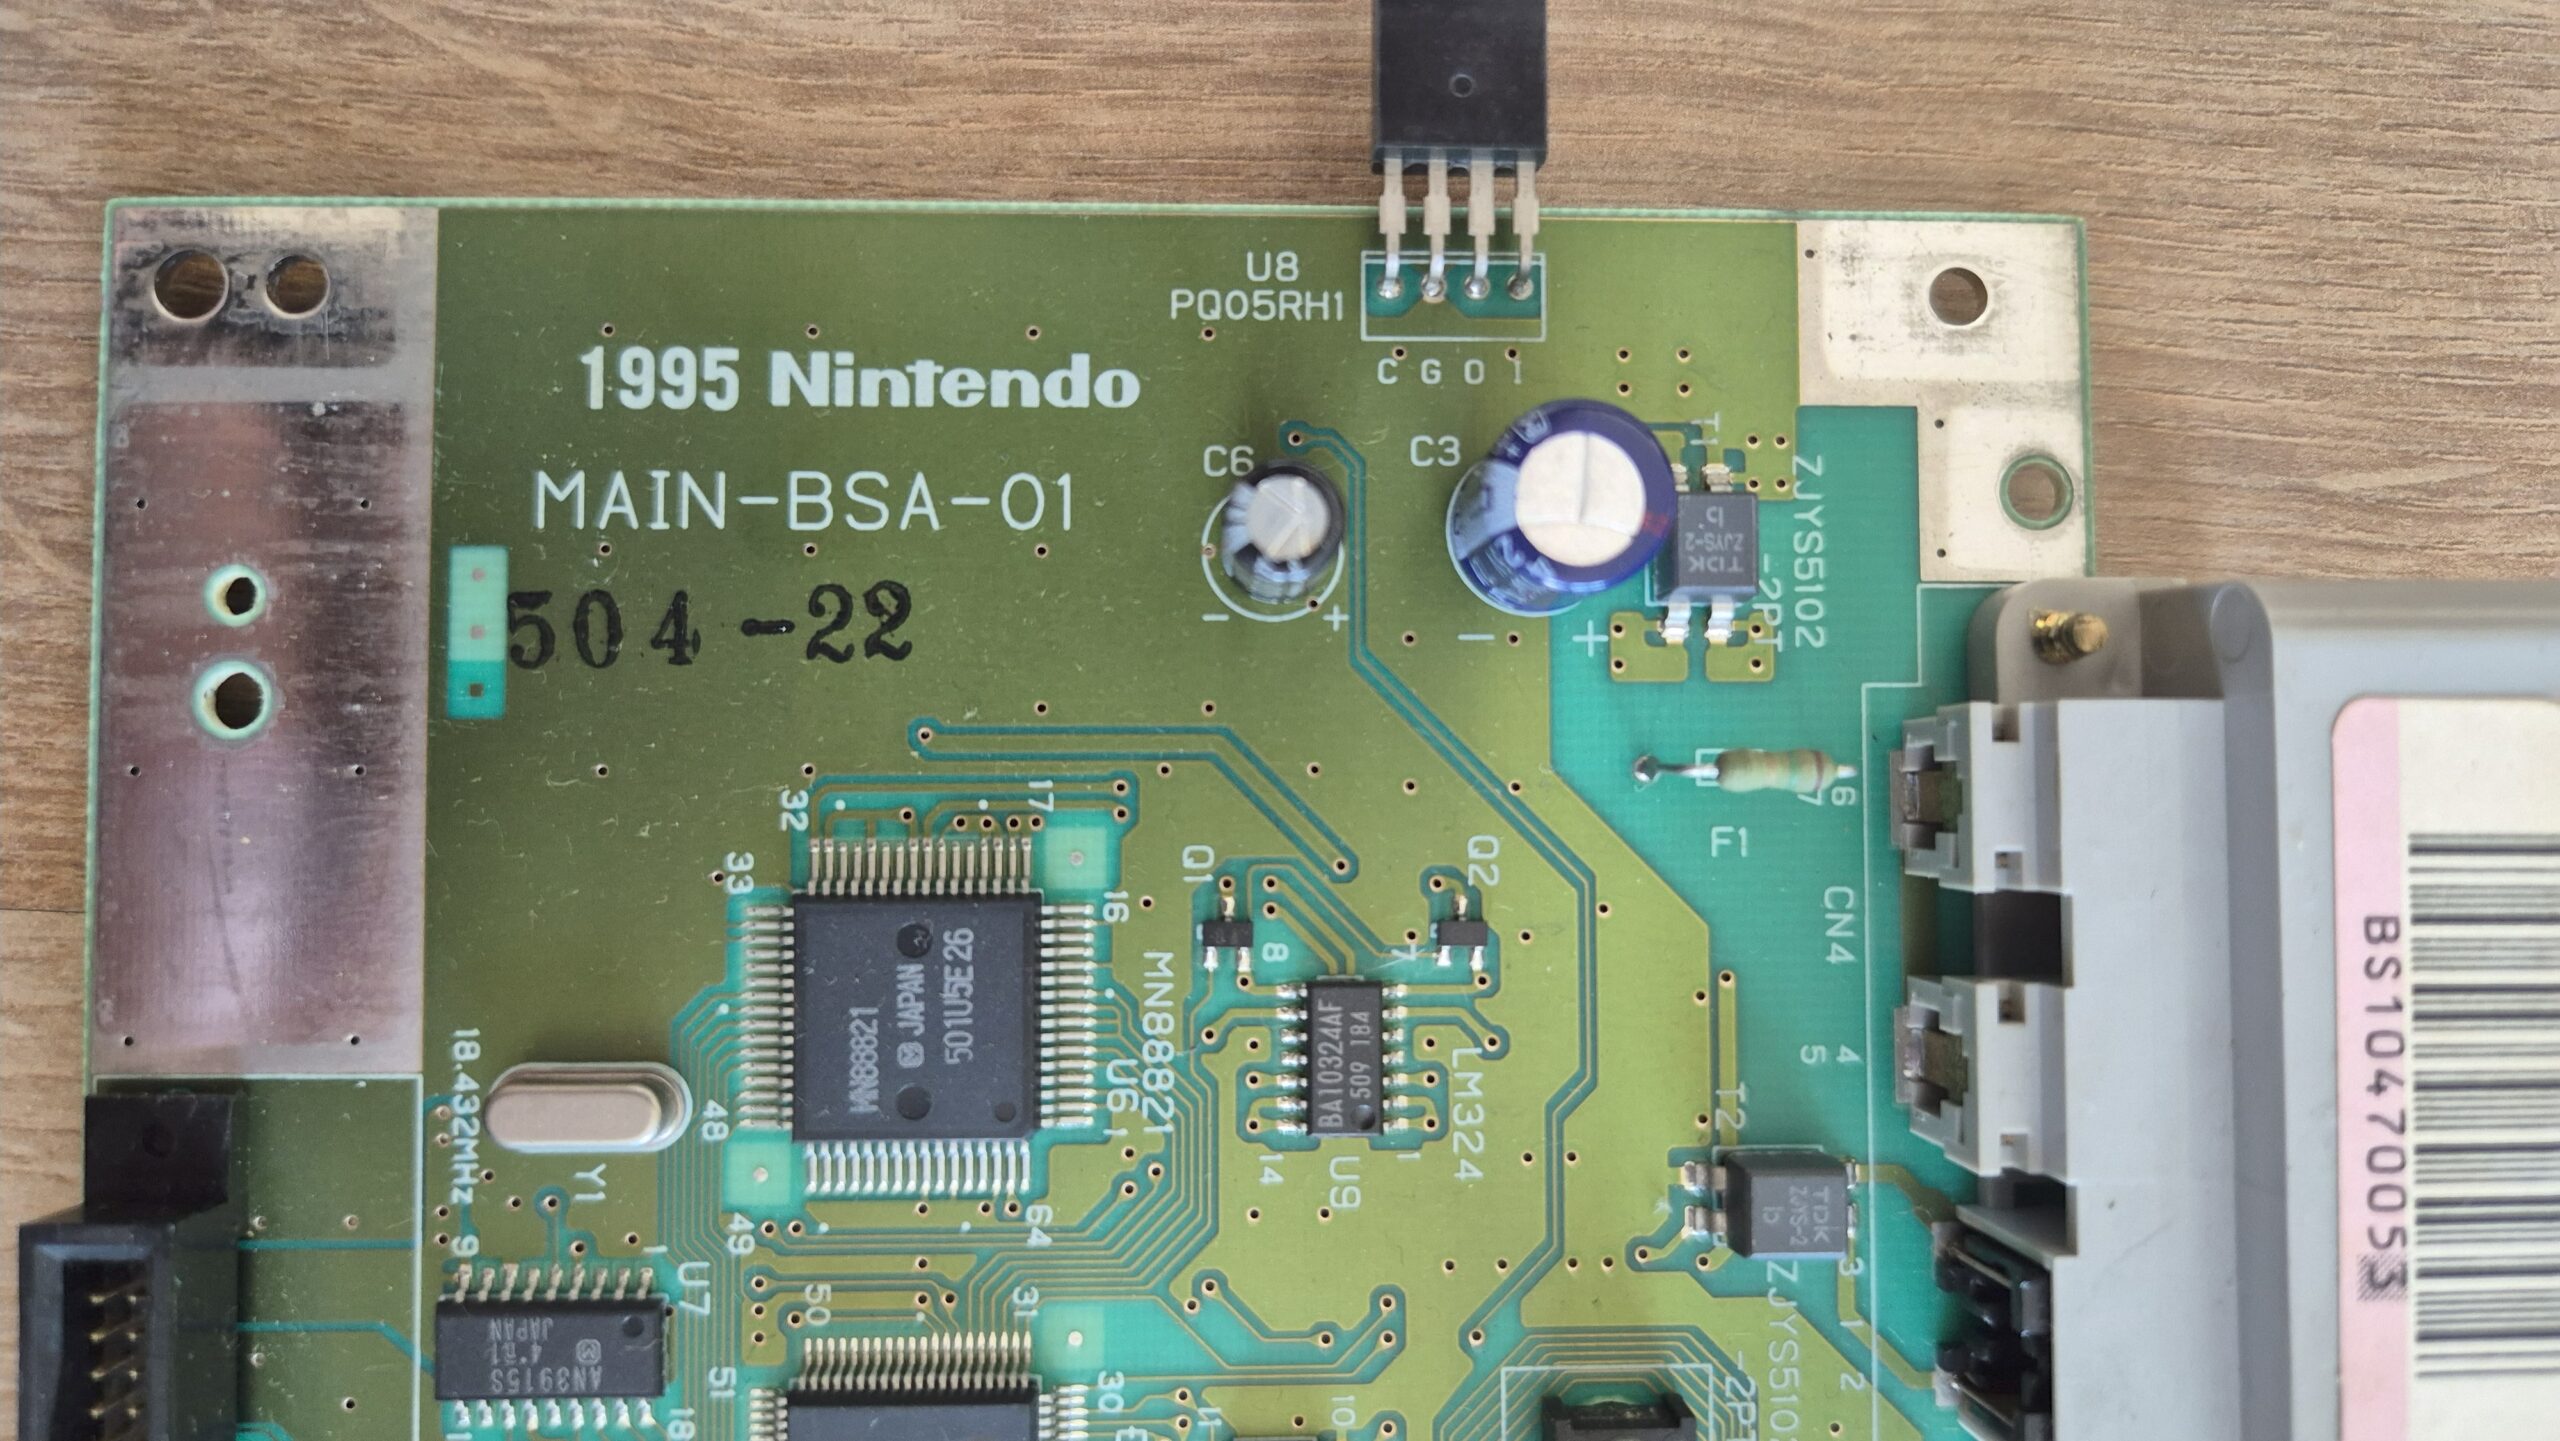
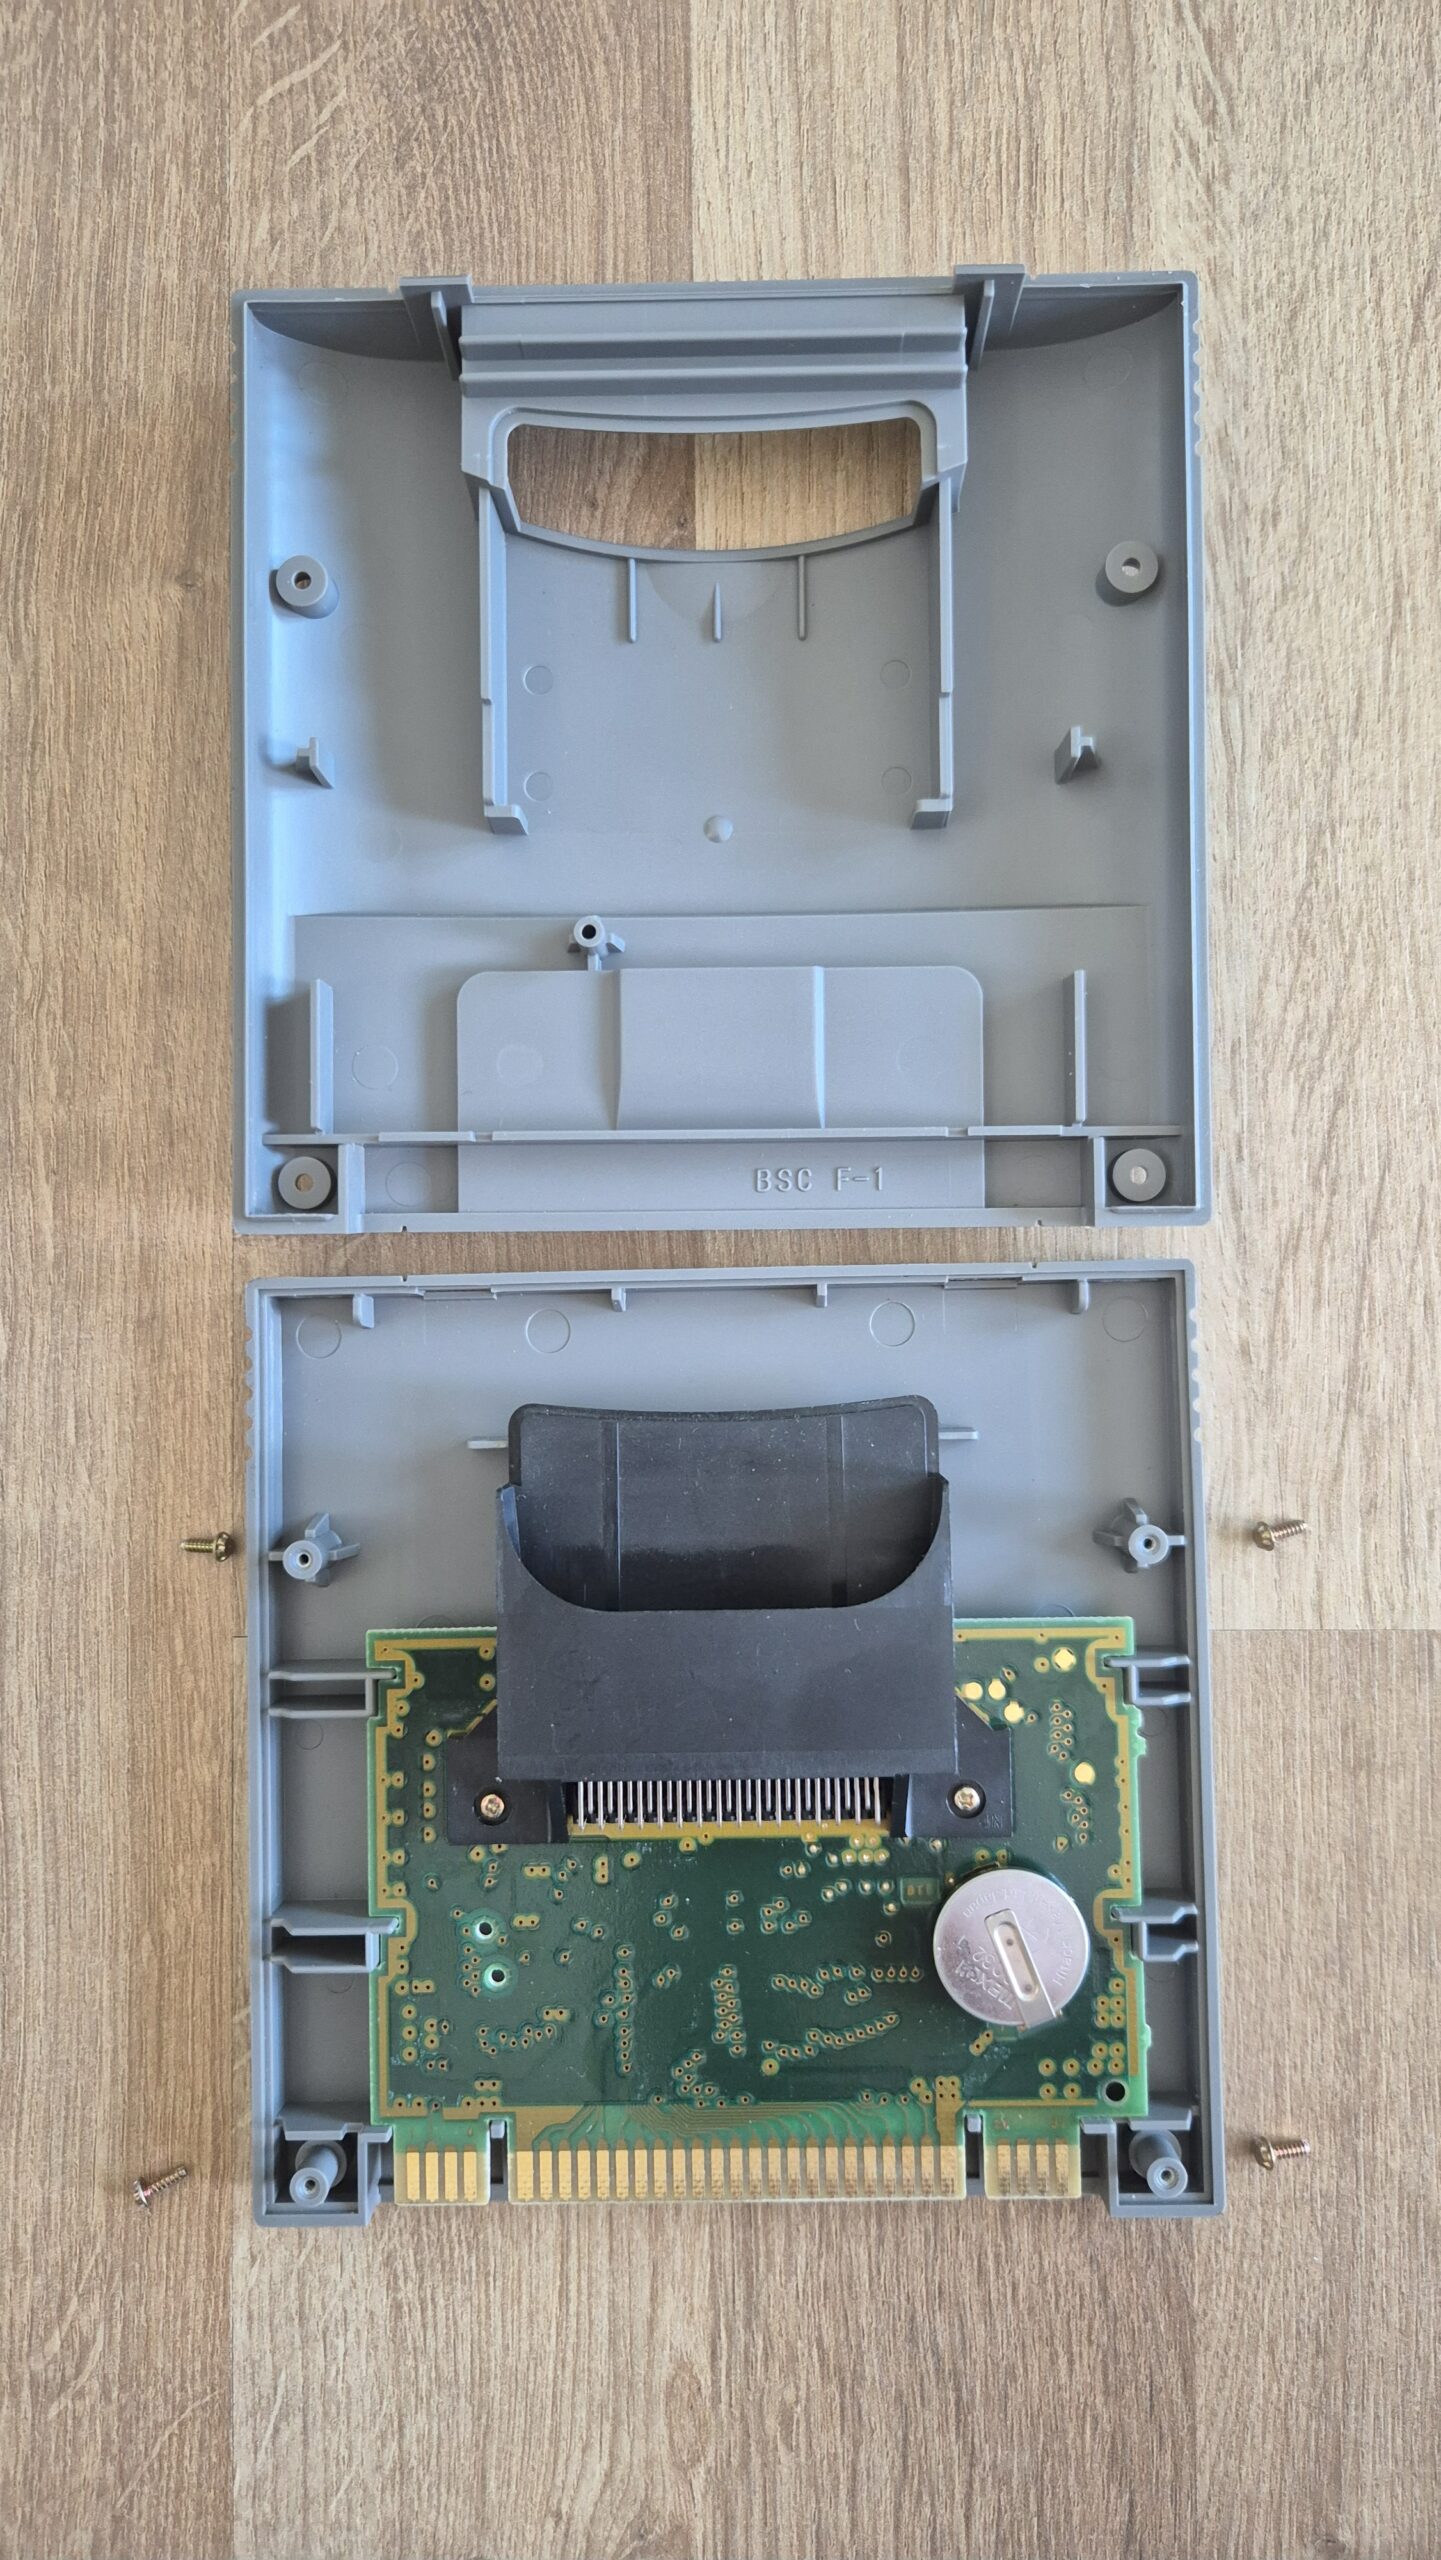
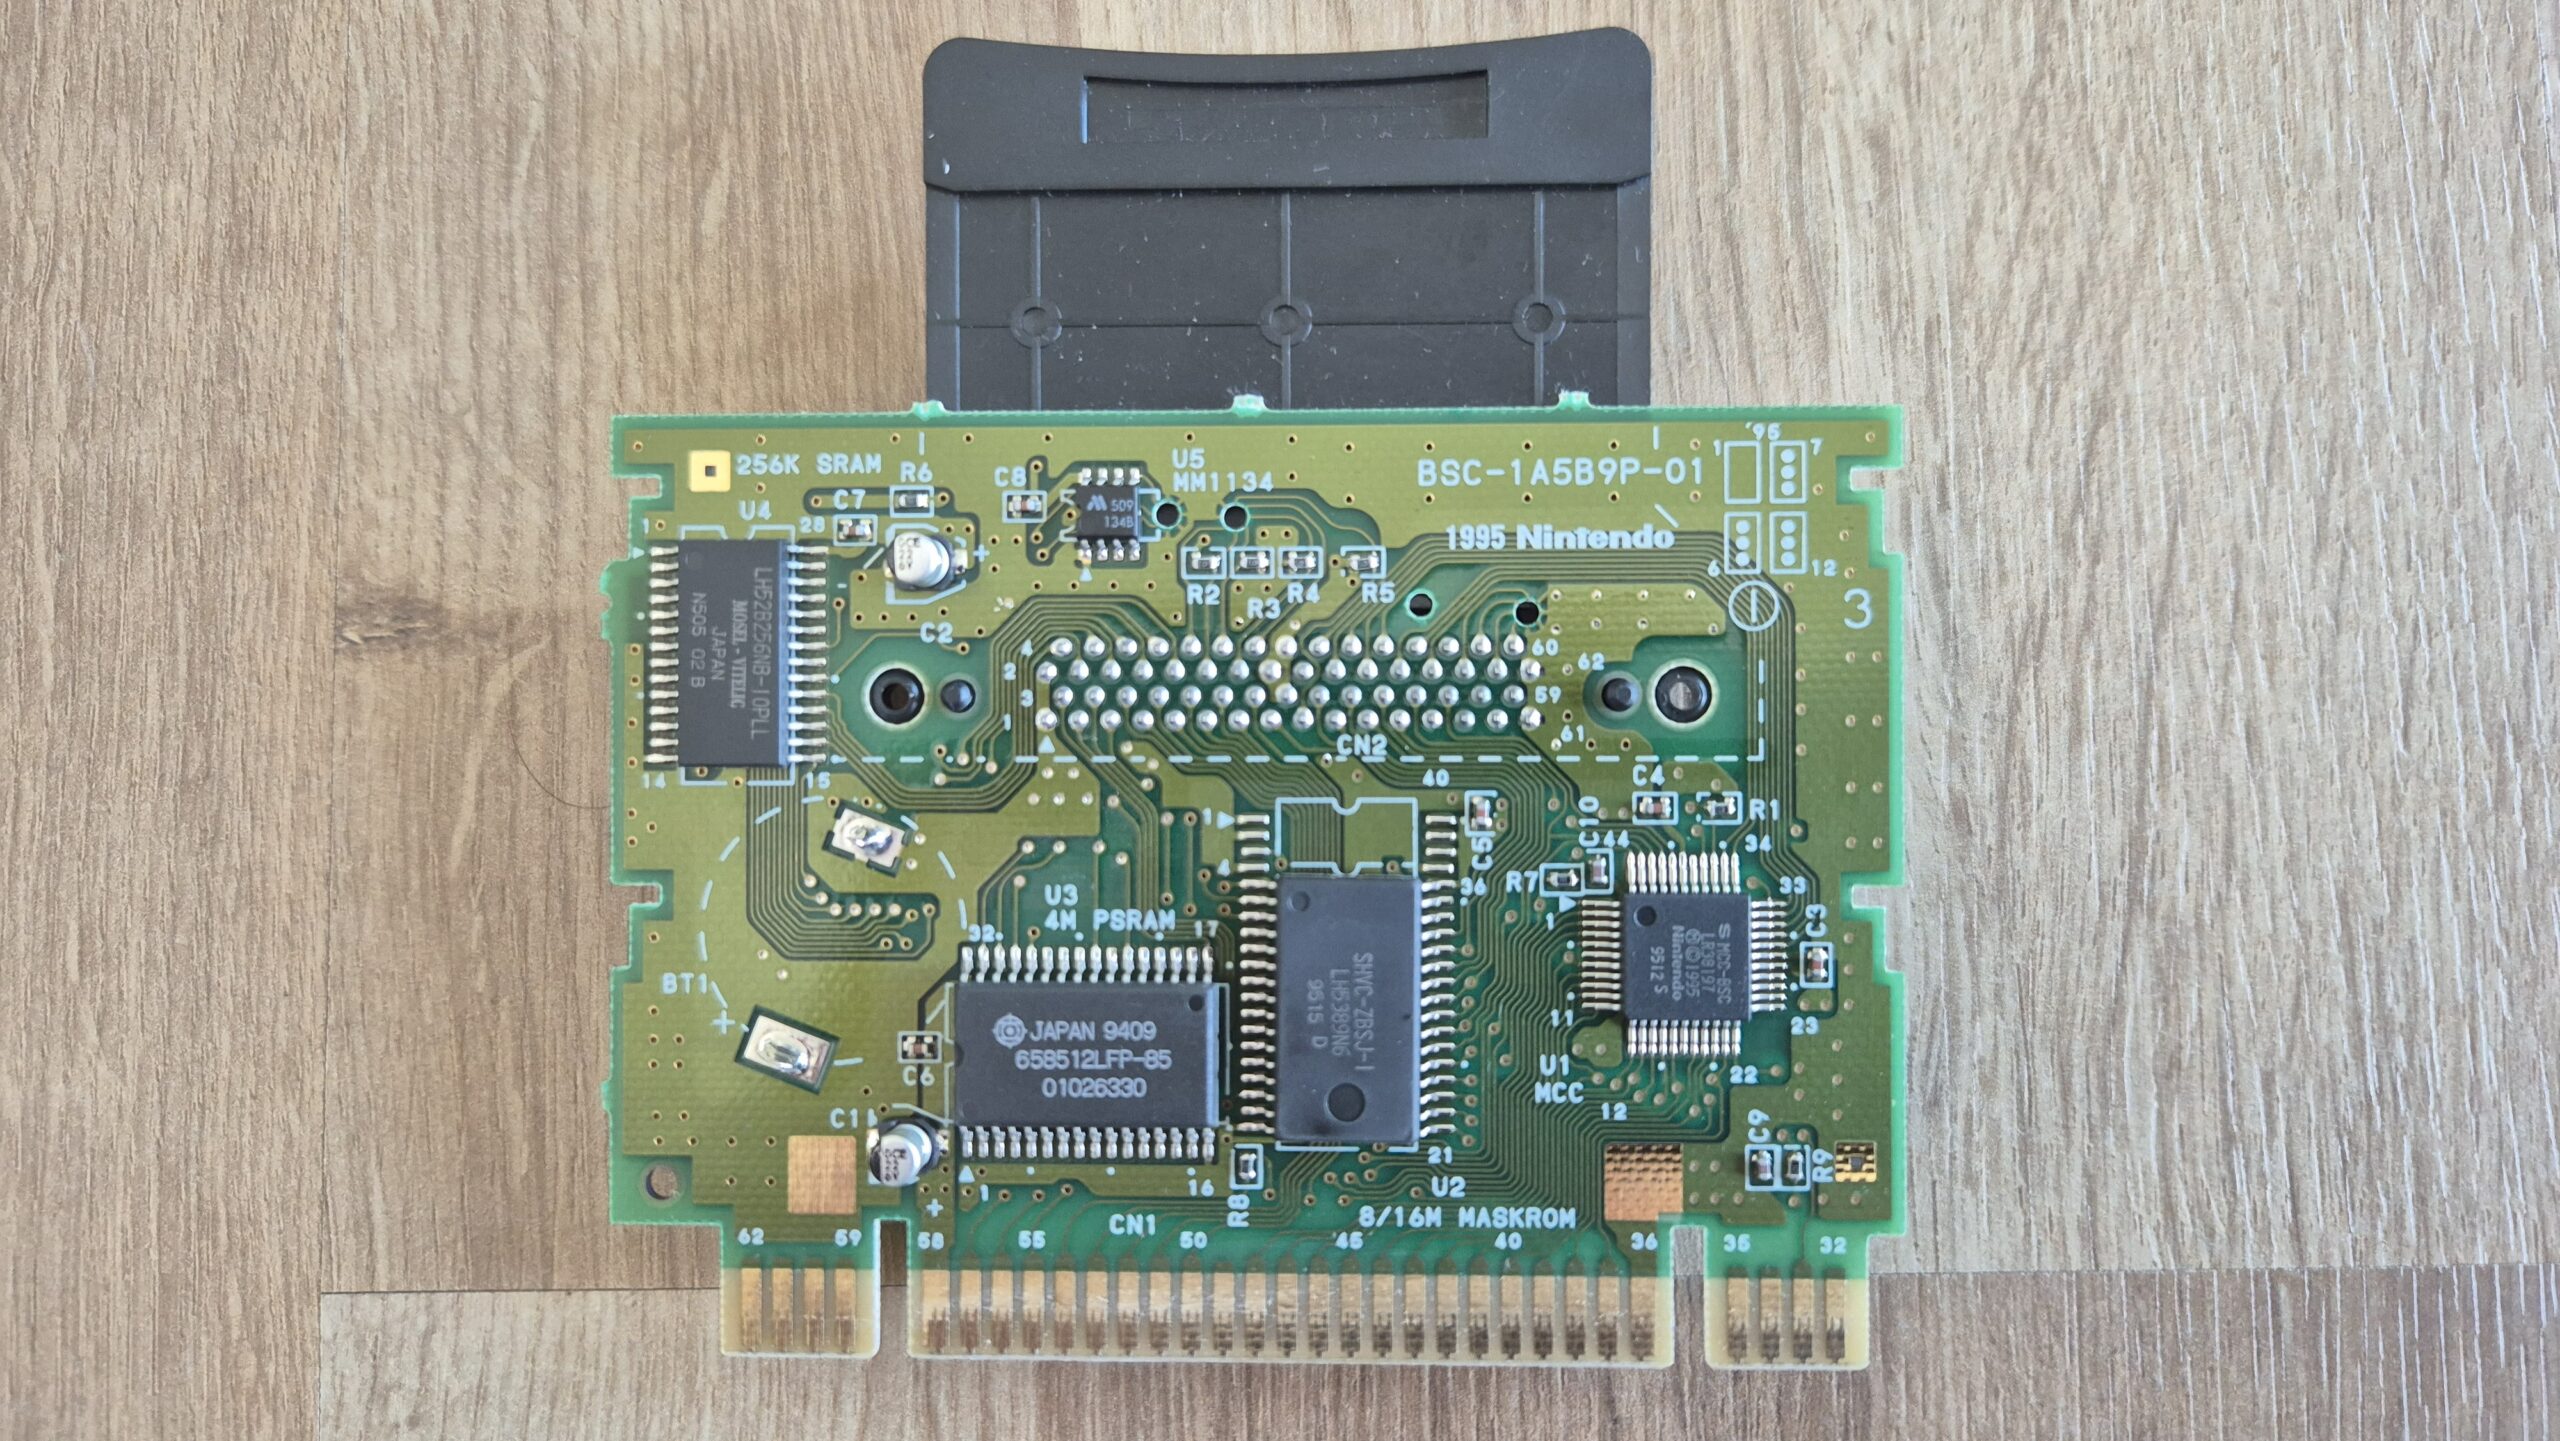
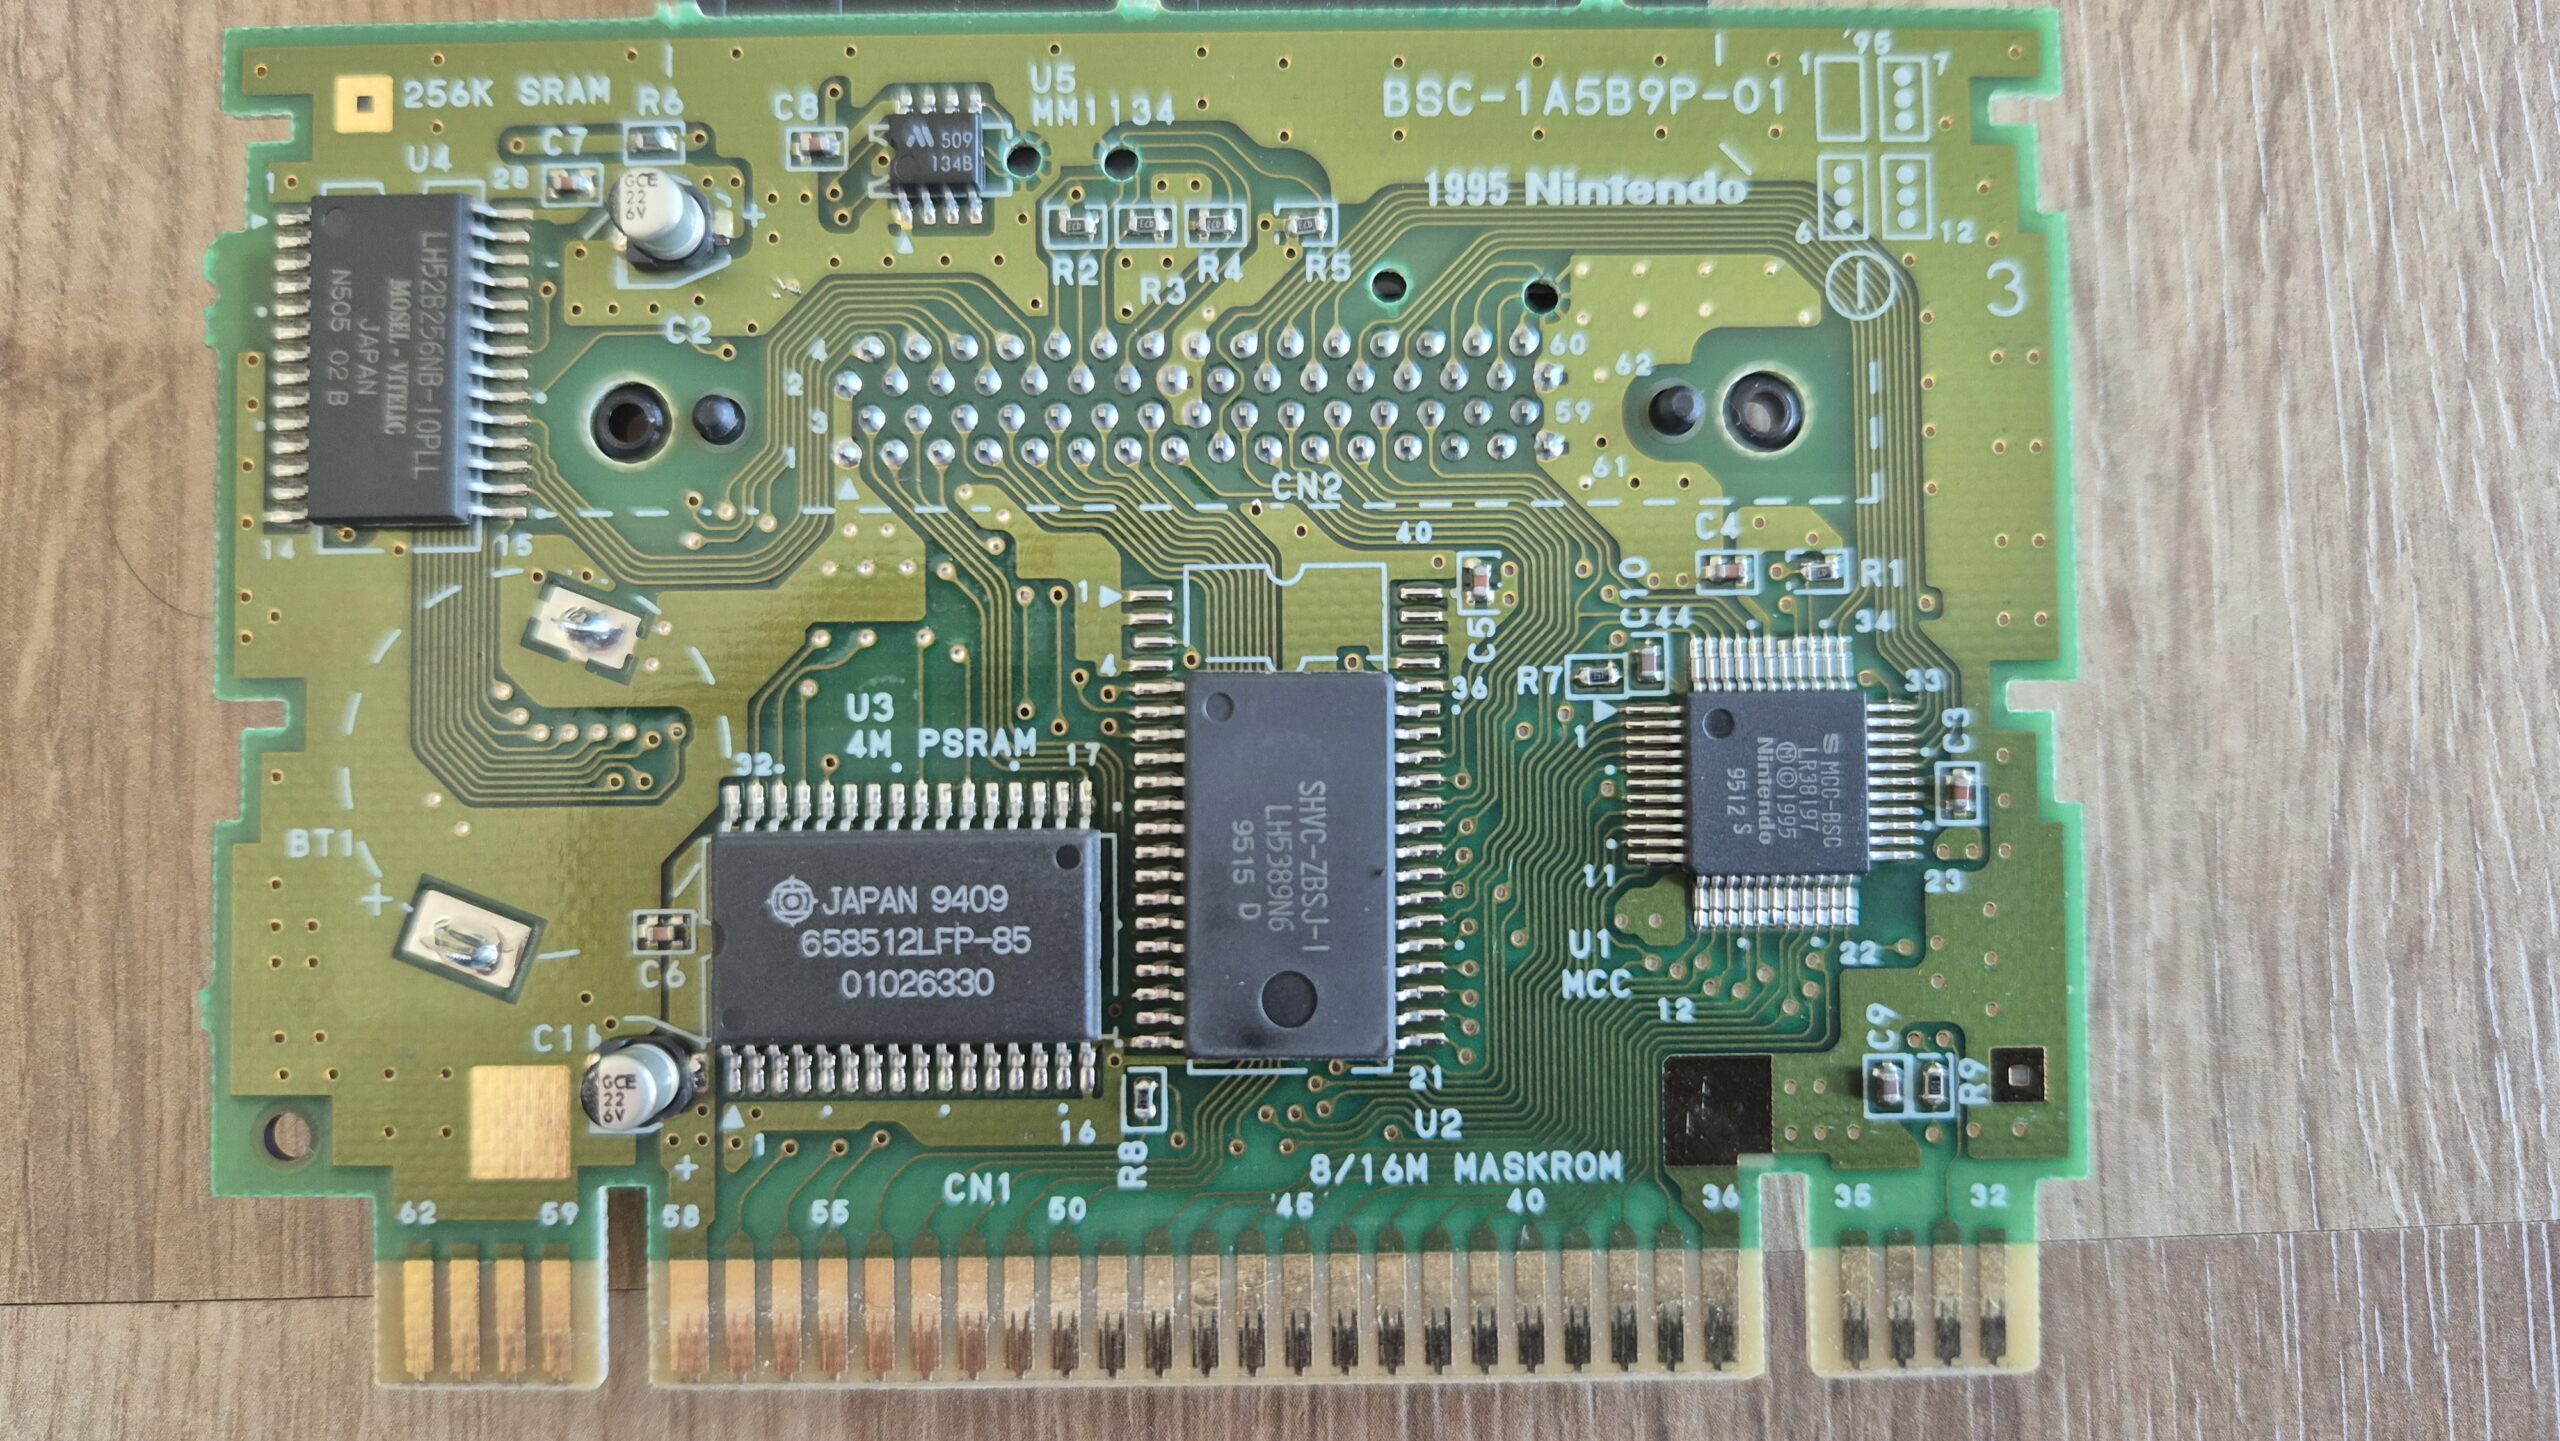
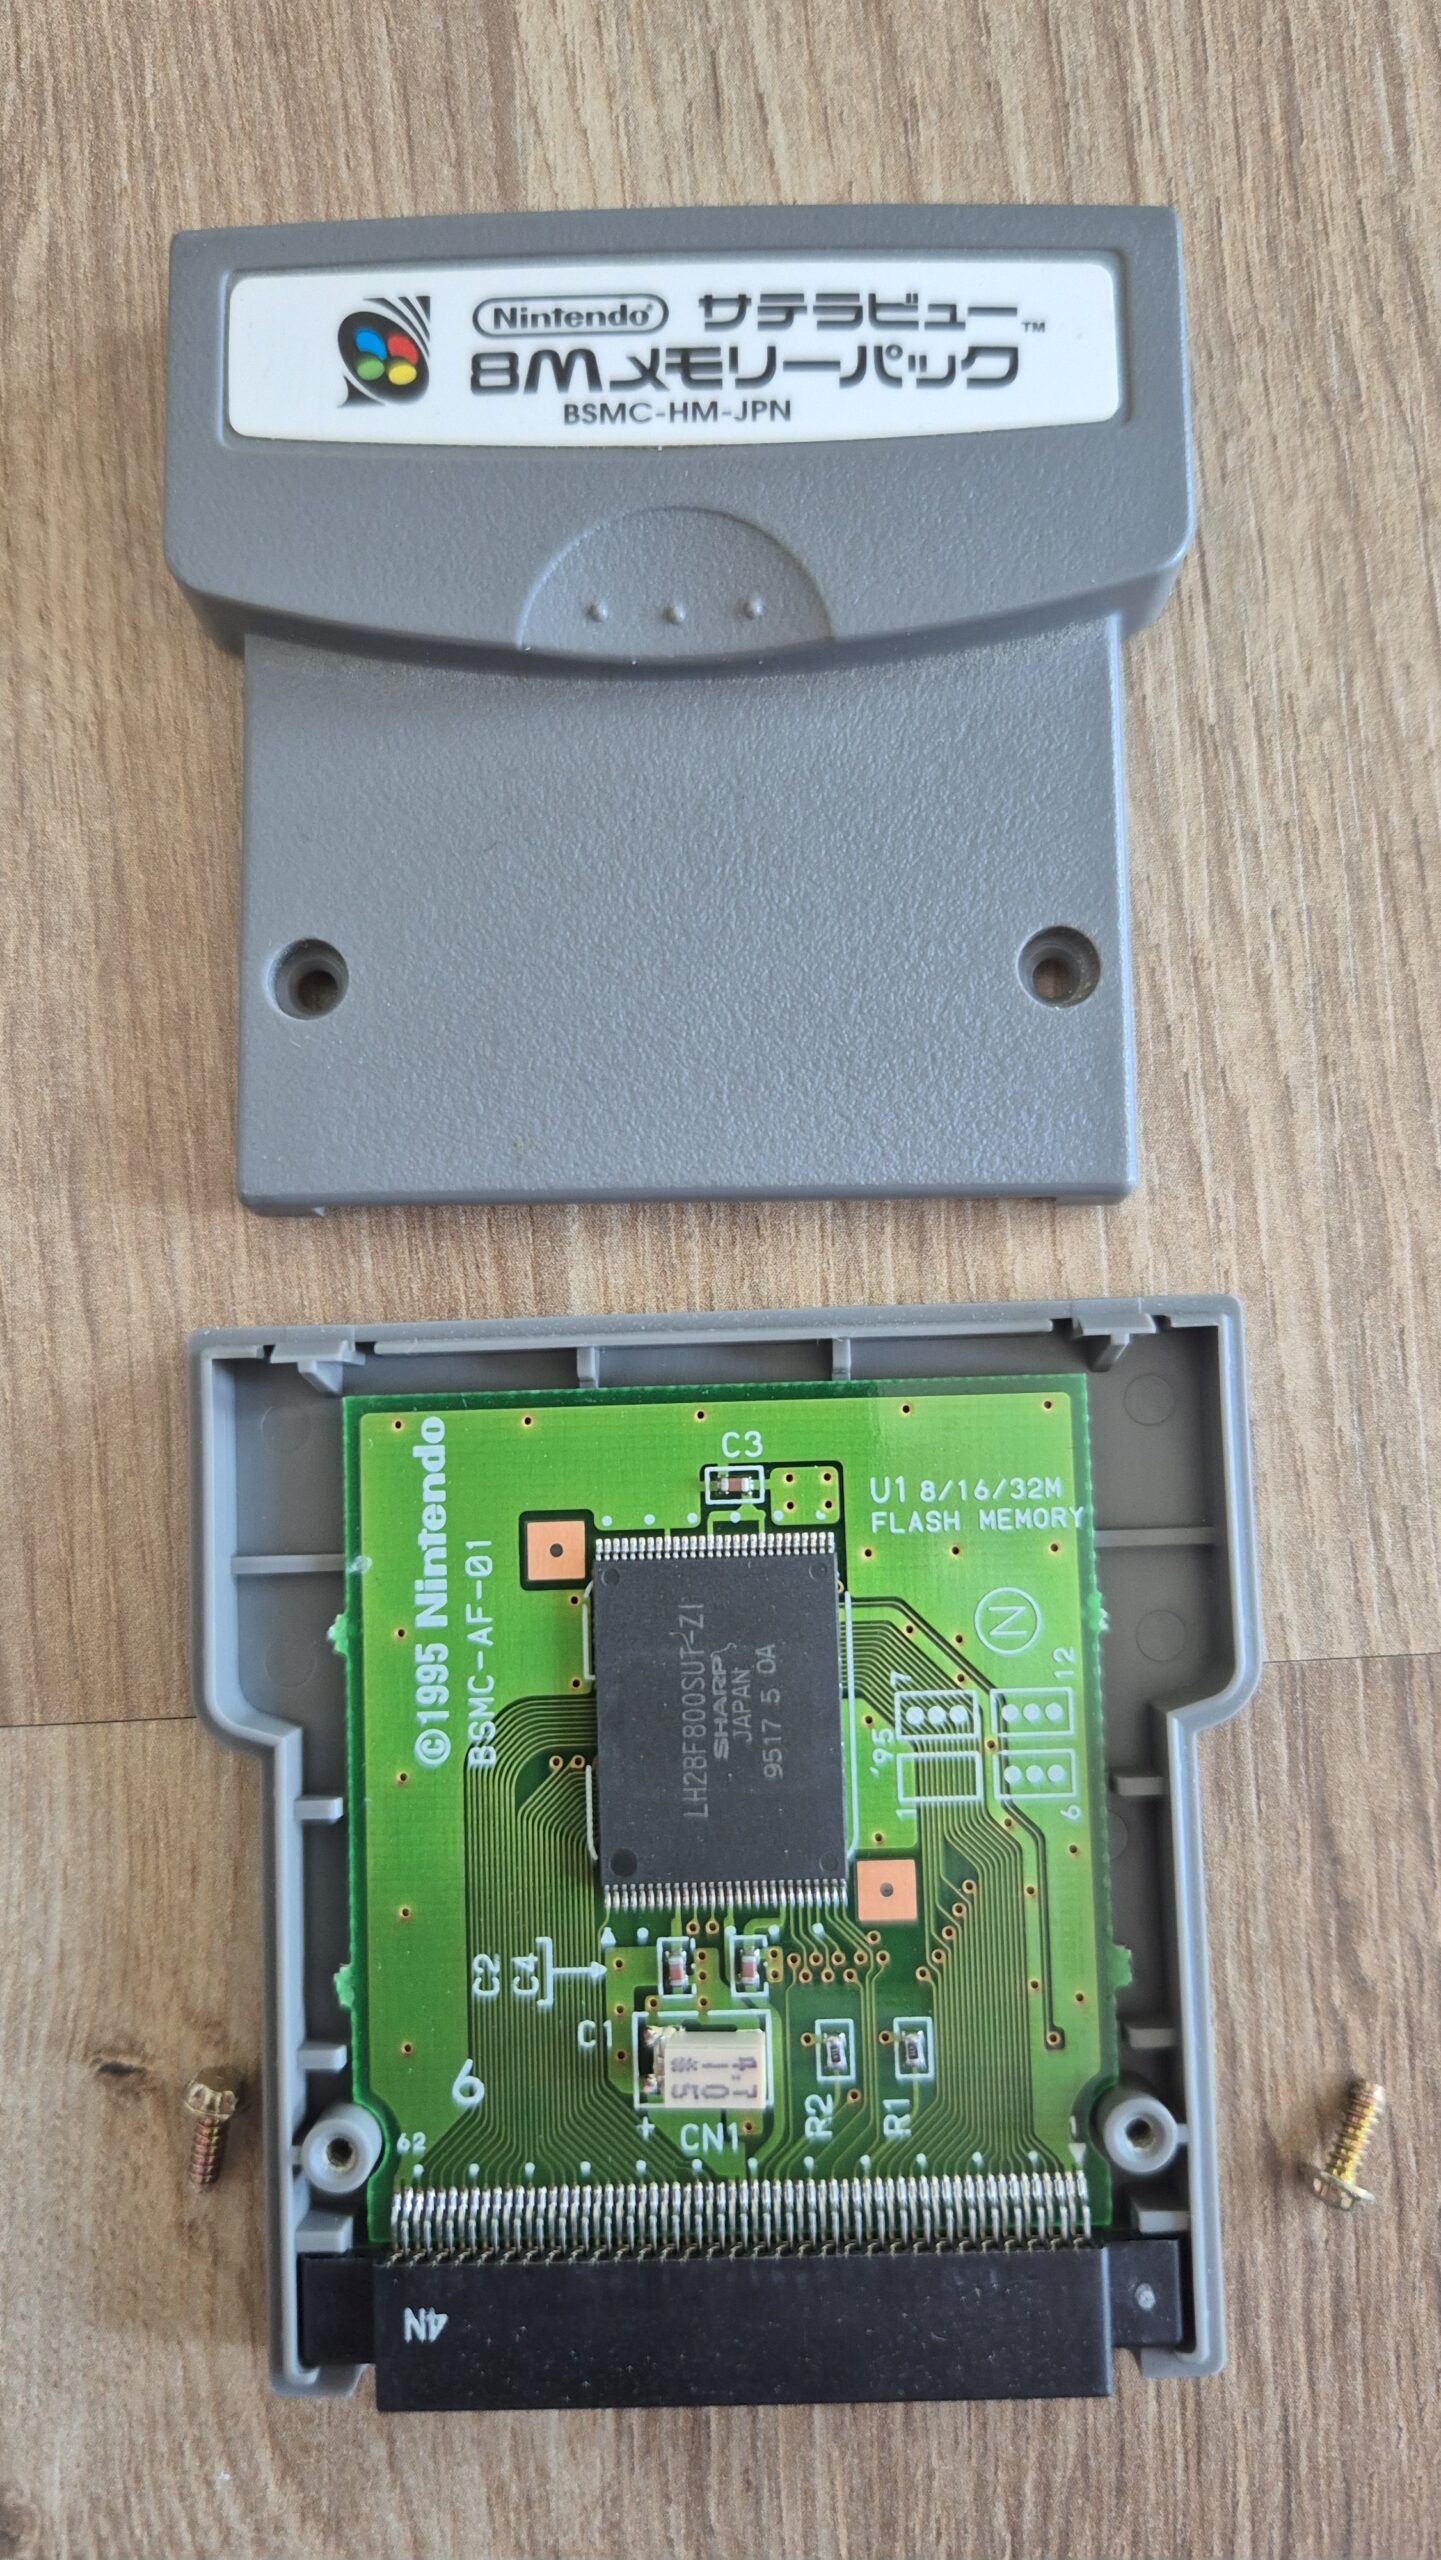
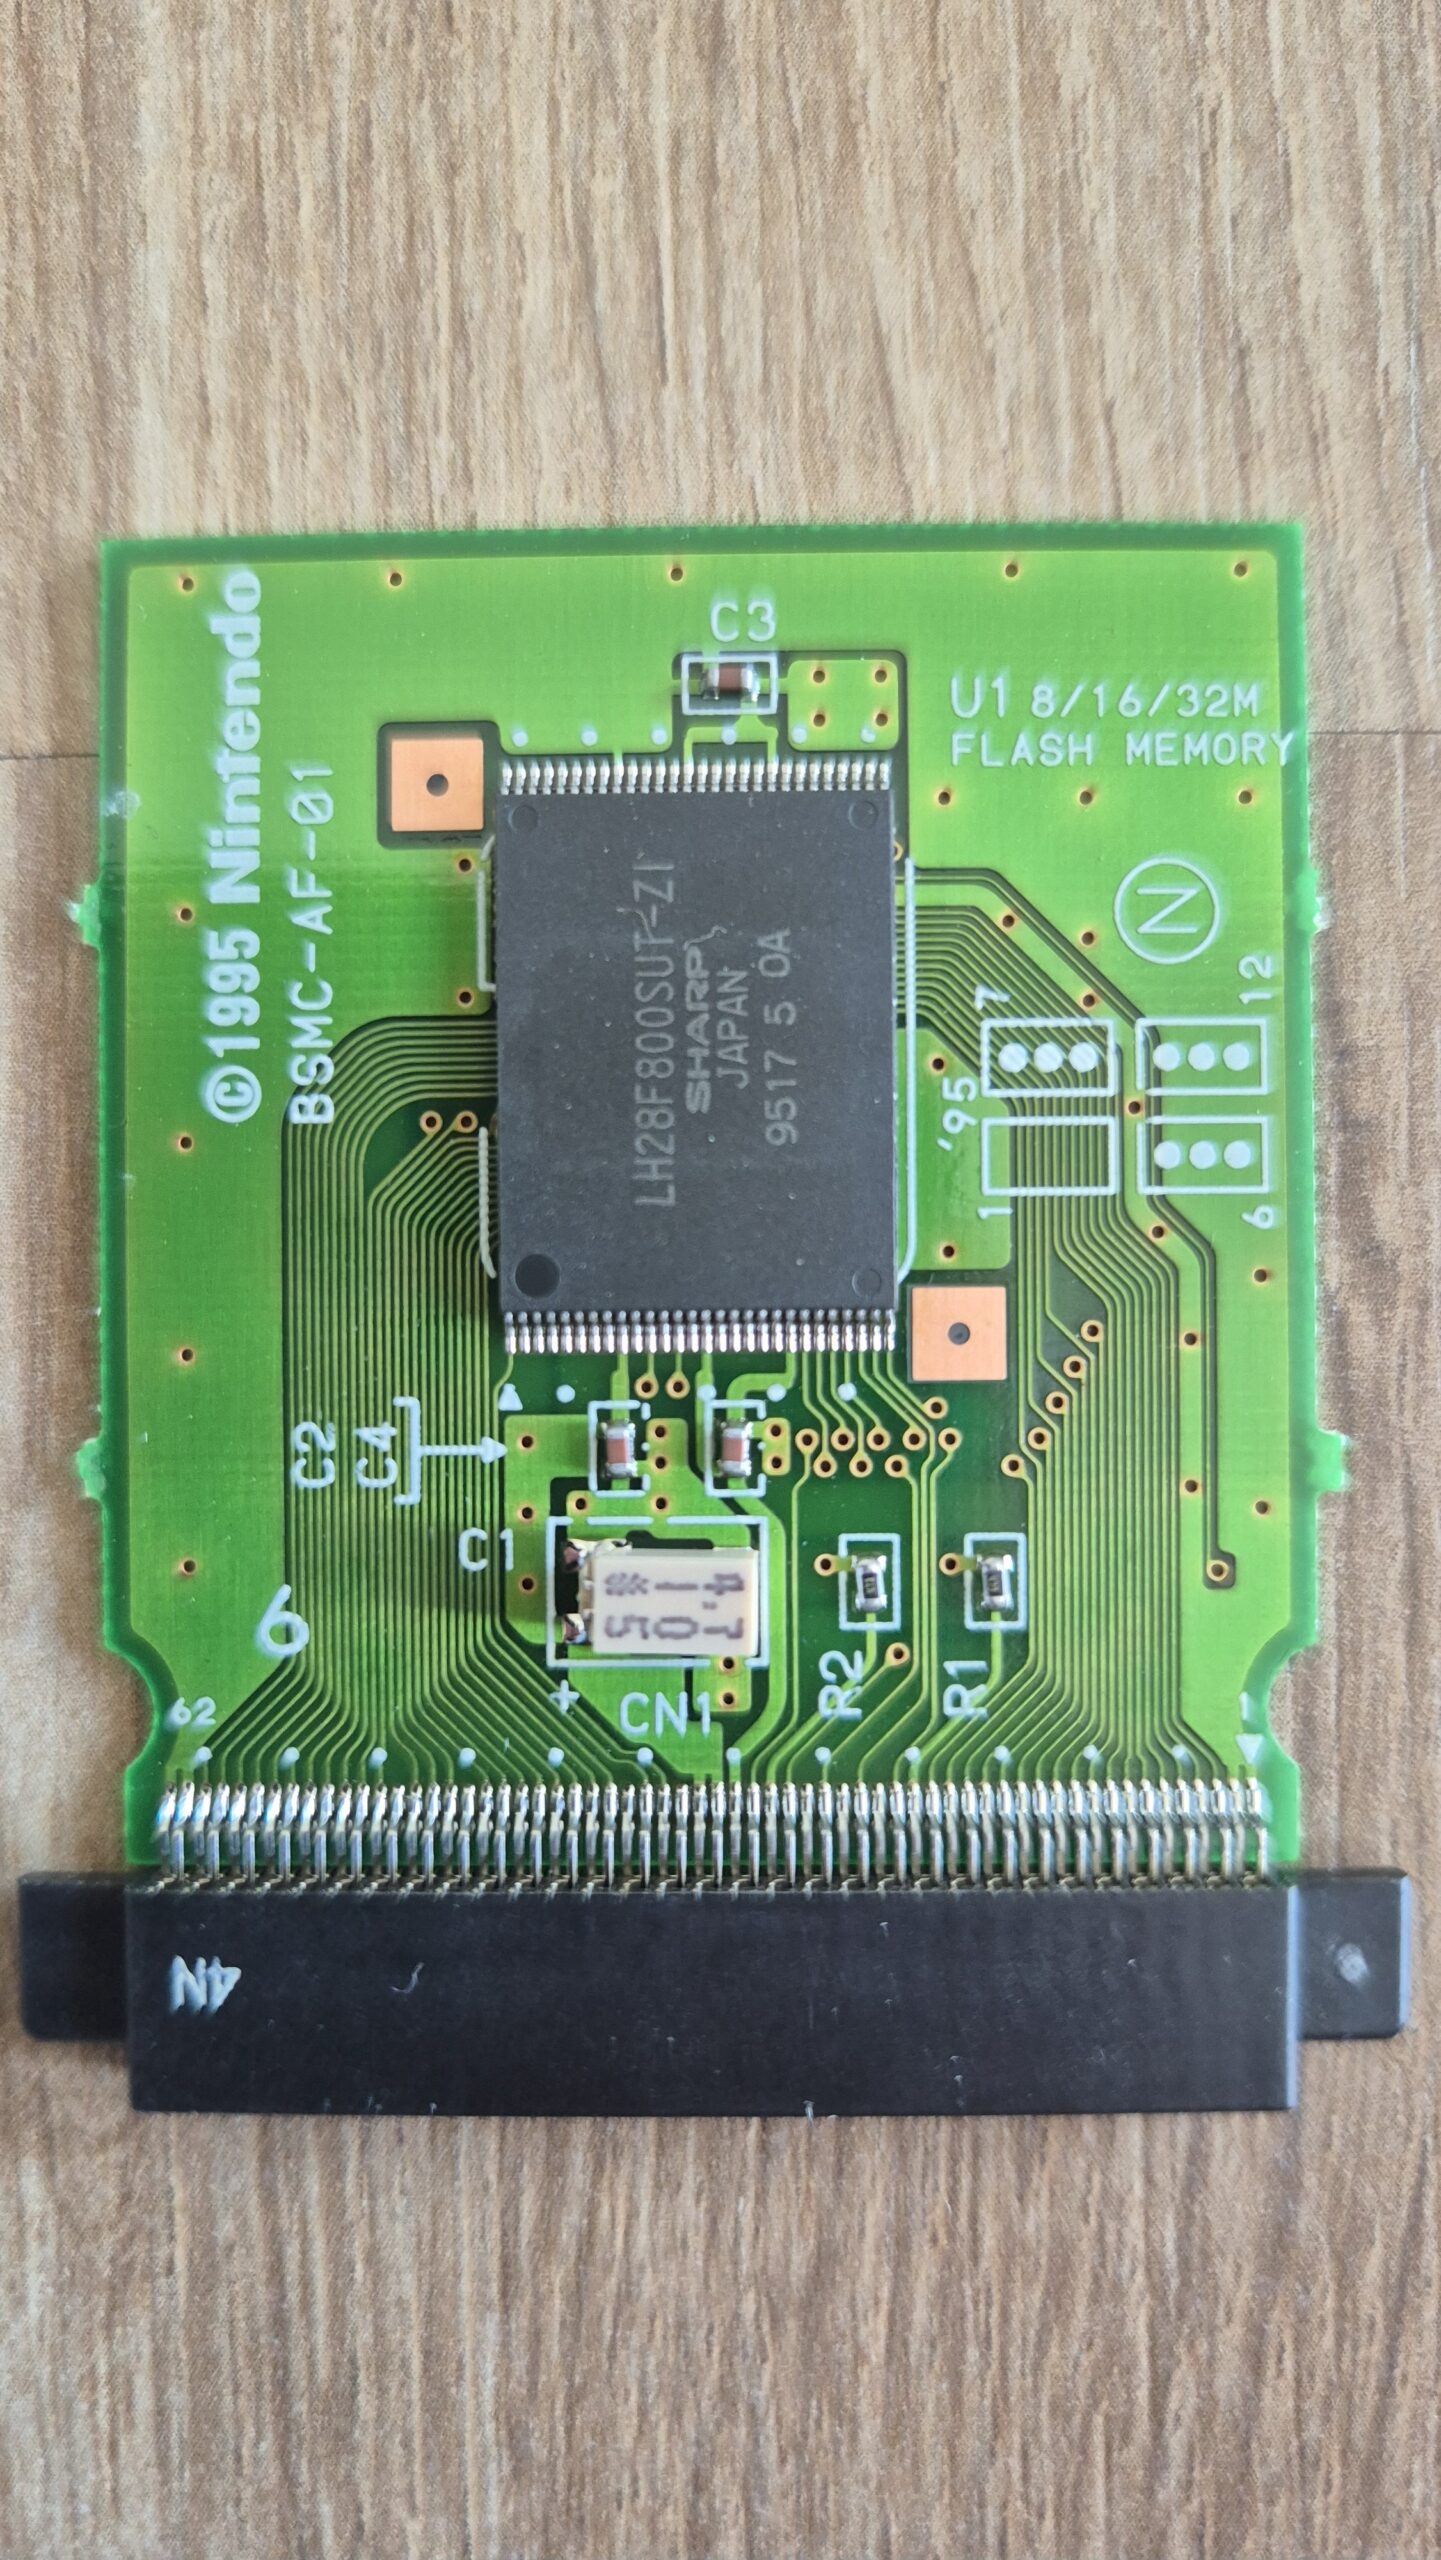
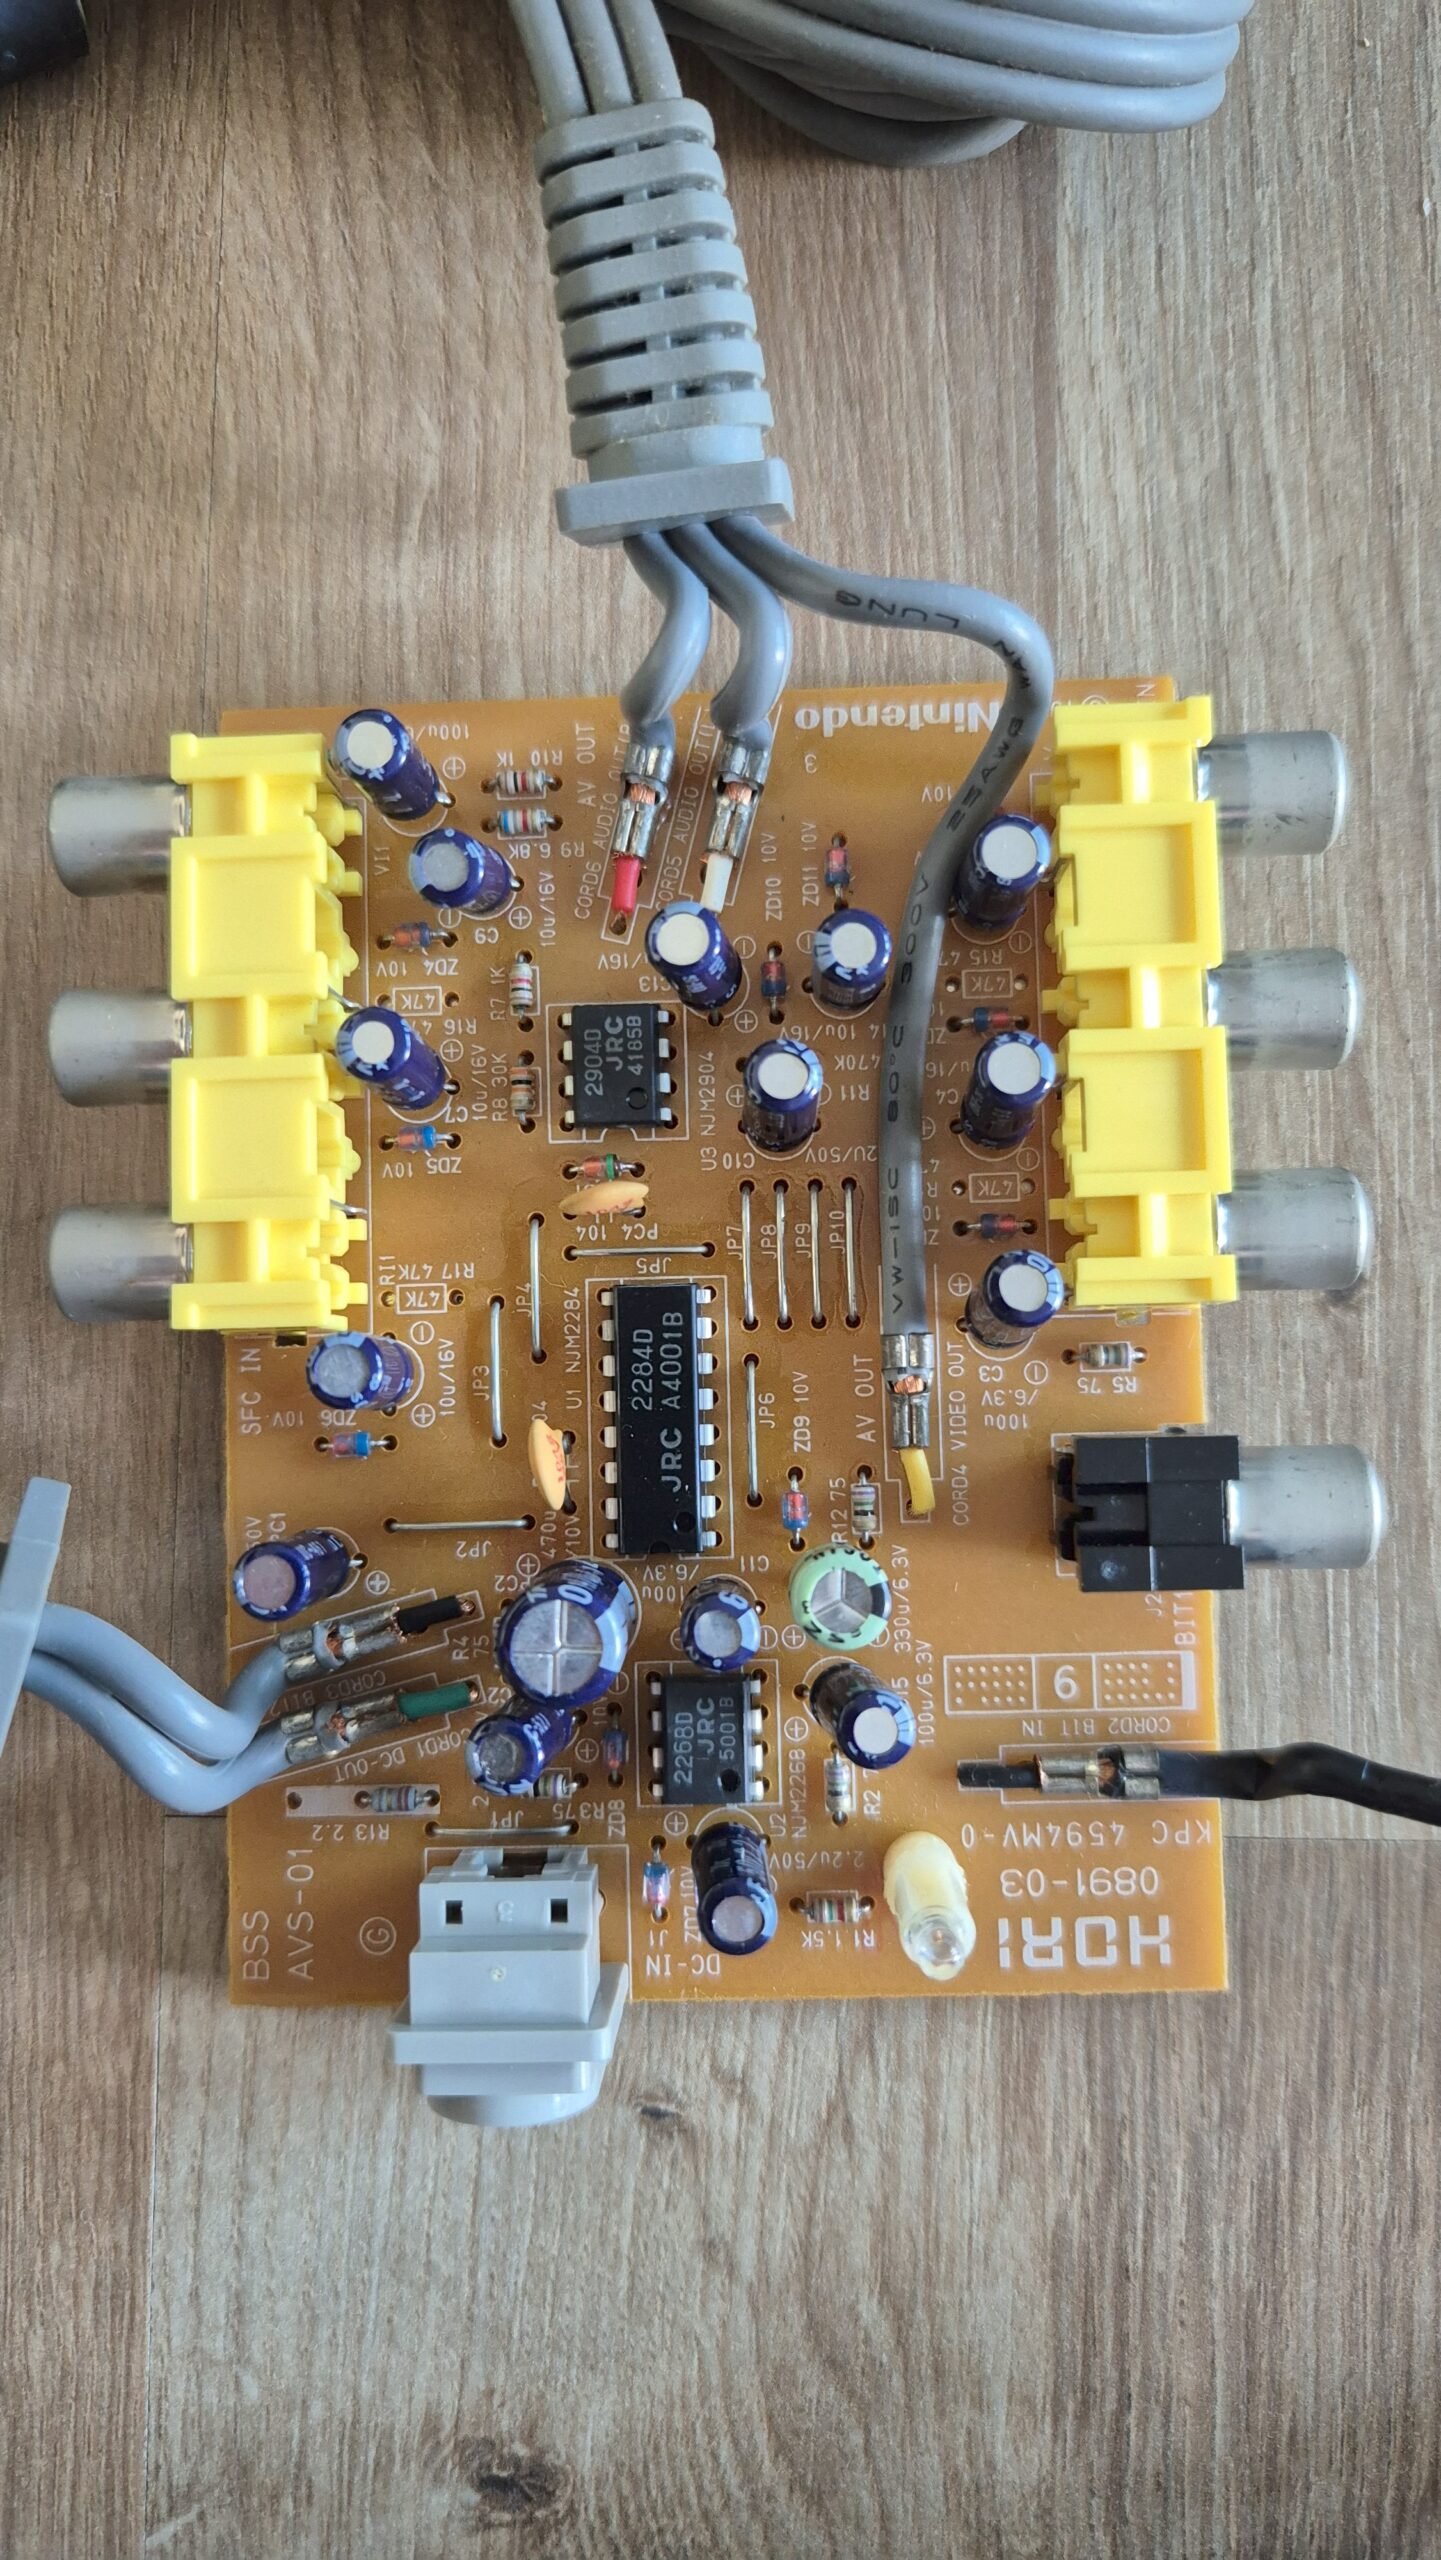
Replacement capacitors: 470µF/25V (C3), 220µF16V (C6)
Photos licensed under: CC BY-NC-ND 4.0
Creative Commons Attribution-NonCommercial-NoDerivatives 4.0 International


Recent Comments